As a mom on a budget, I’m all about finding a thrifty way to turn my house into a comfortable, welcoming environment. I love browsing decor magazines and gleaning good ideas so I’ve gathered my top ten list (plus a bonus idea) of fun tweaks you can accomplish with a few simple supplies that won’t cost an arm and a leg, and less than an hour. (Most of my ideas literally take minutes.) Plus you don’t have to be the superwoman of crafts (I’m sure not!) to make these happen. In no particular order, here are my favorites!
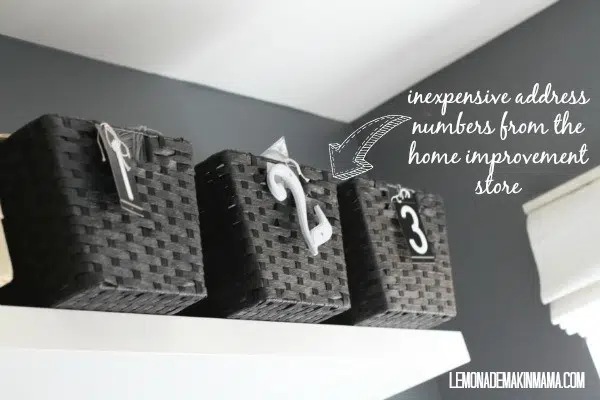
10) Tie mis-matching numbers to storage bins. Inexpensive address numbers from the home improvement store will jazz up any storage baskets. If you’re using them for kid items, you can assign each child a number. Plus they’re cute and cost about $2 a piece!
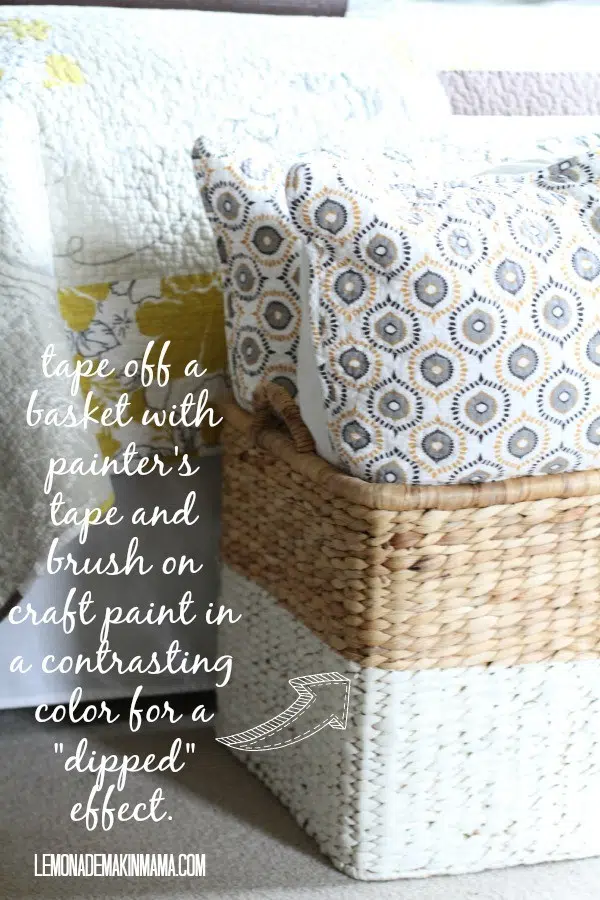
9) Dip an old basket for a new look. Tape off a basket with painter’s tape, then brush on some craft paint to create that trendy ‘dipped’ effect. It’s a quick way to make your old storage baskets a little more current.
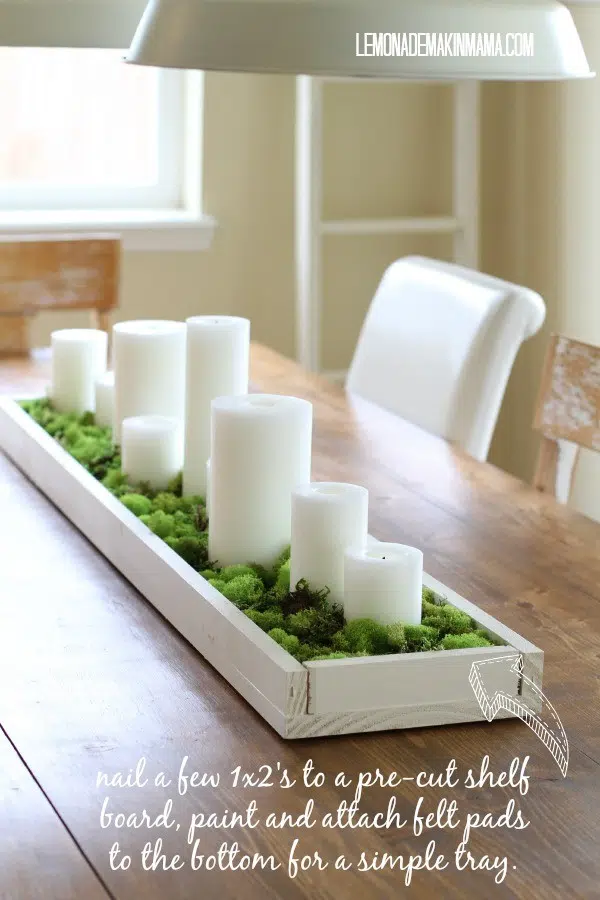
8) Create a long table top tray perfect for seasonal items. (I’ve used mine with candles in the winter, moss in the spring, and I plan to fill it with driftwood and shells in the summer.) Gather a narrow shelf board (I found mine pre-cut from Lowe’s) along with a couple of 1×2’s. (I bought two that were the same length as my shelf board, then cut a third for the end pieces.) You’ll want to use a few nails to attach the long side pieces to the shelf, and then paint it. (Mine’s not perfect, but that’s okay!) I attached some felt pads underneath to protect my table top.
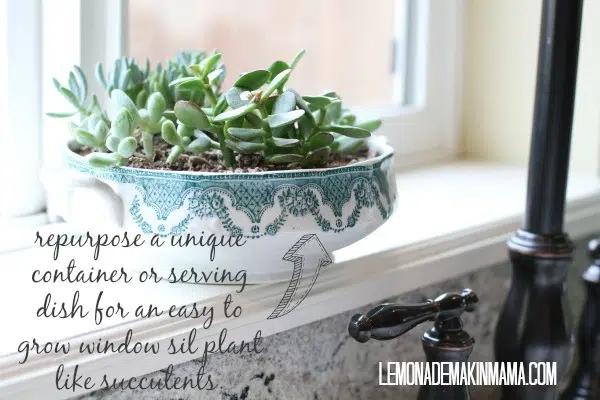
7) Repurpose a unique container for a potted plant. I love growing herbs or succulents in my kitchen window sill, and I especially enjoy potting them inside fun and unusual containers like this antique compote. It’s perfectly pretty in a kitchen.
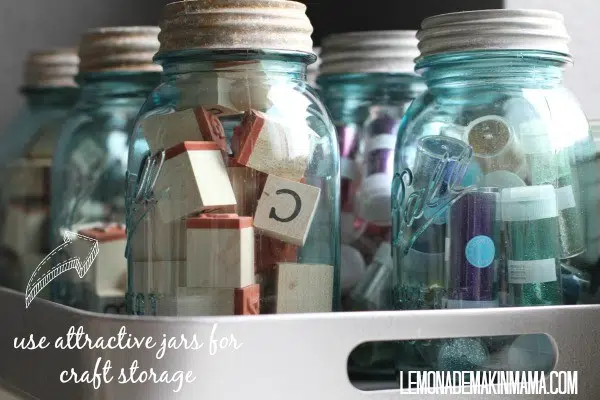
6) Jar your supplies. I’m a huge fan of antique blue ball jars with the zinc lids. And I’ve collected enough to use for tubes of glitter, stray ribbon scraps and alphabet stamps in my craft area. You could use any jar- whatever is your favorite look, but I’ve found that everything looks better in the same container. It helps bring a bit of cohesive organization to would-be craft chaos. And being able to see what’s in each container makes for quick and easy project prep and cleanup.
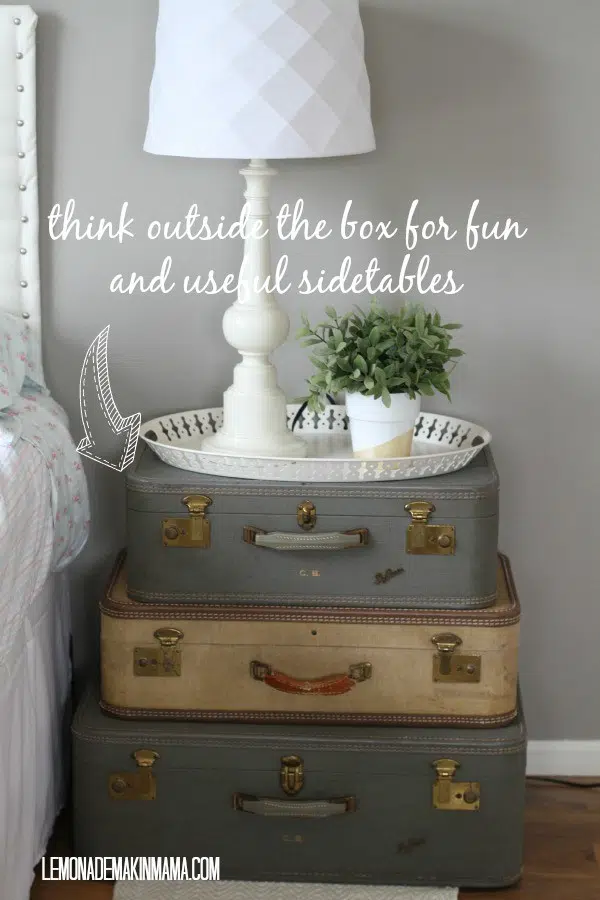
5) Think outside the box for side tables. I’ve stacked a few vintage suitcases for a guest bedroom side table, and they always make for a fun conversation. Using something in a new way brings a freshness into the home and I tend to think it kind of sets people at ease by sending the message, ‘We like to do things different around here and comfort and inventiveness come first.’
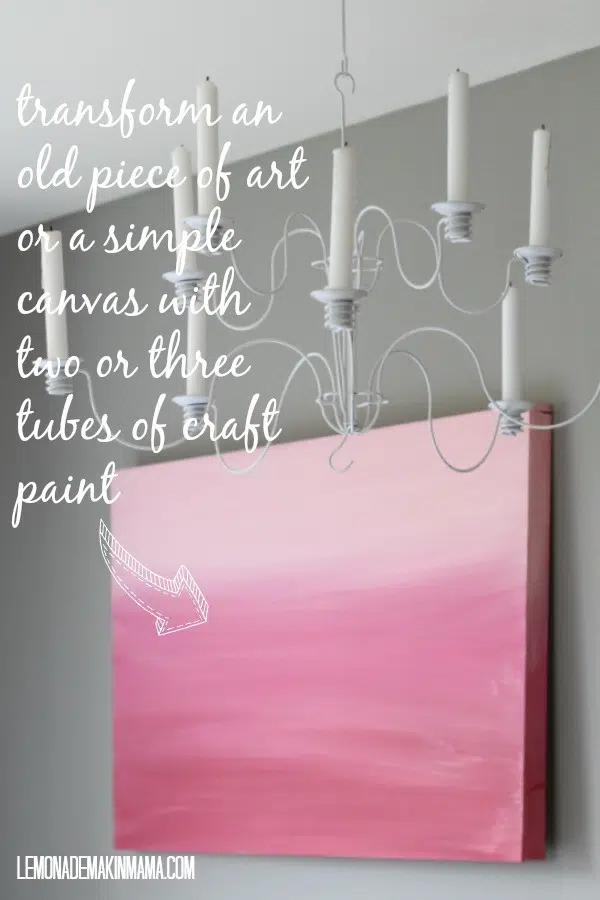
4) Transform an old work or art or simple canvas with a few tubes of craft paint. I love this one! I have a piece of art that I’ve painted dozens of times to match various decor changes. For this project, I put three large ‘blobs’ of paint in the color shades I liked onto a paper plate and then used an old foam brush to smear it on the ‘canvas.’ You’ll want to start with the lightest color first, painting in one direction (side to side) in long sweeps… then, while it’s still wet, blend in the next color by doing the same thing, and then add the final color until you’ve got a fairly blended look. It won’t be perfect, and that’s the charm of it. The brush strokes and color variations will give it character, however it will add simple impact to a boring space.
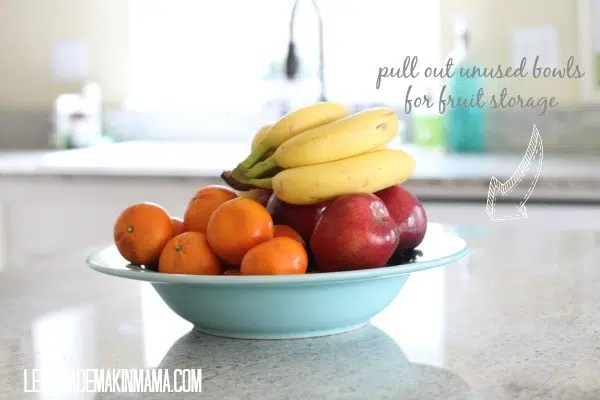
3) Reinvent pretty bowls for everyday storage. I’ve got a great pasta bowl. Only we hardly ever use it for pasta. A couple of years ago I decided to find new ways to use it. One year I filled it with sand and candles and it made a great centerpiece for the kitchen table. Sometimes I pull it out and use it for fruit storage. I love changing our containers up, rotating items and getting a good amount of use for everything in my kitchen.
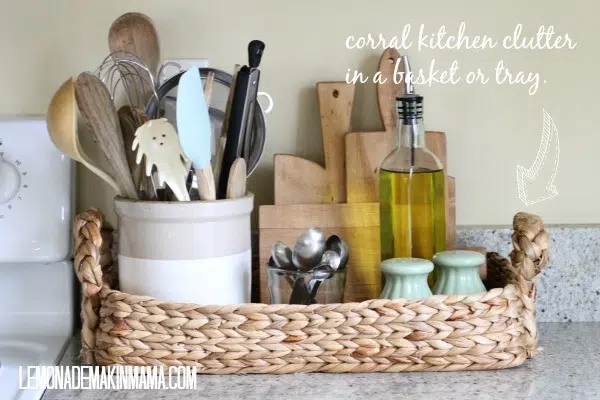
2) Corral clutter in a tray. I’ve said it so many times. Everything looks better on a tray. It seriously does. I don’t like having little pieces of clutter laying around the kitchen, but my kids use our tiny chopping boards for after school snacks (like apples) daily, salt and pepper and olive oil seems pointless to put away, and utensils are always needed- so I placed everything into a woven tray and felt instantly organized. And the bonus to this is that when I need to wipe off counter tops I can simply move the whole tray.
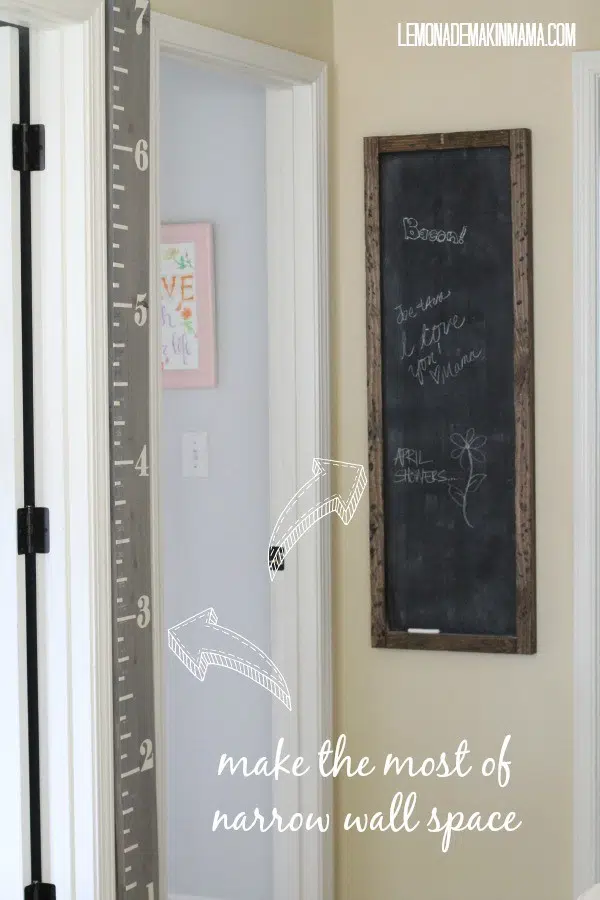
1) Maximize narrow wall space. We’ve got a tiny, cramped hallway and over the years I’ve added two things that don’t take up much space but work year-round. A long, narrow chalkboard (which was simple to make- I’ll share in a moment.) and a measuring stick that fits between two doorways in about an 8′ space. (Also very simple to make.) For the chalkboard, I bought one of those pre-cut self boards and (you guessed it) 1×2’s. I nailed them down and attached self leveling hangers. I taped off the ‘frame’ and spray painted some chalkboard paint on the shelf board. Once that was dry, I stained the frame. Simple and very inexpensive. The measuring stick was another pre-cut length of wood that I stained gray, then used a measuring tape to mark off inches. I actually hand-painted the numbers by printing them out onto paper, flipping them over and rubbing pencil lead on the backsides. Then I placed them (lead-side down) onto the board, traced the outlines and was left with a faint guide to paint in. I used white craft paint and the whole project took an afternoon (+drying time.)
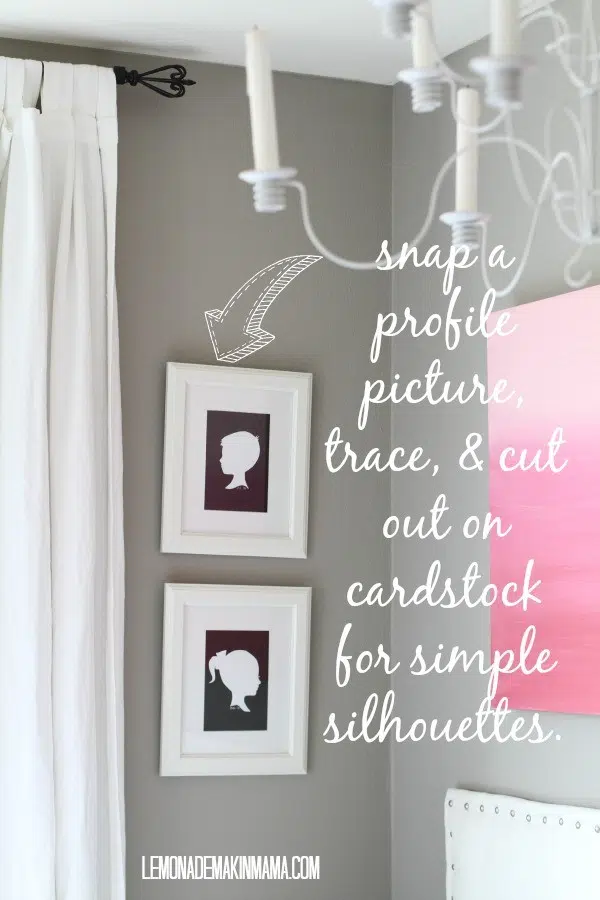
BONUS IDEA: Create simple silhouettes from your children’s profile pictures. This one looks intimidating, I know. You can go as ‘authentic’ or ‘rustic’ as you want on this. I wanted a more authentic look, so I hunted online to find classic silhouette shapes for a boy and girl. Once I had them printed in the size I wanted, I used them as a guide for the head and neck shapes, leaving the profiles out. I then used photos that I’d taken of my children, and printed them out onto printer paper in the size that I needed them to be. This part was tricky and I had to resize them a few times and re-print to get them right. (If you’re going for a more rustic looking silhouette, skip all that messing around and just print out a profile of your child’s head and use the whole thing for tracing.) I carefully cut the profiles out with very sharp scissors and traced them onto card stock. (I added a spike of eyelashes for my daughter, following the more classic silhouette look.) Once traced, I again cut them out carefully with very sharp scissors. You’ll probably want to flip them over so any pencil lines from the tracing won’t be seen. I used glue stick and attached them to a contrasting color of card stock and then used a white pen to jot down the name and date under them. Done!
