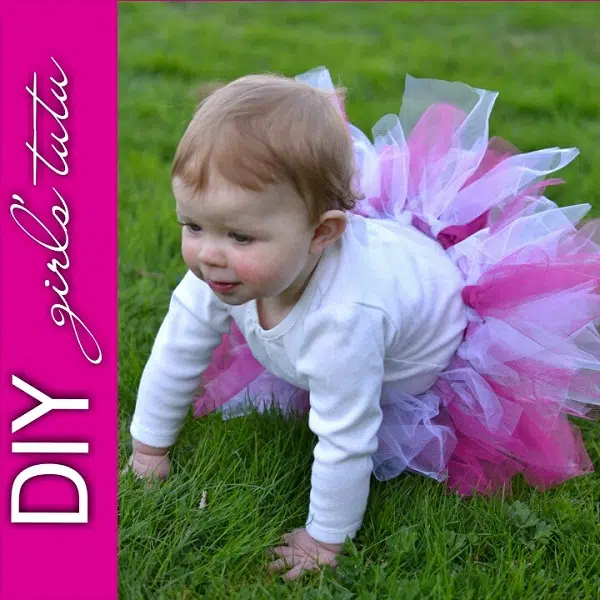
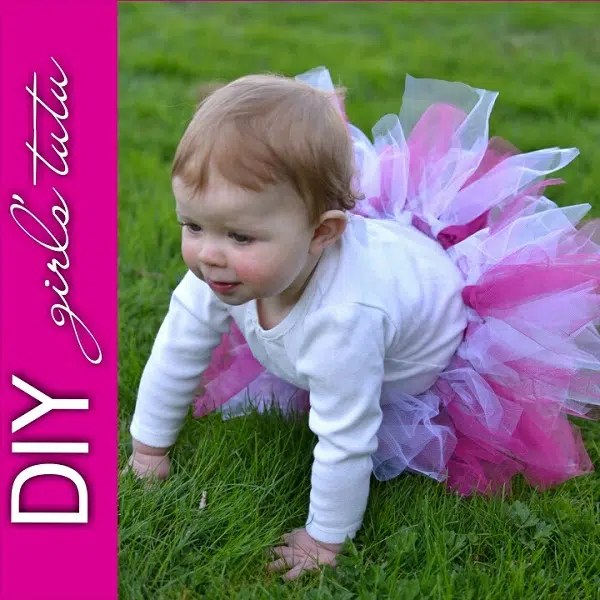
My daughter is approaching 16 months and has never owned a tutu. With the arrival of spring, the reappearance of the sun, and the upcoming Easter holiday I decided it was the perfect time to fix that. After all, every little girl needs to be introduced to the world of fashion without function.
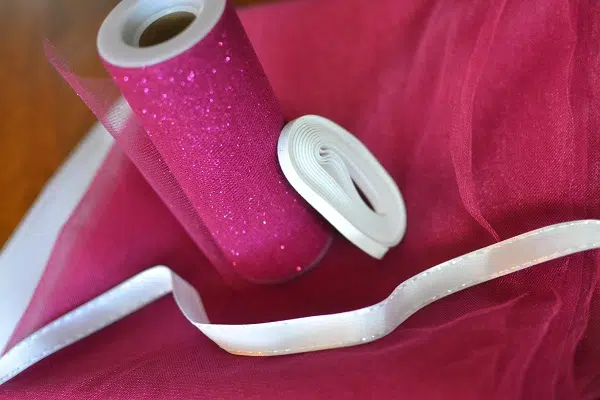
Supplies:
- Elastic OR Ribbon (1/2 inch or larger)
- Tulle
- Needle & Thread
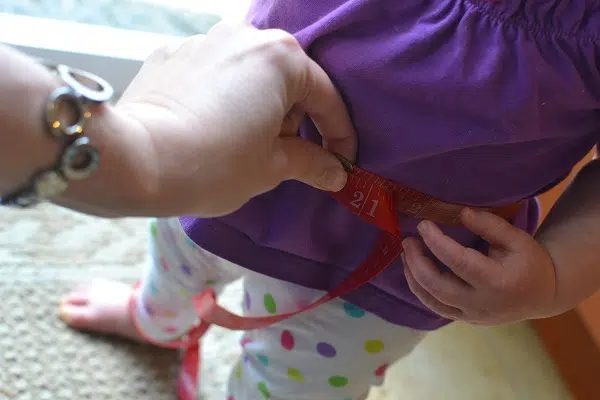
Measure the waist of your princess.
Cut your elastic about two inches shorter than your measurement. Stitch the ends together to make a circle. Alternately, you could make this project “no-sew” by using a long length of ribbon and tying the finished tutu around your little one’s waist, but at my daughter’s age I figured she’d untie the ribbon faster than you could say “tutu.” The elastic I used was thinner than I would recommend, but I used it because I already had it on hand.
Identify the length you’d like the tutu. Double the number, and add 1 inch. This will be the length of your tulle strips. Next, decide if you want 1, 2, or 3 layers in your tutu. The more layers you have, the fluffier it will be. You’ll use these two figures to calculate how much tulle you’ll be buying. Remember how you used to sit in math class and think, “when will I ever use this in real life?” Well, unbeknownst to you you’ll be using algebra to make your tutu. Depending on your attitude towards math, I’m either very sorry or you’re very welcome.
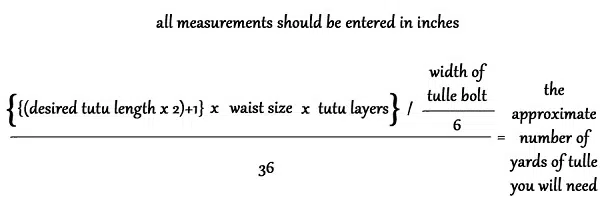
Add a bit to make sure you have enough. And if you don’t like math, just guess. I used about 2 yards for my 15-month old.
Next, it’s time to make a ton of tulle strips! First, you need to cut a bunch of strips that are 6 inches wide. The easiest way to do this is to fold your tulle in half length-wise. Then continue folding it length-wise until you have a long, thin roll. Measure 6 inches from the end and cut. This should give you a very long 6-inch length of tulle. Continue to cut every 6 inches so you get a bunch of long tulle strips.

Now you need to cut them down to the appropriate length. Stretch out your long strips of tulle and cut them into the length that you need (from step 3 above).
It’s time to assemble the tutu! It’s a little easier said than done, so I recommend putting the elastic around a canister or something to hold it in place to make this easier.
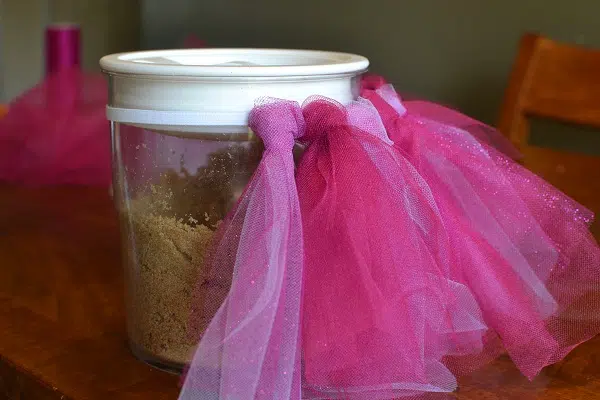
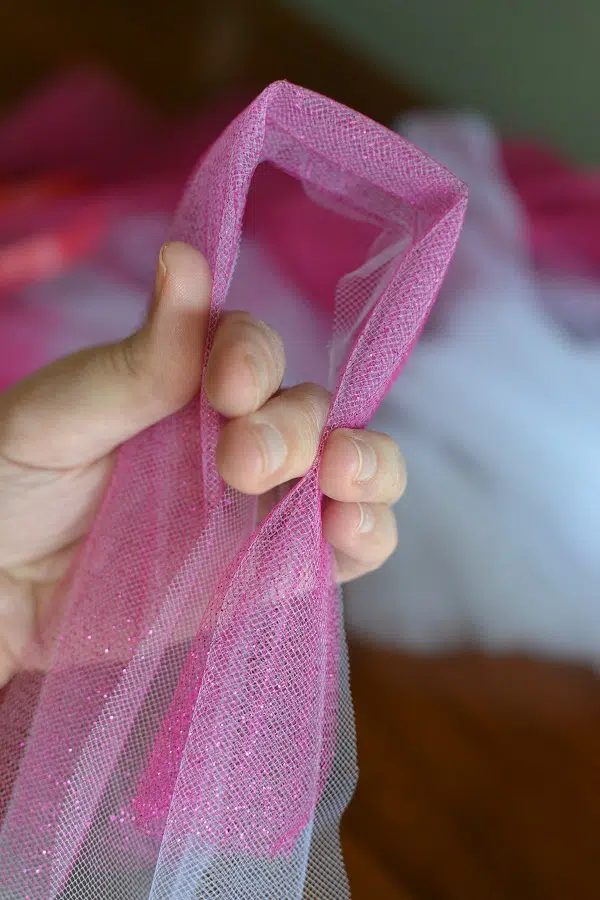
Take a piece of your tulle and fold it in half. For fluffier tutus, use 2 or 3 strands at a time. (I used two for this particular project)
Tuck the loose ends of the tulle strands underneath the elastic and back through the loop.
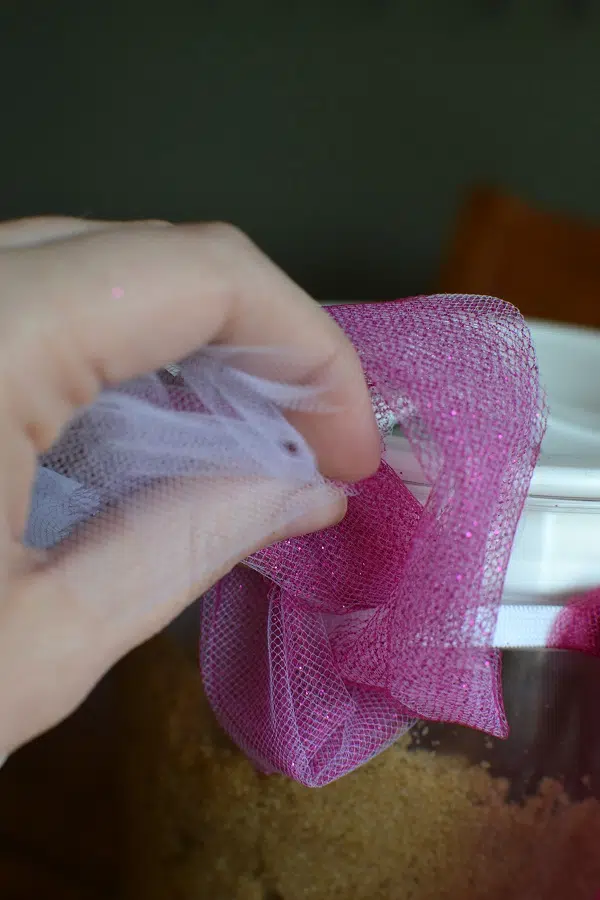
Tighten the knot by putting your finger through the loop, pulling as tight as you can, and then remove your finger and finesse it until it’s tight enough around the elastic. This takes a bit of practice – if you make it too tight it stretches the elastic.
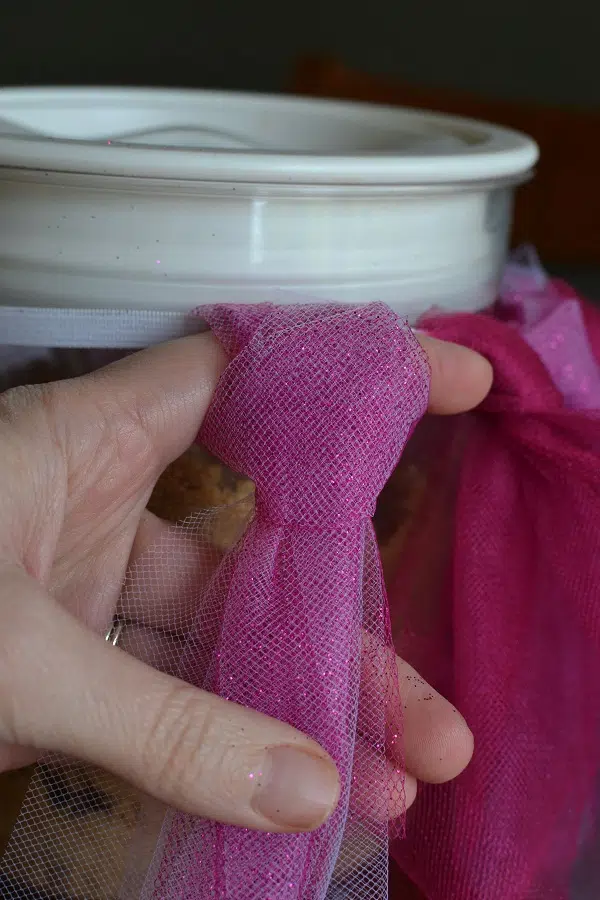
Continue all the way around the elastic.
I wasn’t completely happy at this point, so I went back through and tied single strips of tulle between each of the loops. You should make sure you tie your knots on the bottom.
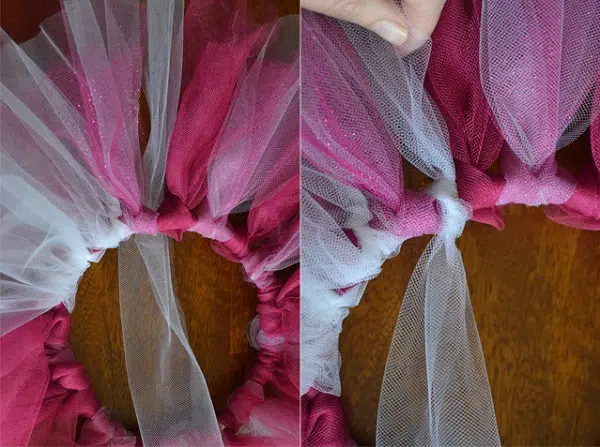
I thought this made it look more finished around the waist and it was much fluffier! Now at this point you could embellish it with flowers, ribbons, decorations – anything! I’m not very creative so I stopped here.
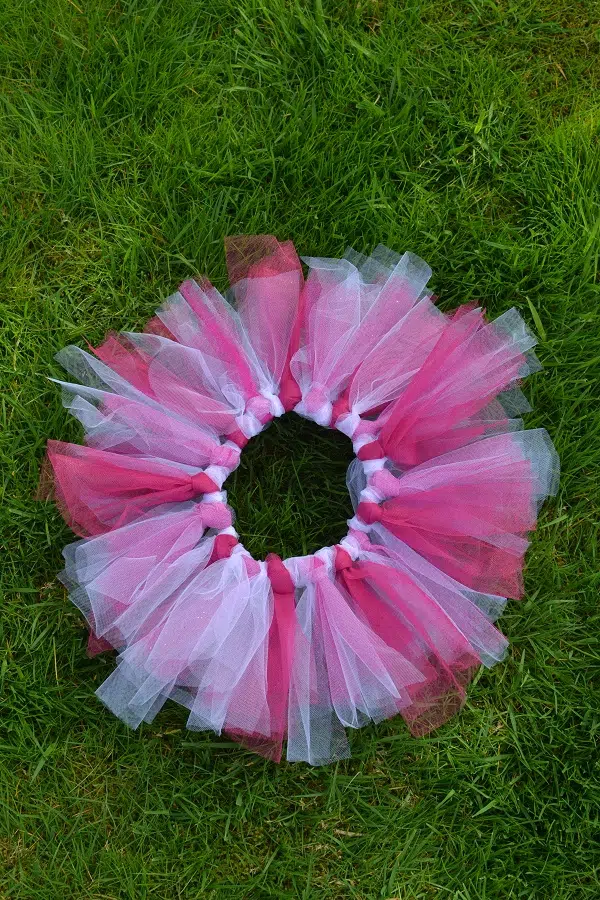
Tutus are magical for little girls.

But just in case you thought that they could also cure the ills and crankiness associated with the common cold, I’m sorry to tell you that you’re sorely mistaken.

This could even be a really fun project for a child who’s a little bit older to make a longer, more flowing tutu for a craft project. It would make a great addition to their dress-up wardrobe!
