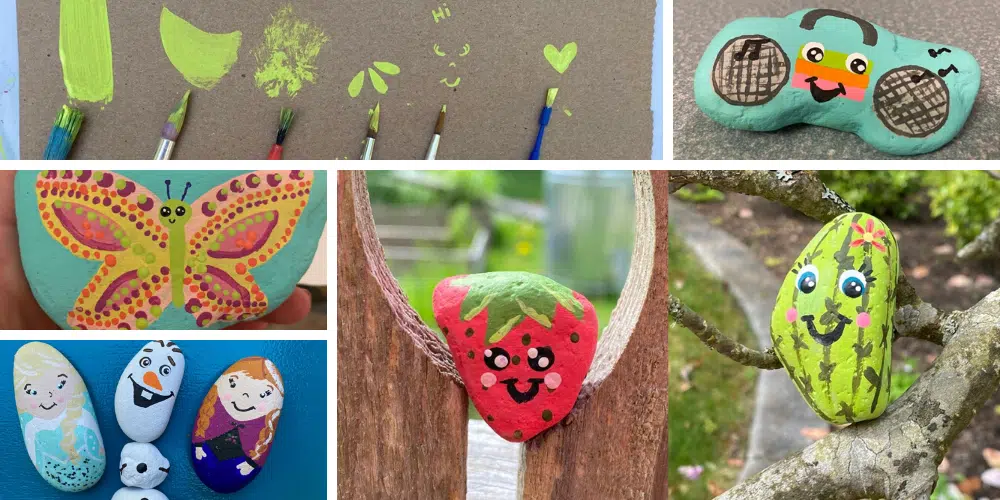
When I discovered that none of my jeans fit me – and also that none of my husband’s jeans fit me, I decided it was time to find a new quarantine hobby other than baking. To combat my anxiety over the current state of the world, I desperately needed a creative outlet to express myself in a healthy way. In search of an activity that could involve my kids, keep us active, and possibly spread joy to our community, I landed on rock painting.

This newfound hobby has quickly turned into a daily ritual during our lunchtime walks around the neighborhood. Each kid carries a collection of little masterpieces in their pockets and thoughtfully hides them along the walking path. Once our pockets are empty we fill them back up with fresh rocks to paint later that day.
Make no mistake, my household is not some idyllic fantasy world where children frolic happily all day and calmly sit to paint rocks in the evening. In fact, only one of my three kids is truly interested in this project for longer than five minutes. This is my oasis from the hectic day of distance learning. I release the wild ones into the backyard and sit with the angelic one to paint and de-stress before it’s time to make dinner.

As our production level has increased we have begun custom-designing rocks for people we miss hanging out with. We think of each person and their individual interests and personalities and design a rock just for them. Then we do a drive-by rock delivery– leaving a fun surprise in their driveway for next time they venture out.
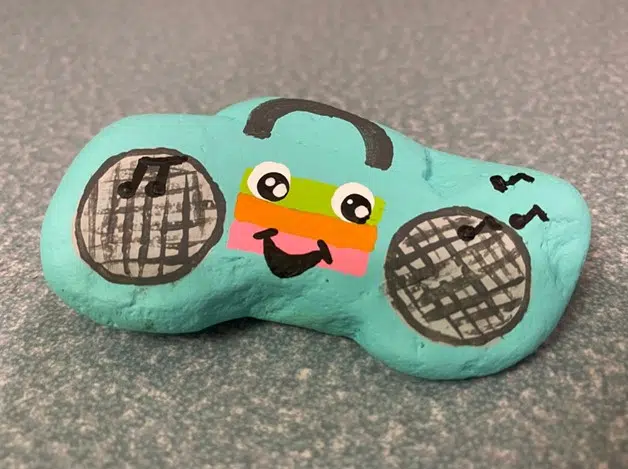

If you would like to join me in my new obsession, here are some practical tips to get you started.
SUPPLIES
To solidify my fate as a “crazy rock lady” I assembled a rock painting cart when I grew weary of hauling out all my supplies each time. Here are the items I have found to be essential (only believe my recommendations as much as you believed what Babies ‘R’ Us told you about what you needed to register for before your first child was born).
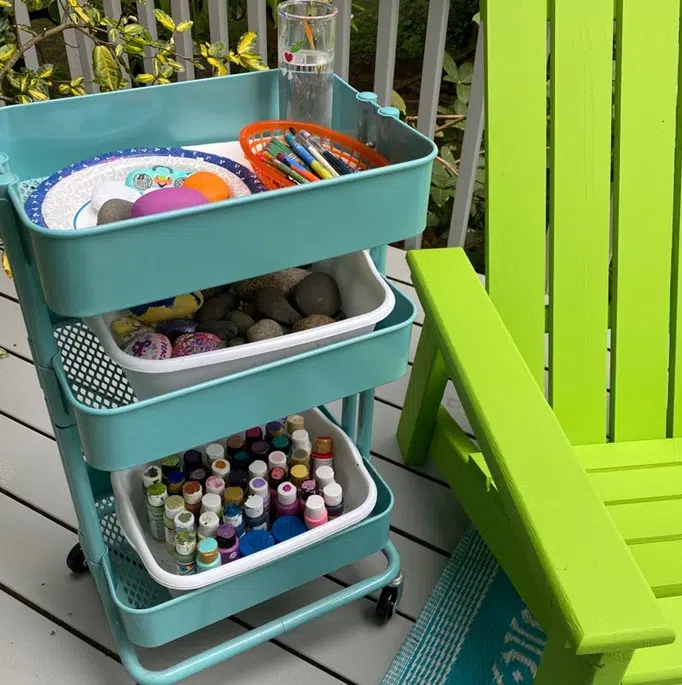
- Acrylic Paint (If you use tempera paint, finger paint, or other washable paint it will wash off in the rain)
- Brushes in assorted sizes and shapes
- Water (to clean your brushes between colors – I keep it in a heavy glass jar to prevent tipping)
- Paper towels (for dabbing and drying brushes)
- Baby wipes (for cleaning hands and mistakes)
- Plastic tablecloth
- Aprons or paint smocks(because acrylic paint is not washable)
- Paper plates (useful as a pallet to mix paints, or to transfer rocks that are still drying)
And of course, rocks! While smooth, flat rocks are obviously a desirable canvas, I like the challenge of designing around the natural curves and imperfections. How does the shape of the rock inspire you? What is its painted destiny? Variations in texture can also result in unique paint patterns. So, don’t be afraid of the ugly rocks!

TECHNIQUES
As a wise friend recently reminded me – trying to be “good” takes the fun out of art. Express yourself without falling into comparison traps. Keeping that advice in mind, my rock-painting career of three weeks has taught me a few techniques that have enhanced the results of my art.
BASE COAT
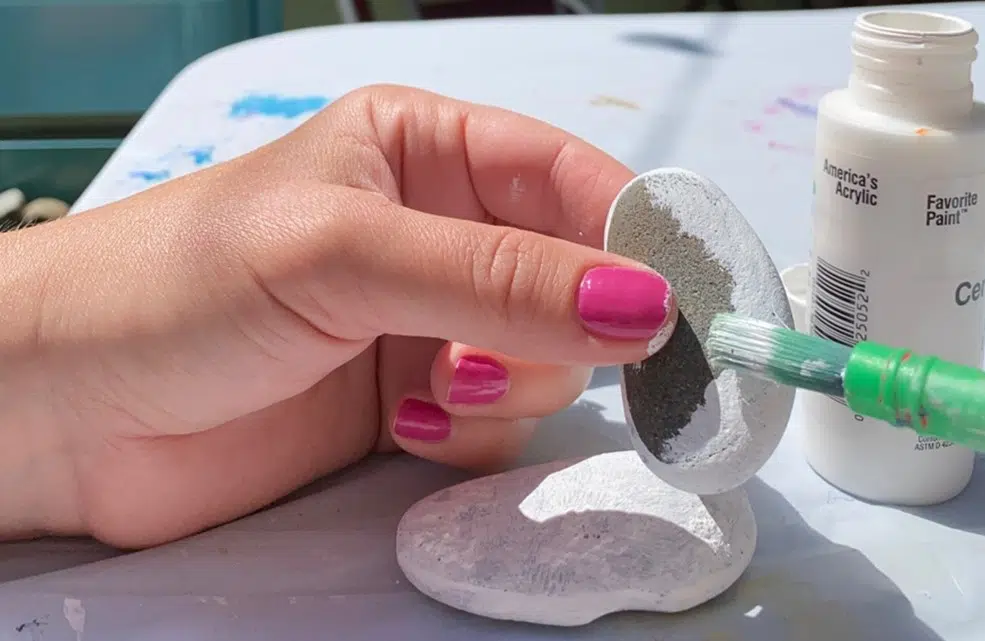
Most of the time I start with a white base coat. This allows the colors to show up brighter and requires fewer coats of your colored paints. I start by pinching the rock front and back and working in a circle from the edge toward the center. This keeps my fingers out of the way until the final dab in the center when I set the rock down.
SKETCH YOUR DESIGN
If you have a specific design in mind like a cartoon character, you may want to lightly sketch out your area in pencil once the white base dries. This can help you to keep colors separated and avoid unnecessarily layering color-over-color. If you make a mistake, you can “erase” it by painting the spot white again and then re-applying the desired color.

OMBRE
If you want to create a darker ombre look, skip the white base coat and start with your mid-range color instead. Select a range of colors that blend with each other (not contrasting). Start with the shade in the center of your lineup and give the entire surface a thin coat. Next, place a small dab of each color of paint in a line down the center of your rock. Using a large brush, drag the line of paints from the center to one edge and then the other. Try to do this in one swift motion as to not muddle the paints. Go back with a smaller brush to touch up or add details.

BRUSHES
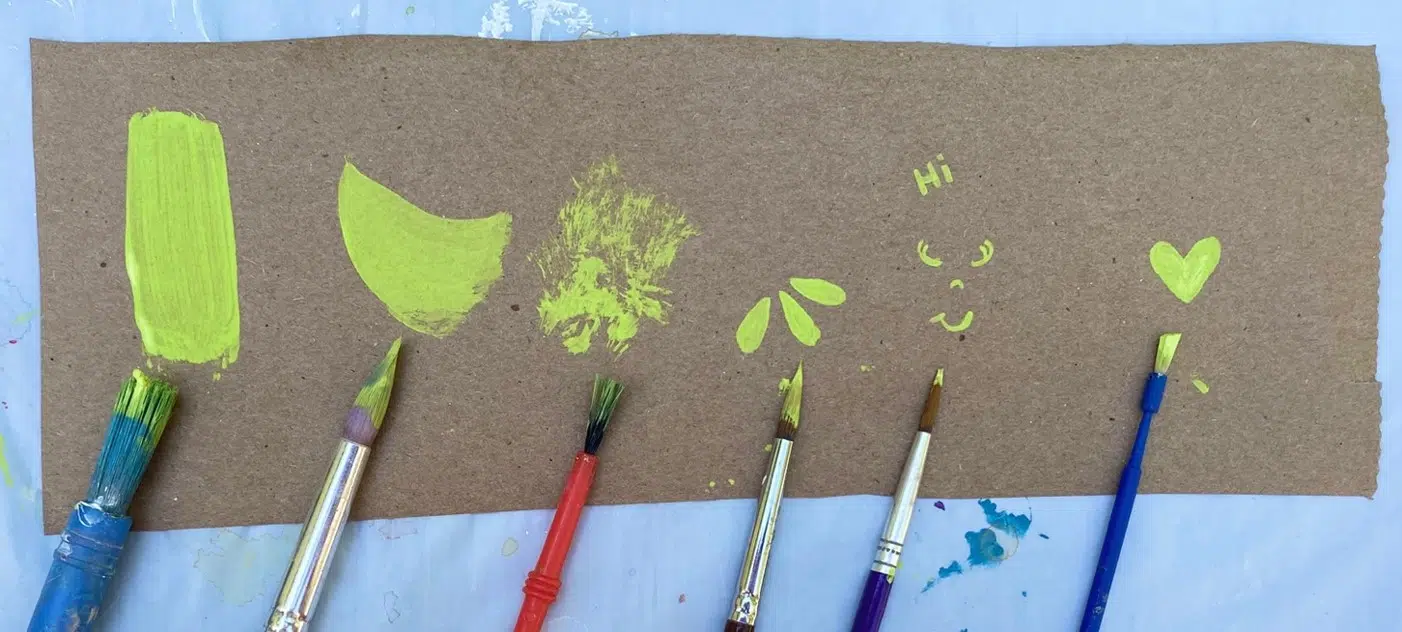
Different brushes are useful to achieve various looks. If you don’t have access to quality paint brushes, think outside the box! My collection includes old makeup brushes, and even a teeny brush from a tooth-whitening kit.
EYES
I have grown very fond of turning my designs into creatures by adding faces. Maybe it’s my over-exposure to Shopkins but anything with a smile is just so darn cute!
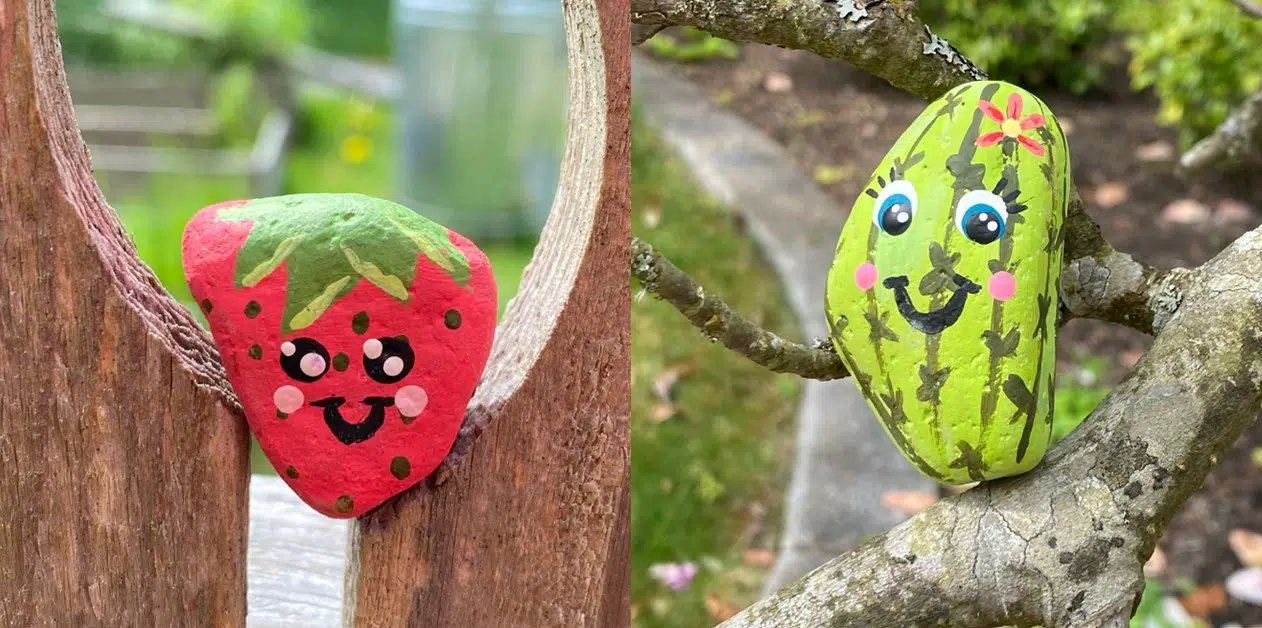
The best way I’ve found to paint tiny facial features, like eyes, is to use the brush-end technique. Dip the handle end of your brush in paint and use it like a stamp to form a perfect dot. Then, layer the colors you want to create your eye.

MANDALA ROCK PAINTING
The brush-end technique is not only useful for eyes but also for creating any perfect dot-like flower centers, fish bubbles, or the popular mandala pattern. While mandalas can range from simple to mind-blowingly elaborate, they are a great place to start if you lack inspiration or feel under-confident in your art skills. Simply start in the center with any shape you like and work outward.

I have always been fascinated by the concept of mandala art. Often created with colored sand, it is the idea of art as therapy and how it’s not about the final product but the journey of creating. It is also a fleeting art, not to be kept but to be released and given back to its original form. While this genre of art may be rooted in Eastern beliefs, I find it quite reflective of my own Christian faith as well. I love that every day God creates a masterpiece in the sunset, which people gather to enjoy, and then it fades away. It is not to be kept, but to be appreciated, shared and released.
This therapeutic practice of applying paint to earthen surfaces has done wonders for my mental health. Just as God makes beauty out of ashes (Isaiah 61:3) He gives us the ability to make art out of rocks. We then set them out as offerings for Him to use to bless others in a time when we all could use a little cheering up.
So take a walk. Paint some rocks. Spread some joy.

 Hannah Blomberg is a mom of three and freelance event coordinator. In her “spare” time she enjoys cooking, dancing, DIY projects, and adventuring around the world with her family.
