Are you in the midst of any DIY projects right now while you are at home more? We are! We are all about the DIY projects to keep us busy. This latest project really started because we wanted to pull out the carpet in our bedroom and put in new flooring. We got some of that snap in flooring we could do ourselves. It is so pretty and we can’t wait to put it in. We used this same flooring in our tiny bathroom and love it! We ordered ours from Reliable Floor Coverings and they were amazing to work with! If you aren’t in the same area as me, you can search Evoke flooring and find a dealer near you. It’s beautiful flooring!
As we were figuring out when to do this wonderful flooring, we determined that we should probably paint at the same time and scrape the popcorn ceiling because all the furniture will be out of the room. Seems logical right? Isn’t it funny how one small project can lead to an entire room being remodeled?
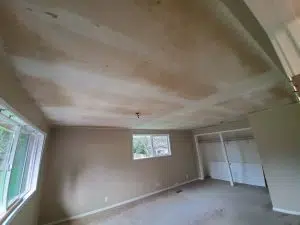
Popcorn ceilings are so annoying, can I just say that first. Ours were so gross. They were covered with dust and grime and just yuck. We thought it would be no big deal to scrape it overall except that it would likely be time consuming. Unfortunately, if you have popcorn ceilings you really should first test if they have asbestos in them. I’ll be honest. We debated this a long time.
Ugh. What to do.
We had three options really.
- Hire a local company to take a sample and run the test. (Quotes we received were between $250-$500 for this.)
- Take the sample ourselves and bring it to a local company. (Quotes were around $75 per sample for this.)
- Use an online company. (Cost was $35 for first sample and $15 for second sample.)
After much procrastination we decided to go with a kit on Amazon from Schneider Labs. I linked to the one we used, which had good reviews. My husband safely took the sample from our ceiling and we sent it in for testing. The directions with the test were super easy to follow and I was impressed. Sadly we have two different rooms with asbestos so we decided to get them both tested. We hoped that it would come back free and clear and we would just scrape ourselves.
No such luck. Our report came back full of asbestos. Bummer. That left us with three new options.
- Leave the popcorn as is all yucky and covered in dust and grime and apply a fresh coat of paint over it or not.
- Remove the popcorn ourselves following all the safety protocols.
- Hire a company to remove the popcorn.
After lamenting my woes on Facebook (which is always helpful lol) I got to work in choosing a company to help us remove the popcorn ceilings. I received a couple quotes and they all came in at $4/square foot. Since I was anticipating it to be much more expensive than this, I was pleased with the quote we got for our two rooms.
Now we were faced with deciding if we wanted to have both our rooms scraped at the same time or do one at a time.
Since we had to remove all the furniture, wall hangings and everything and leave the house for the day, we decided we better do both rooms at the same time. It took us forever to empty out both rooms! It’s now all in my poor husband’s garage which he loves to keep clean!
We decided on using Asbestos Removal of Puget Sound for our project. They were super responsive to all my e-mails, answered my one million questions (I always have so many!!) and even had a Facebook coupon (bonus!).
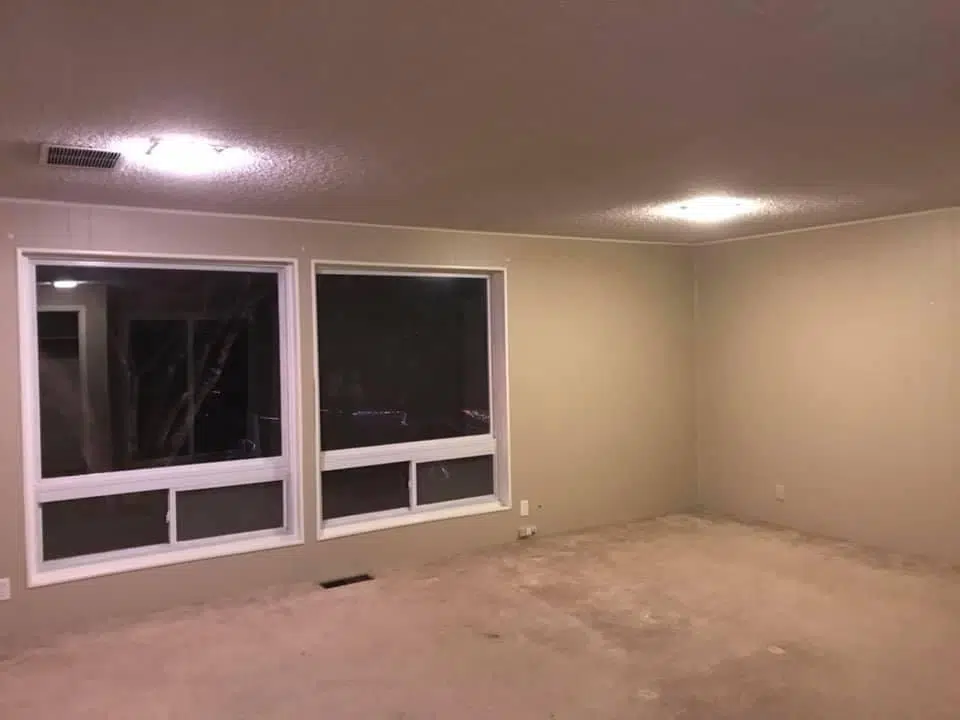
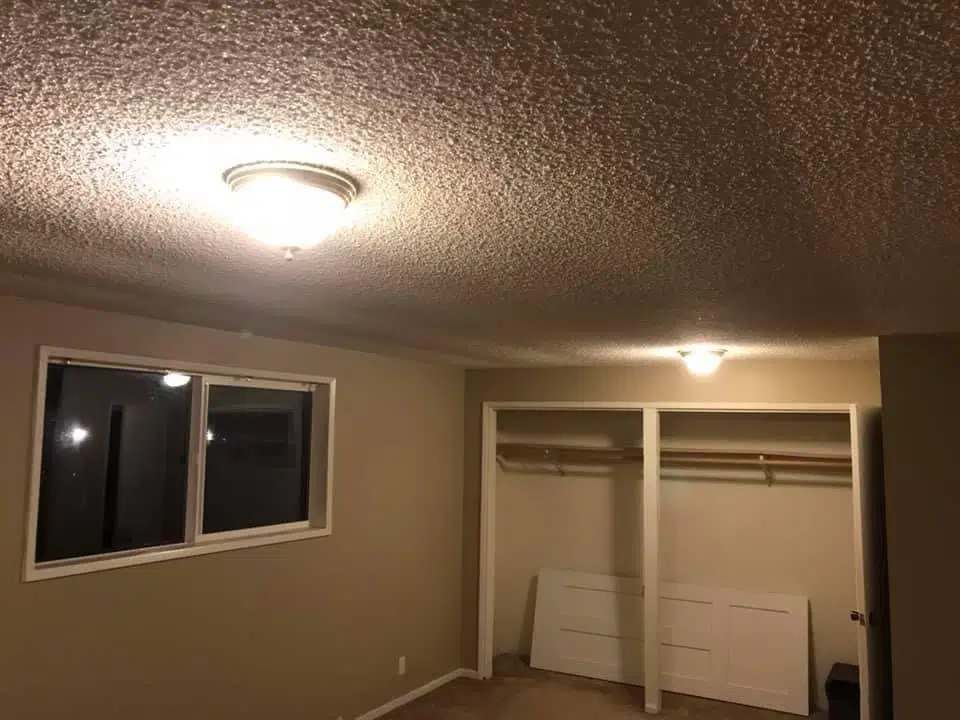
Here is what our ceilings looked like at the start.
What To Expect the Day of Removal
You must have all the things removed from the rooms. They remove lights on the ceiling and things that could disturb the popcorn. However, note that they do not put them back up so you’ll want to have that as part of your budget to be installed again or to be able to do that yourself. We have the ability to do that ourselves so it wasn’t a big deal.
The company pulls the required permitting needed for the project ahead of time as well so that’s all wrapped in together, which is always nice when you hire an outside company.
When they arrived, they got to work right away setting up plastic and getting the areas secured. They were on-time (actually early I’m pretty sure!!) After we got them all set up, we left to go work offsite for the day. They started at 8:30am and called us when they were done at 3pm. We had 600 square feet to scrape and one of the rooms was apparently not super pleasant to scrape! Yikes, maybe I’m glad we hired out after all. I was impressed it only took 1 day to do everything!
The house was impeccably clean. I’m fairly sure it was cleaner than I left it actually. The house did not feel dusty and I didn’t have to spend hours cleaning surfaces. They have to set things up in a way that traps all those harmful particles. Plus, they send you an air report after so you know your air is all good.
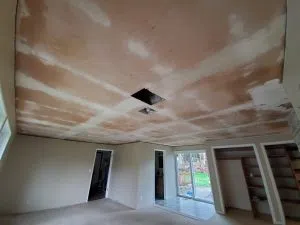
This is what it looked like when complete.
Next step for us is patching up a few areas of the ceiling and then painting it and texturing it if needed. We are hoping it is going to work without texturing, but we’ll see. They do not do the repairs work after the scraping so just keep that in mind when starting this project.
We were able to come back to our house and stay the night so there isn’t residual things you have to worry about. The sheetrock on the ceiling did smell slightly damp from the water they use to spray the popcorn with. It took a few days to dry out but we cranked the heat and ran our diffusers and it was smelling good fairly quickly in the house.
There is one area we couldn’t have scraped without removing a built-in closet shelving unit. What we opted to do in the closet is cover it up with very thin sheetrock (1/4 inch). Theoretically you could do this across an entire ceiling but our ceilings are so low it felt like it would not be the right option for us.
Overall the process was pretty seamless from start to finish and I’m glad we opted to hire out for it! In the long run it will make the rest of our DIY project much smoother. If you buy an older house, just keep the asbestos issue in mind as you start your own DIY or household projects!
How do you feel about popcorn ceilings? Do you like them?
PIN THIS!
