We’re launching a fun series for moms and kids: Twelve Days of Christmas Ornaments.
Every day, for the first twelve days of December, we’ll have a new ornament project that you can make with your kids. They will all be easy, fun for all ages, and use easy-to-access materials.
So, follow along with us and have some fun! Here’s your first ornament:
Orange Peel Ornaments
Supplies:
- An orange
- Small cookie cutters
- Hammer
- Cutting board
- Paper towels
- String
- A needle
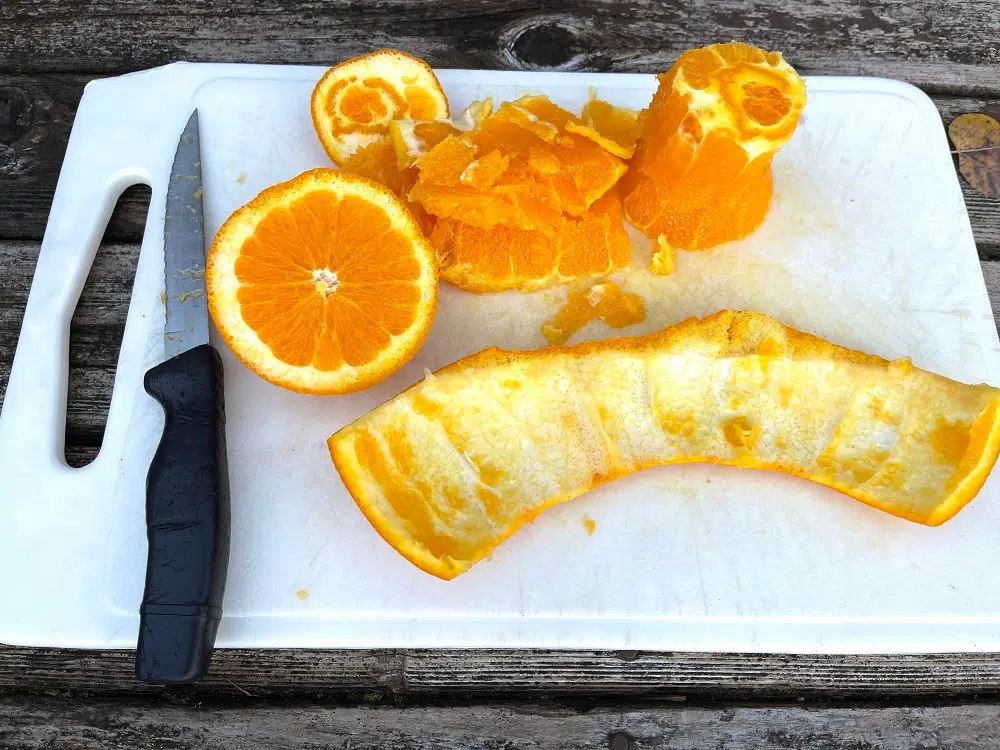
Cut the top and bottom off of an orange and carefully cut around the peel, getting down to the pith (cool word, isn’t it?). Scrape any orange bits off with a spoon.
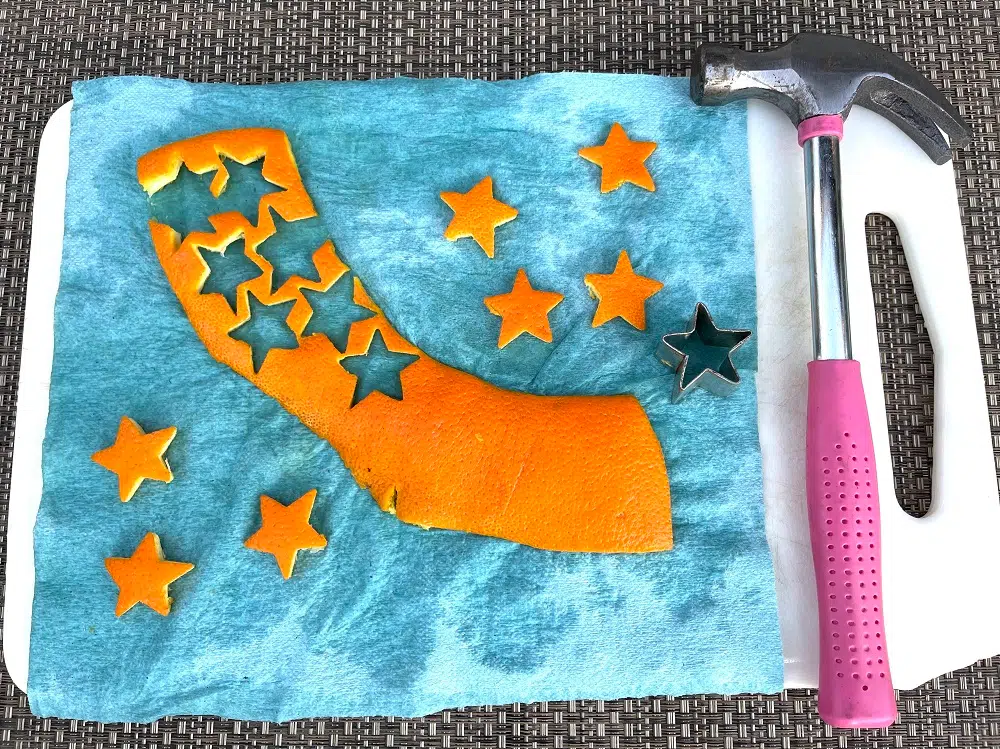
Put a few layers of paper towels down on a cutting board. Using a small cookie or veggie cutter, cut out your desired shapes. I used a star, but hearts would be cute too. I found it easier to hammer the cookie cutters down into the orange peel. If you place your cuts close together, you can get at least 14 stars out of a single orange (depending on your cutter size).
With a big darning needle (or a dull cross-stitch needle) thread embroidery floss and put a single stitch through to attach a “hanger” (twine or string would be cute too).

Voila! Natural ornaments for your tree, or wouldn’t they make a cute garland by simply attaching them all to a long piece of yarn?
These smell wonderful and look cute even after they’ve dried.
Bonus: You can throw them out in January and make more next year, no need to store them!

SEE ALL OUR ORNAMENTS HERE:
 Read more of Ann’s contributions to AllMomDoes here.


