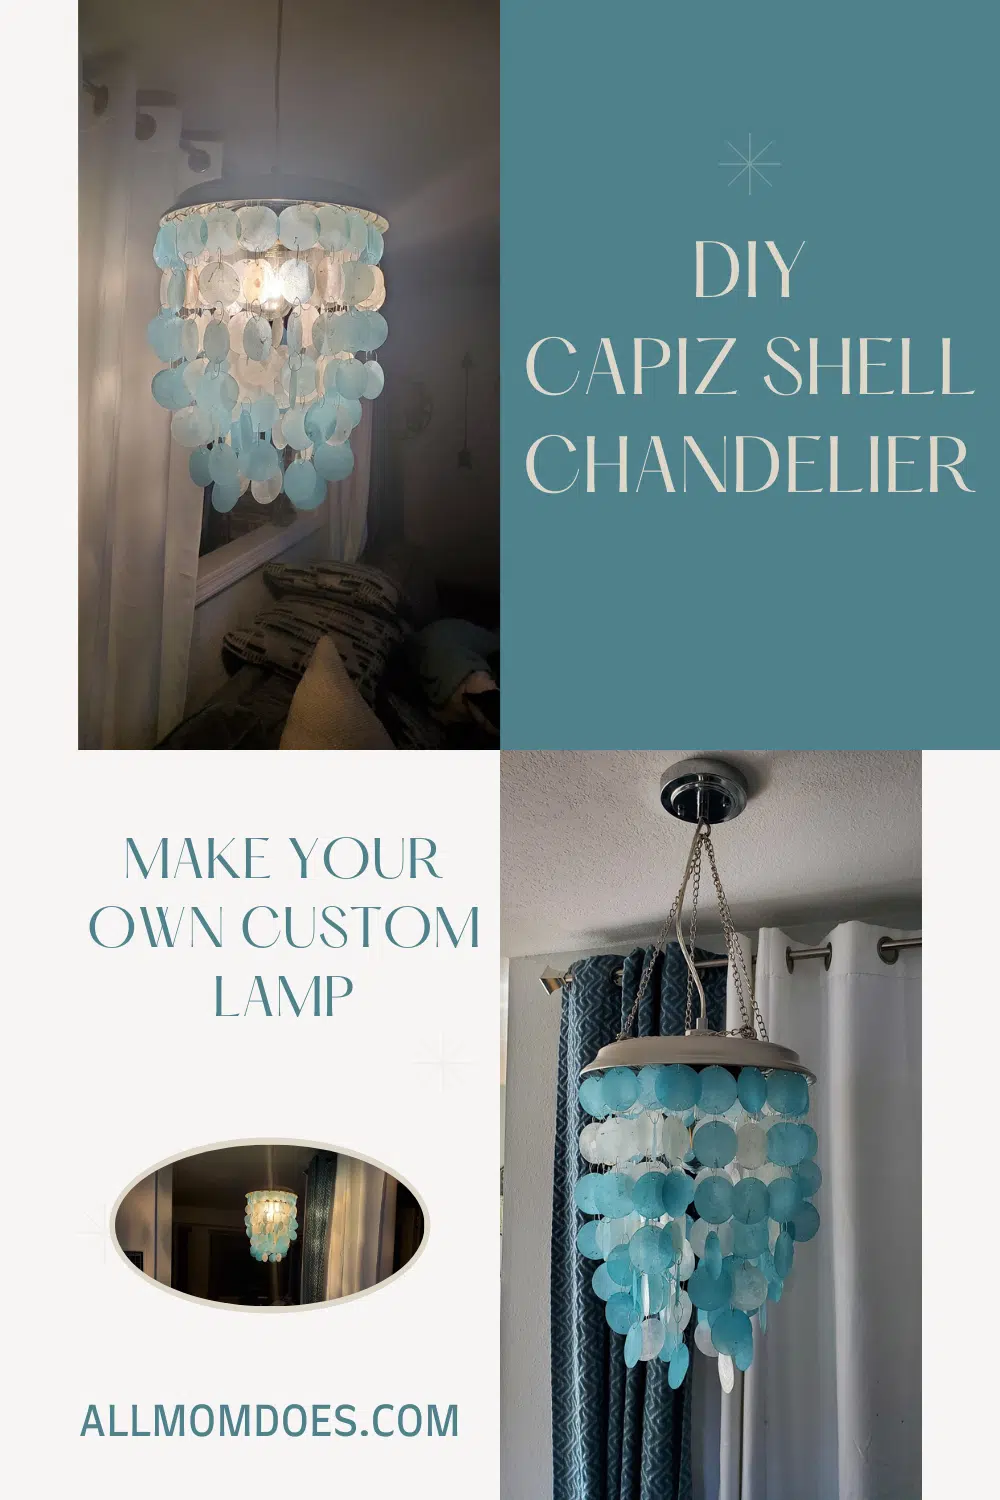
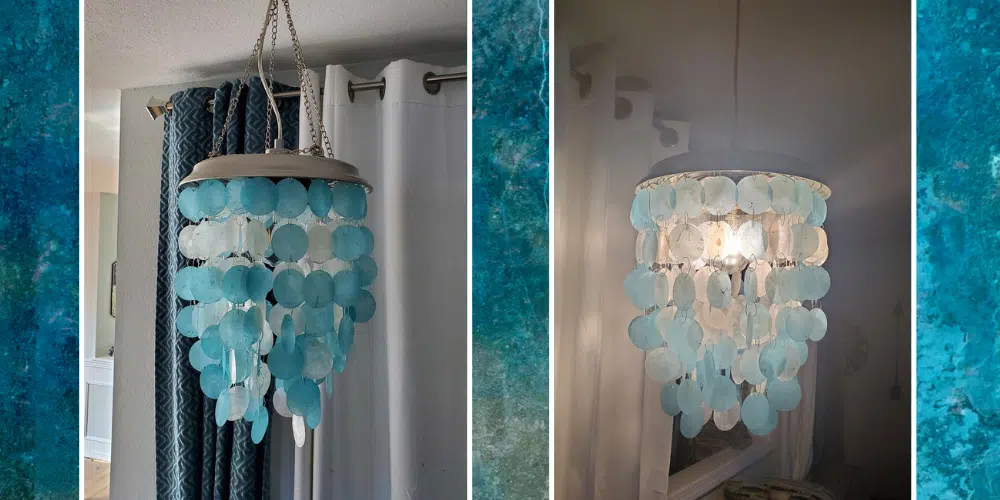
I was looking for a fun and funky light fixture to put above the corner of our couch, and I kept coming back to this one photo of a gorgeous blue capiz shell chandelier. But, as luck would have it, it was sold out and I wasn’t sure if it was ever going to be restocked.
(And if I’m being realistic, even if it was who knows if I could even afford it. Capiz shell lamps are $$$$.)
And so, The Great Over-The-Couch Funky Lamp Search continued but I just couldn’t find anything else I loved. So, I decided to DIY my own. Here’s what I used. {DISCLAIMER: Amazon link are affiliate links; if you purchase an item through one of these links I receive a commission.}
- Blue Capiz Shell Windchime
- White Capiz Shell Windchime
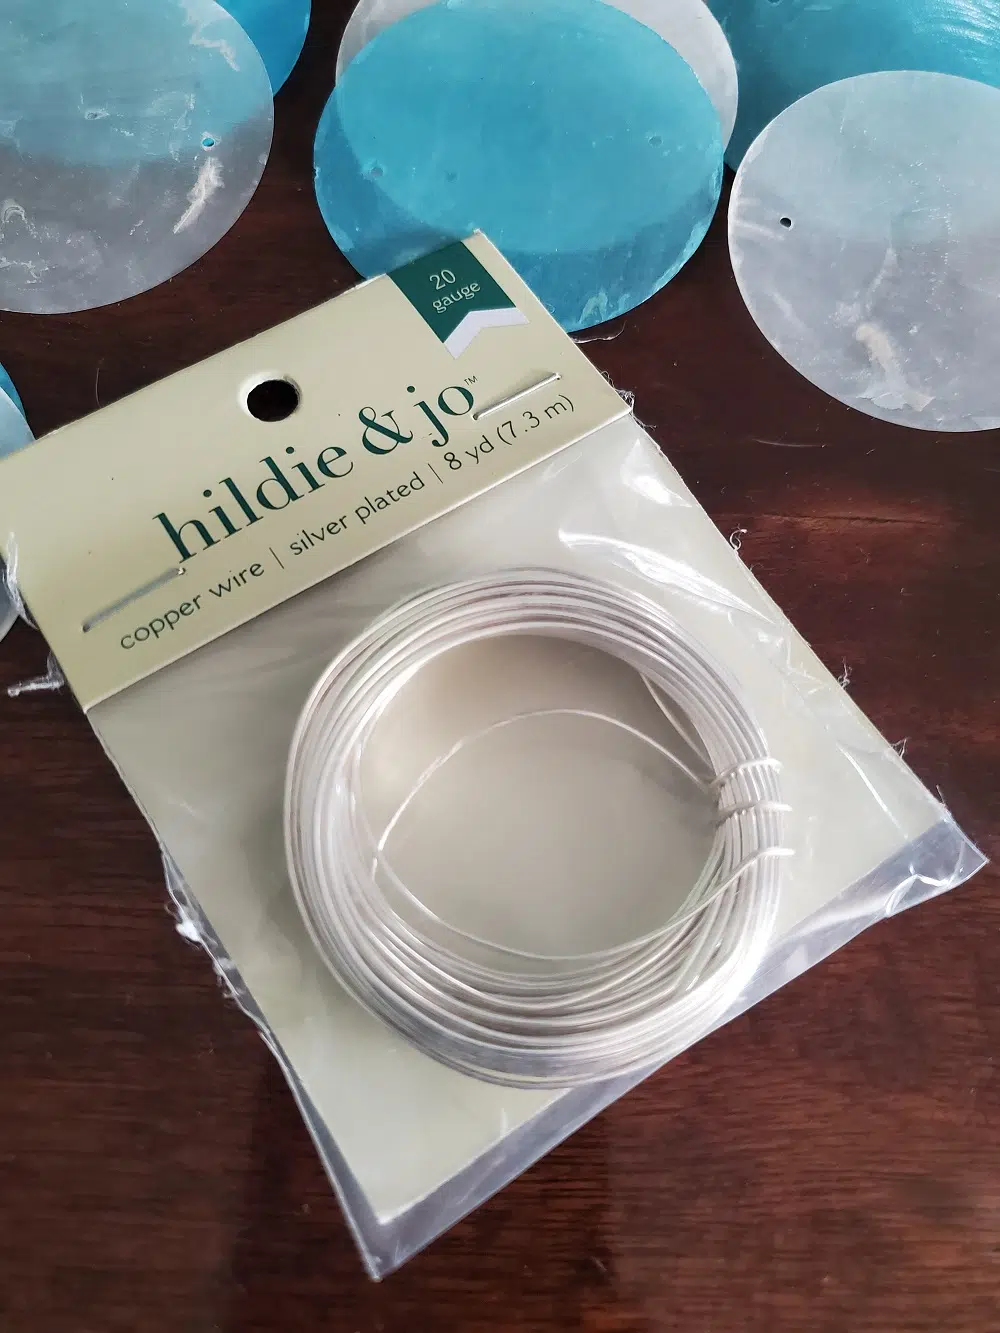
- 20 gauge beading Wire
- 12-inch metal wreath frame (Hobby Lobby)
- 8-inch metal wreath frame (Hobby Lobby)
- Decorative chain
- Thin plastic string
- Old flush ceiling light mount; you can probably find one super cheap at a thrift store or through your local Buy Nothing group. Paint it if you want a fun color!
- Wire cutters
- Hot glue gun
- Zip ties
I went back and forth on whether to buy a pre-strung product (like the windchimes) or just loose shells. Loose shells would have been cheaper, but I really wanted blue shells and there weren’t any available when I was shopping. Second, not all of the loose shells have pre-drilled holes and I didn’t want to fuss with trying to drill through such a delicate product. I also thought I would save some time with pre-strung shells. {Spoiler alert: I didn’t.}
I also experimented with jewelry jump rings vs. beading wire to connect the shells together. The jump rings were either too small to connect the shells, too thick to go through the existing hole, or didn’t close tightly enough to keep the thin shells from sliding out. You could also string them together using plastic string, but I personally like the visual detail of the metal rings connecting the shells. It’s all a matter of preference!
Here’s how I did it:
1. Remove the shells from the windchimes. {If your lamp design allows you to keep them strung as-is, that’s amazing! I had hoped this would be the case with my project but it didn’t work for me.}
2. Decide how many layers of shells there will be, how many strands on each layer, how many shells on each strand, and (if you have multiple colors), the color pattern of each strand. Organize your shells so you know you have enough. My lamp had four layers, with the longest strands on the inside. To use fewer shells (and avoid having to order more), on the inner layers I used plastic string to hang the shells several inches from the top, and then used shells only on the bottom visible portion.
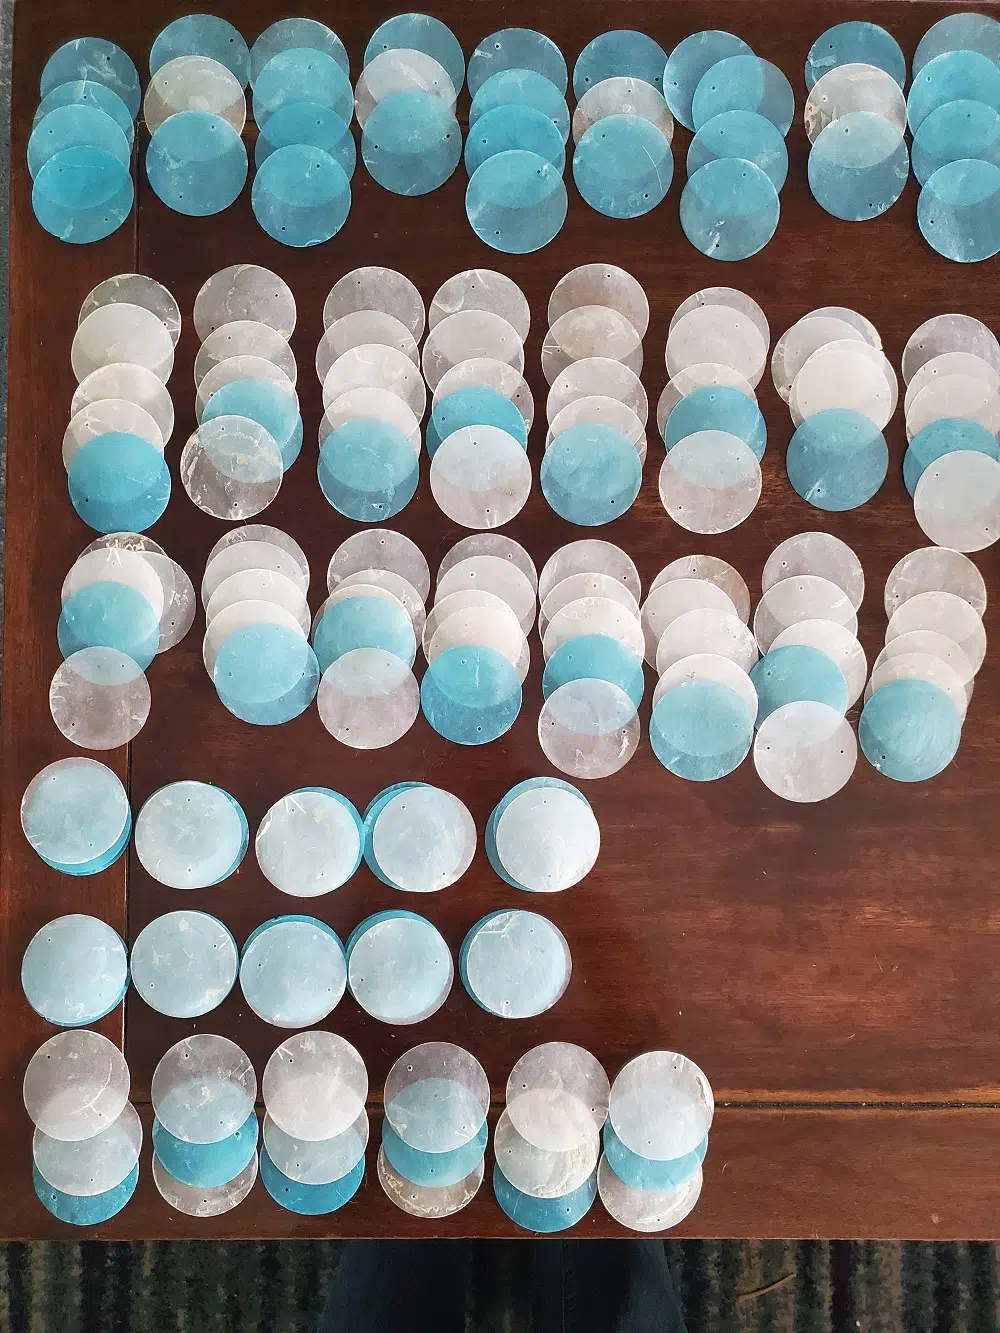
My pattern was as follows:
- Layer 1 (outermost layer): Alternating 3- and 4-shell lengths
- Layer 2: 5 shells
- Layer 3: Plastic string the equivalent of 4 shell lengths, followed by 3 hanging shells
- Layer 4 (innermost layer): Plastic string the equivalent of 5 shell lengths, followed by 3 hanging shells
3. String your shells together using plastic string, jump rings, or beading wire.
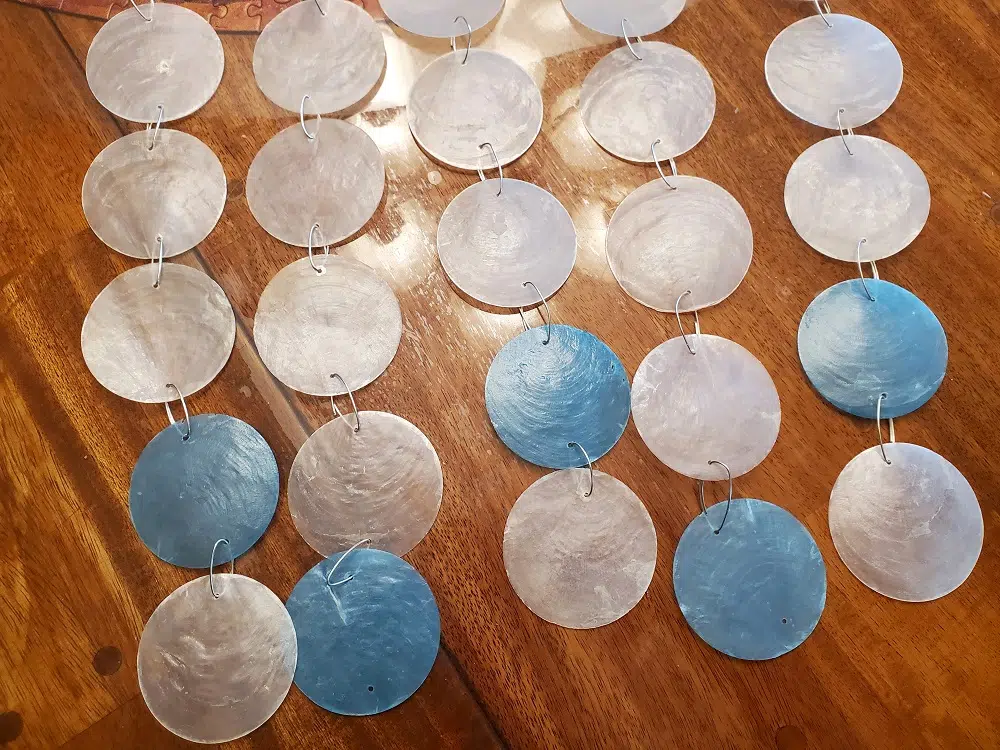
4. Starting with your larger wreath frame, connect your outer ring of strands. Use a hot glue gun to keep them in place and prevent them from sliding around the metal frame. Repeat with the second layer; this will go on the inner ring of your large wreath frame. Layers 3 & 4 will go on the outer and inner rings of your smaller wreath frame.
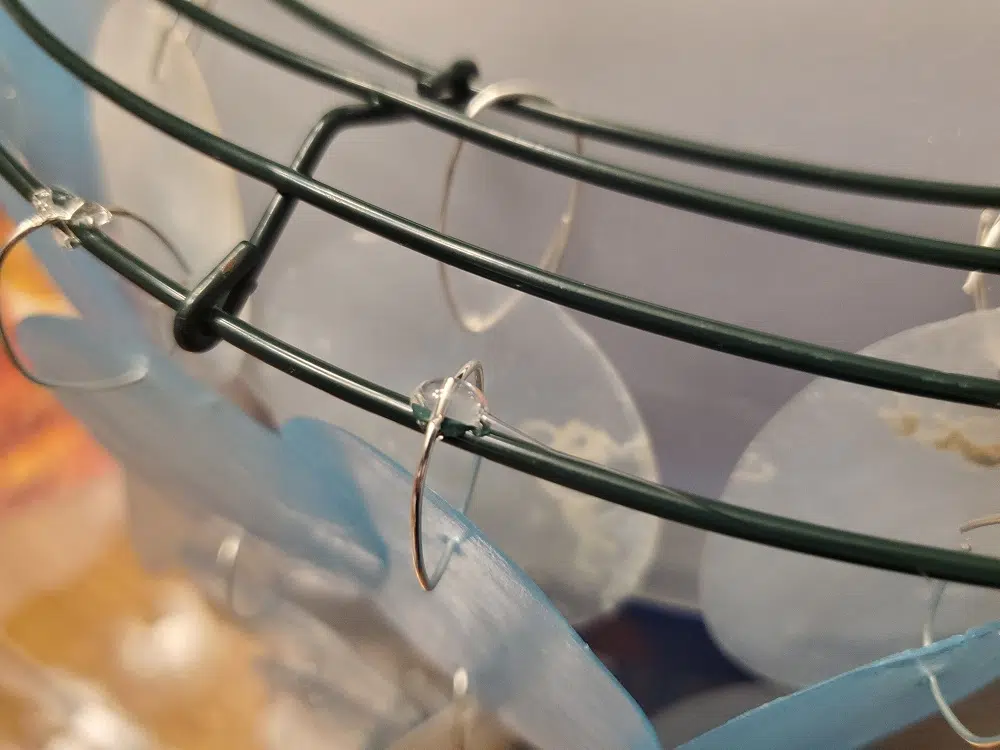
5. Assemble your light. The exact way you do this will depend on the pendant light you choose along with your flush light mount. For ours, we slipped the pendant light wire through a hole in the top of the flush mount. The size of pendant was big enough to hold the inner wreath frame in place without additional fasteners. We drilled holes and used zip ties to connect the outer wreath frame; there was enough of a lip on the top of the flush mount light that the ends aren’t visible.
Here’s a view of the inside of the chandelier to give you a better idea of how we put it together.
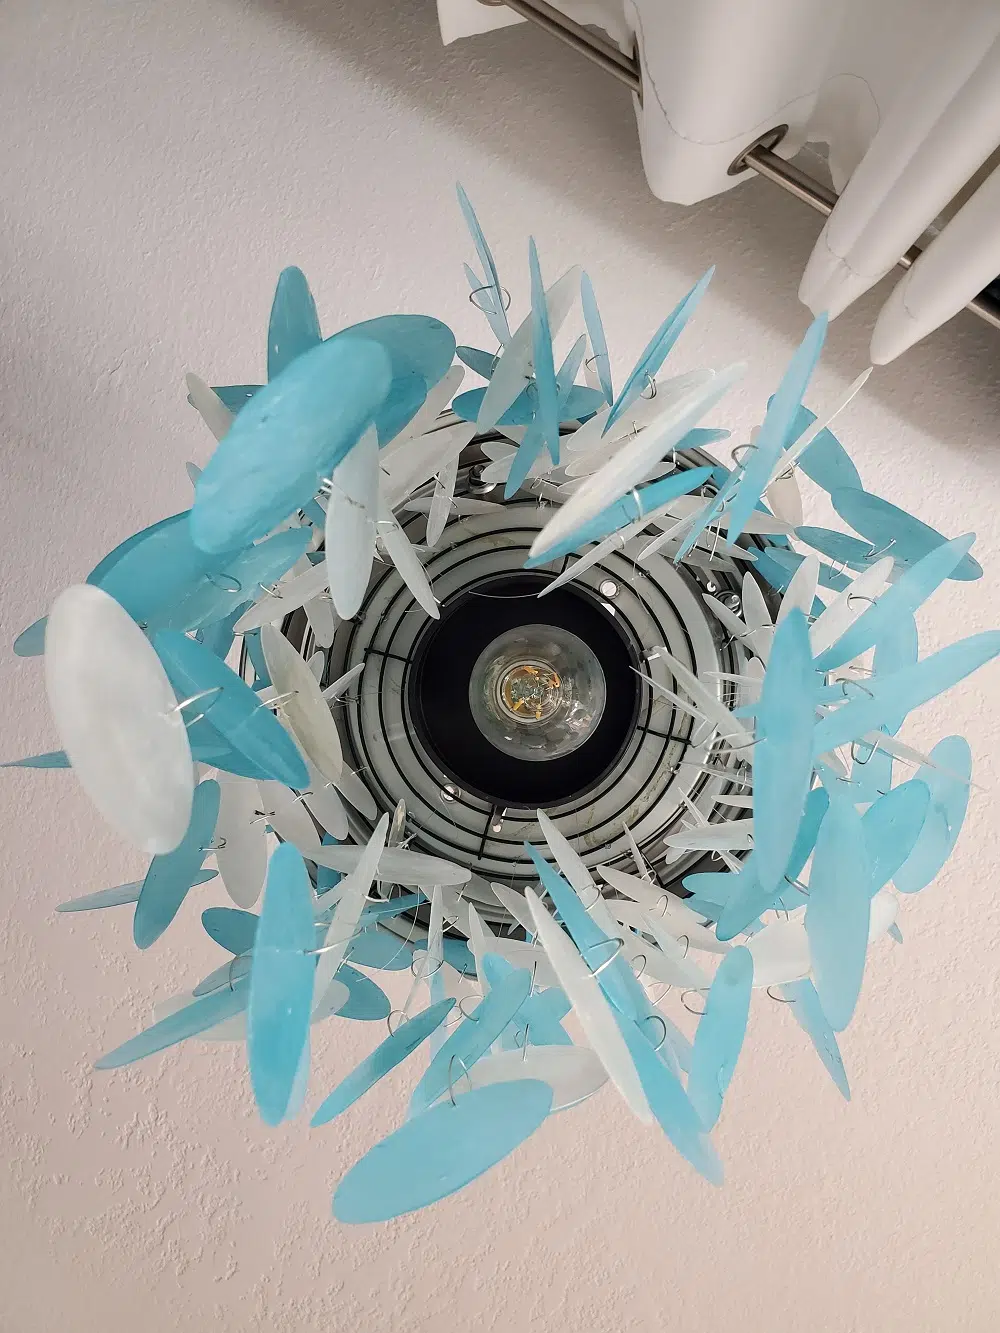
And here’s a view from the top (which isn’t visible).
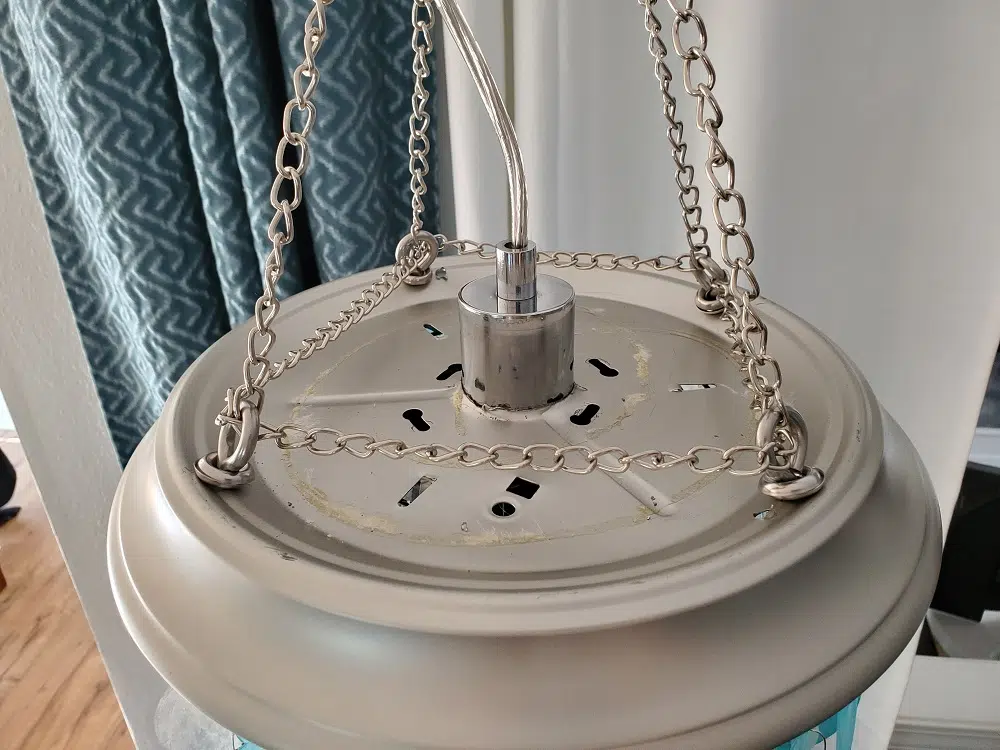
6. Install your pendant light per product instructions, and attach chains to decorate.
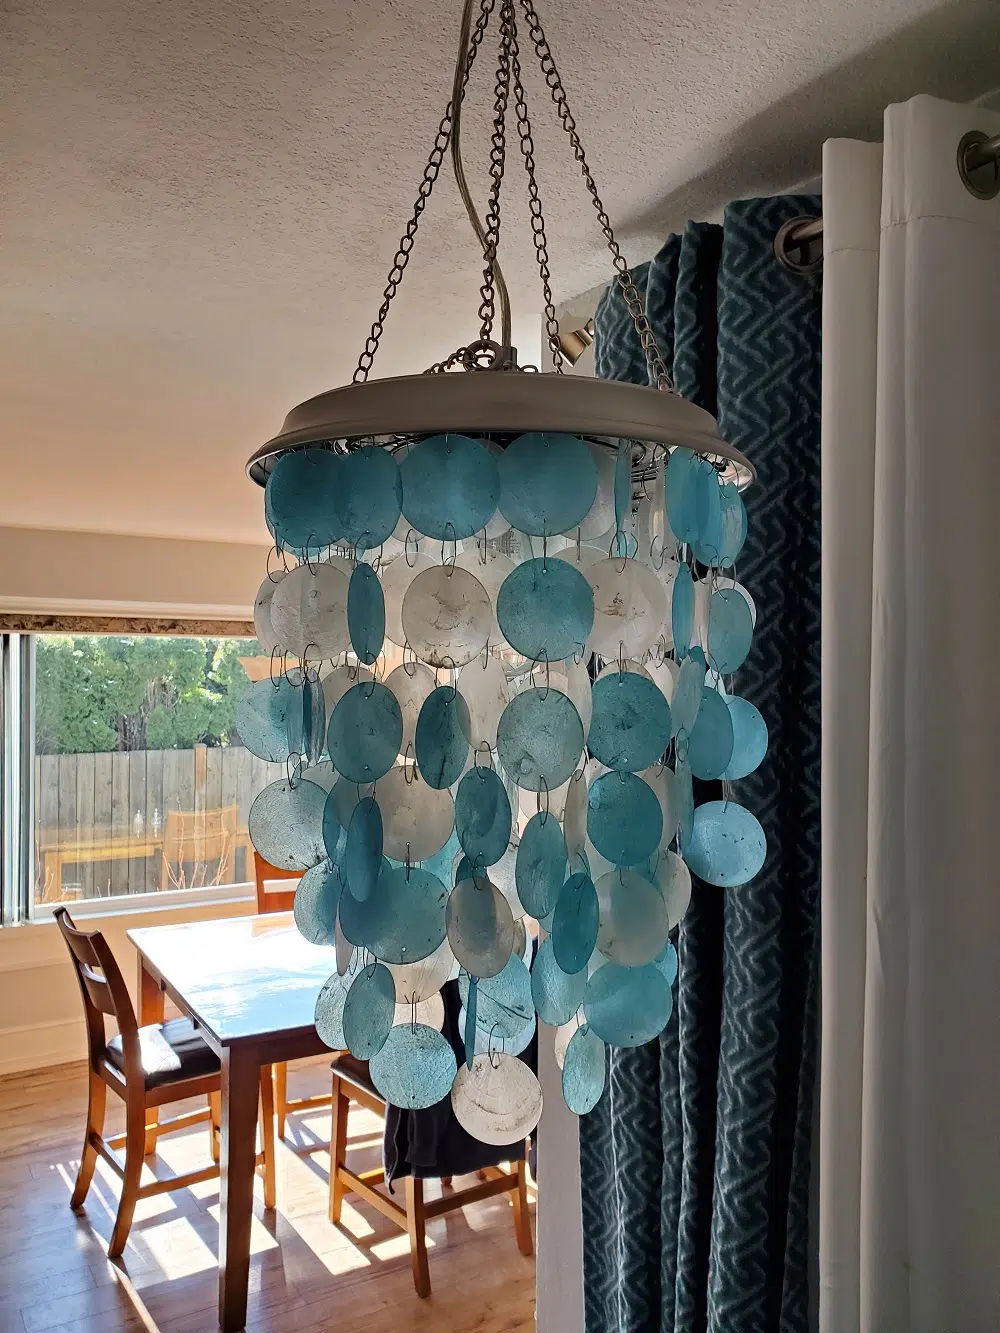
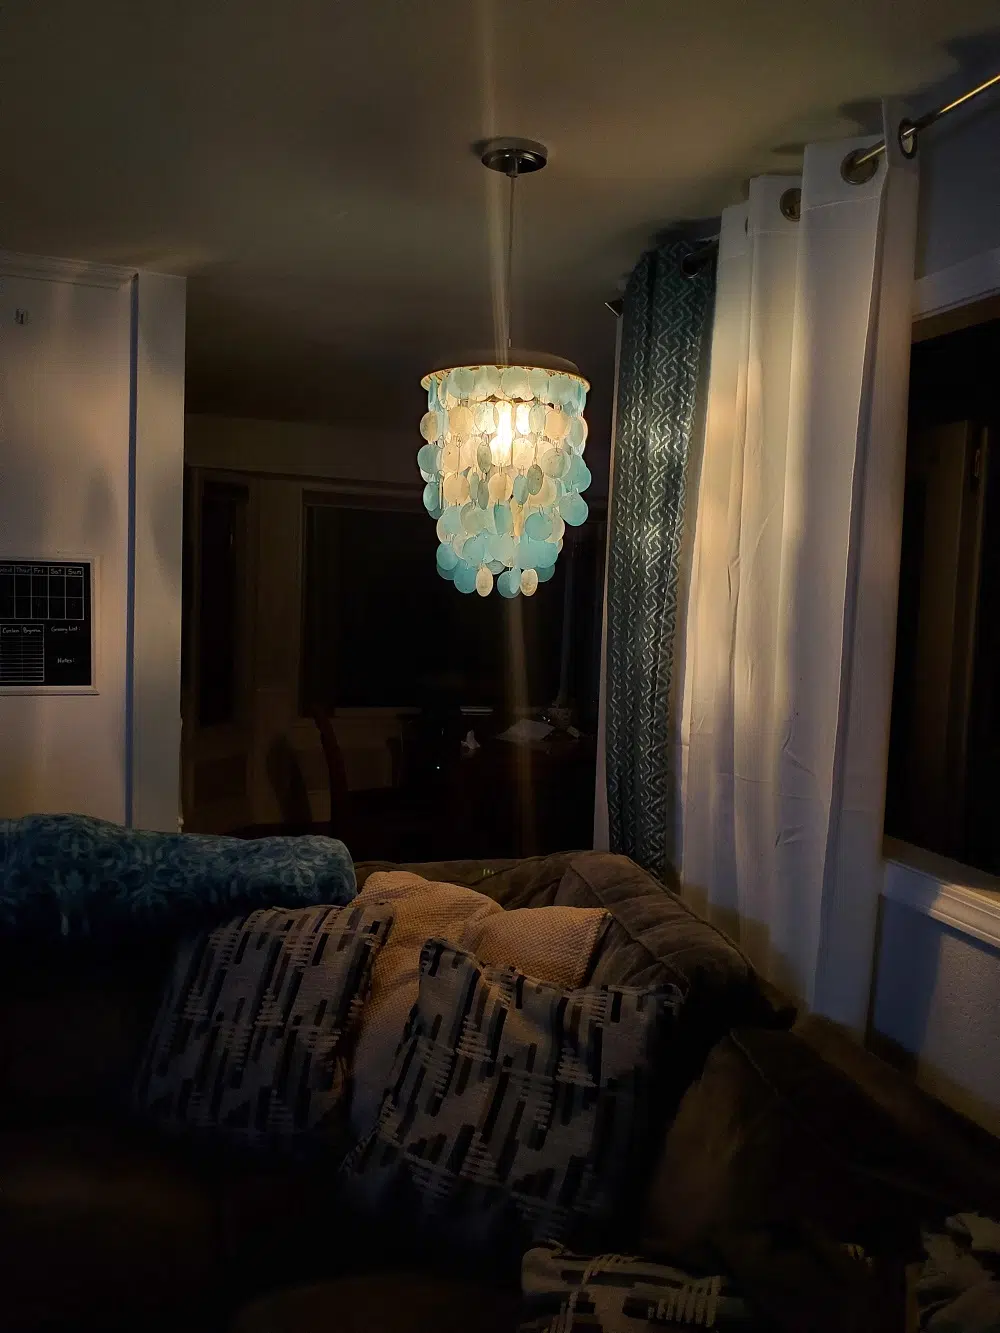
All told, this lamp was around $70 – which is pretty great for a capiz shell piece. I love the soft glow it gives off in the evening, and I love that I didn’t have to compromise on the color I wanted! It’s such a nice addition to the corner of the couch. And now, my daughter wants a pink & purple one for her room so I *may* be making another one soon.
PIN THIS!
