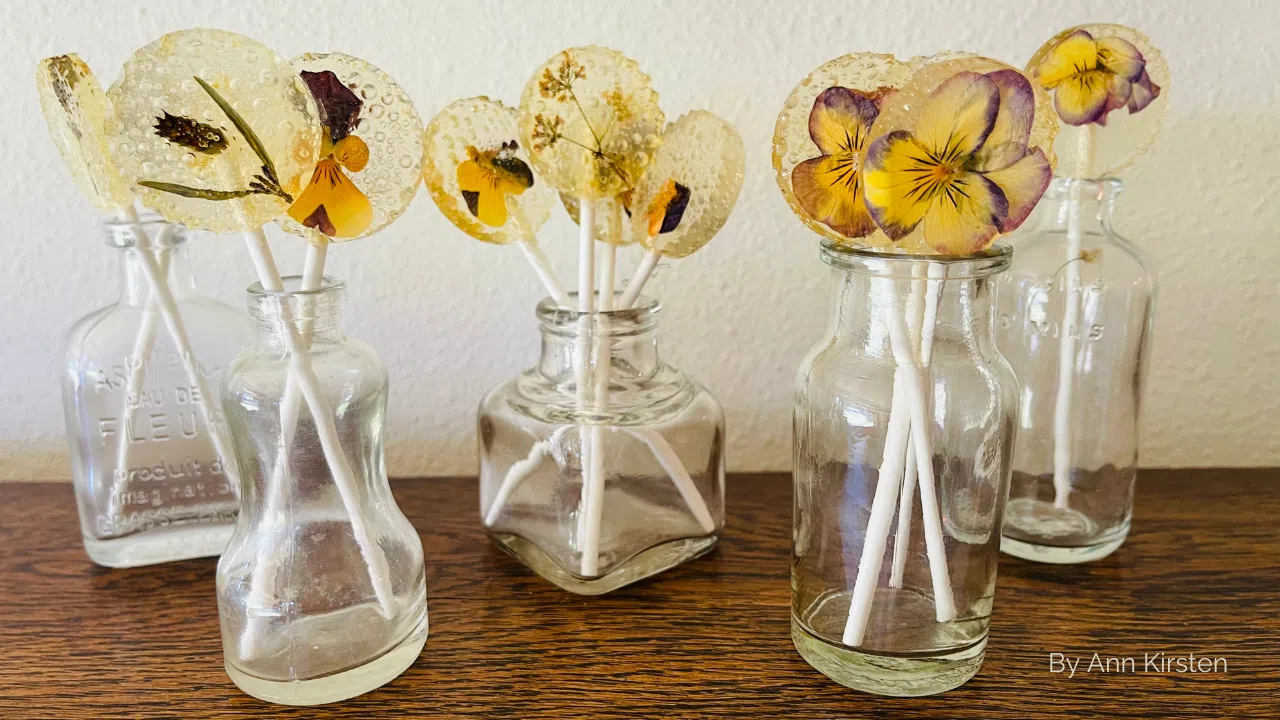
I saw the most beautiful lollipops on Pinterest a few years ago. Even though I knew I’d probably never make them, I pinned the recipe because the pictures were so beautiful. Making hard candy is an exact science and I don’t do well with rigid recipes. I like to experiment and change things up.
Recently, my granddaughter and I tried to make honey drops for her brother’s sore throat. We boiled the ingredients for what seemed like forever, and it never did reach the hardball stage on the candy thermometer. We ended up with rather mushy drops that stuck together.
So, when I ran into the beautiful lollipops once again, I laughed. Something urged me to read the recipe anyway. I was shocked to find that no boiling or thermometer was needed. Instead, store-bought candies were used and melted into molds. Even I could handle that!
I immediately bought this set: 12 Capacity Silicone Lollipop Molds
This kit provides you with a mold for 12 suckers, sticks, bags and twist ties.
You will also need clear hard candies. These were harder to find than I thought they would be. I bought these pineapple candies (my grands don’t like mint). They have a tiny tinge of yellow, so the suckers won’t be entirely clear. I liked the antique look they gave the lollies. SECRET CANDY SHOP Jolly Rancher Hard Candy Bulk in Box
Finally, you’ll need some pressed edible flowers. I had a big pot of violas in my yard, and I put some blooms between the pages of a book. They were the perfect size for the molds.

PC: Ann Kirsten
Ingredients:
- Lollipop mold
- Lollipop sticks
- Cellophane bags
- Ribbon or twist ties
- Clear hard candy
- Pressed edible flowers
Instructions:
1. The night before, put some flowers in between the pages of a heavy book. Small flowers work the best for the mold I recommended. You could use: violas, rose petals, chamomile flowers, mint, lavender, etc. Just make sure they are edible.
2. Preheat your oven to 250 degrees F. Put your candy mold onto a baking sheet for stability.
3. Place one flower, leaf or petal into each mold (face down). Craft tweezers help.
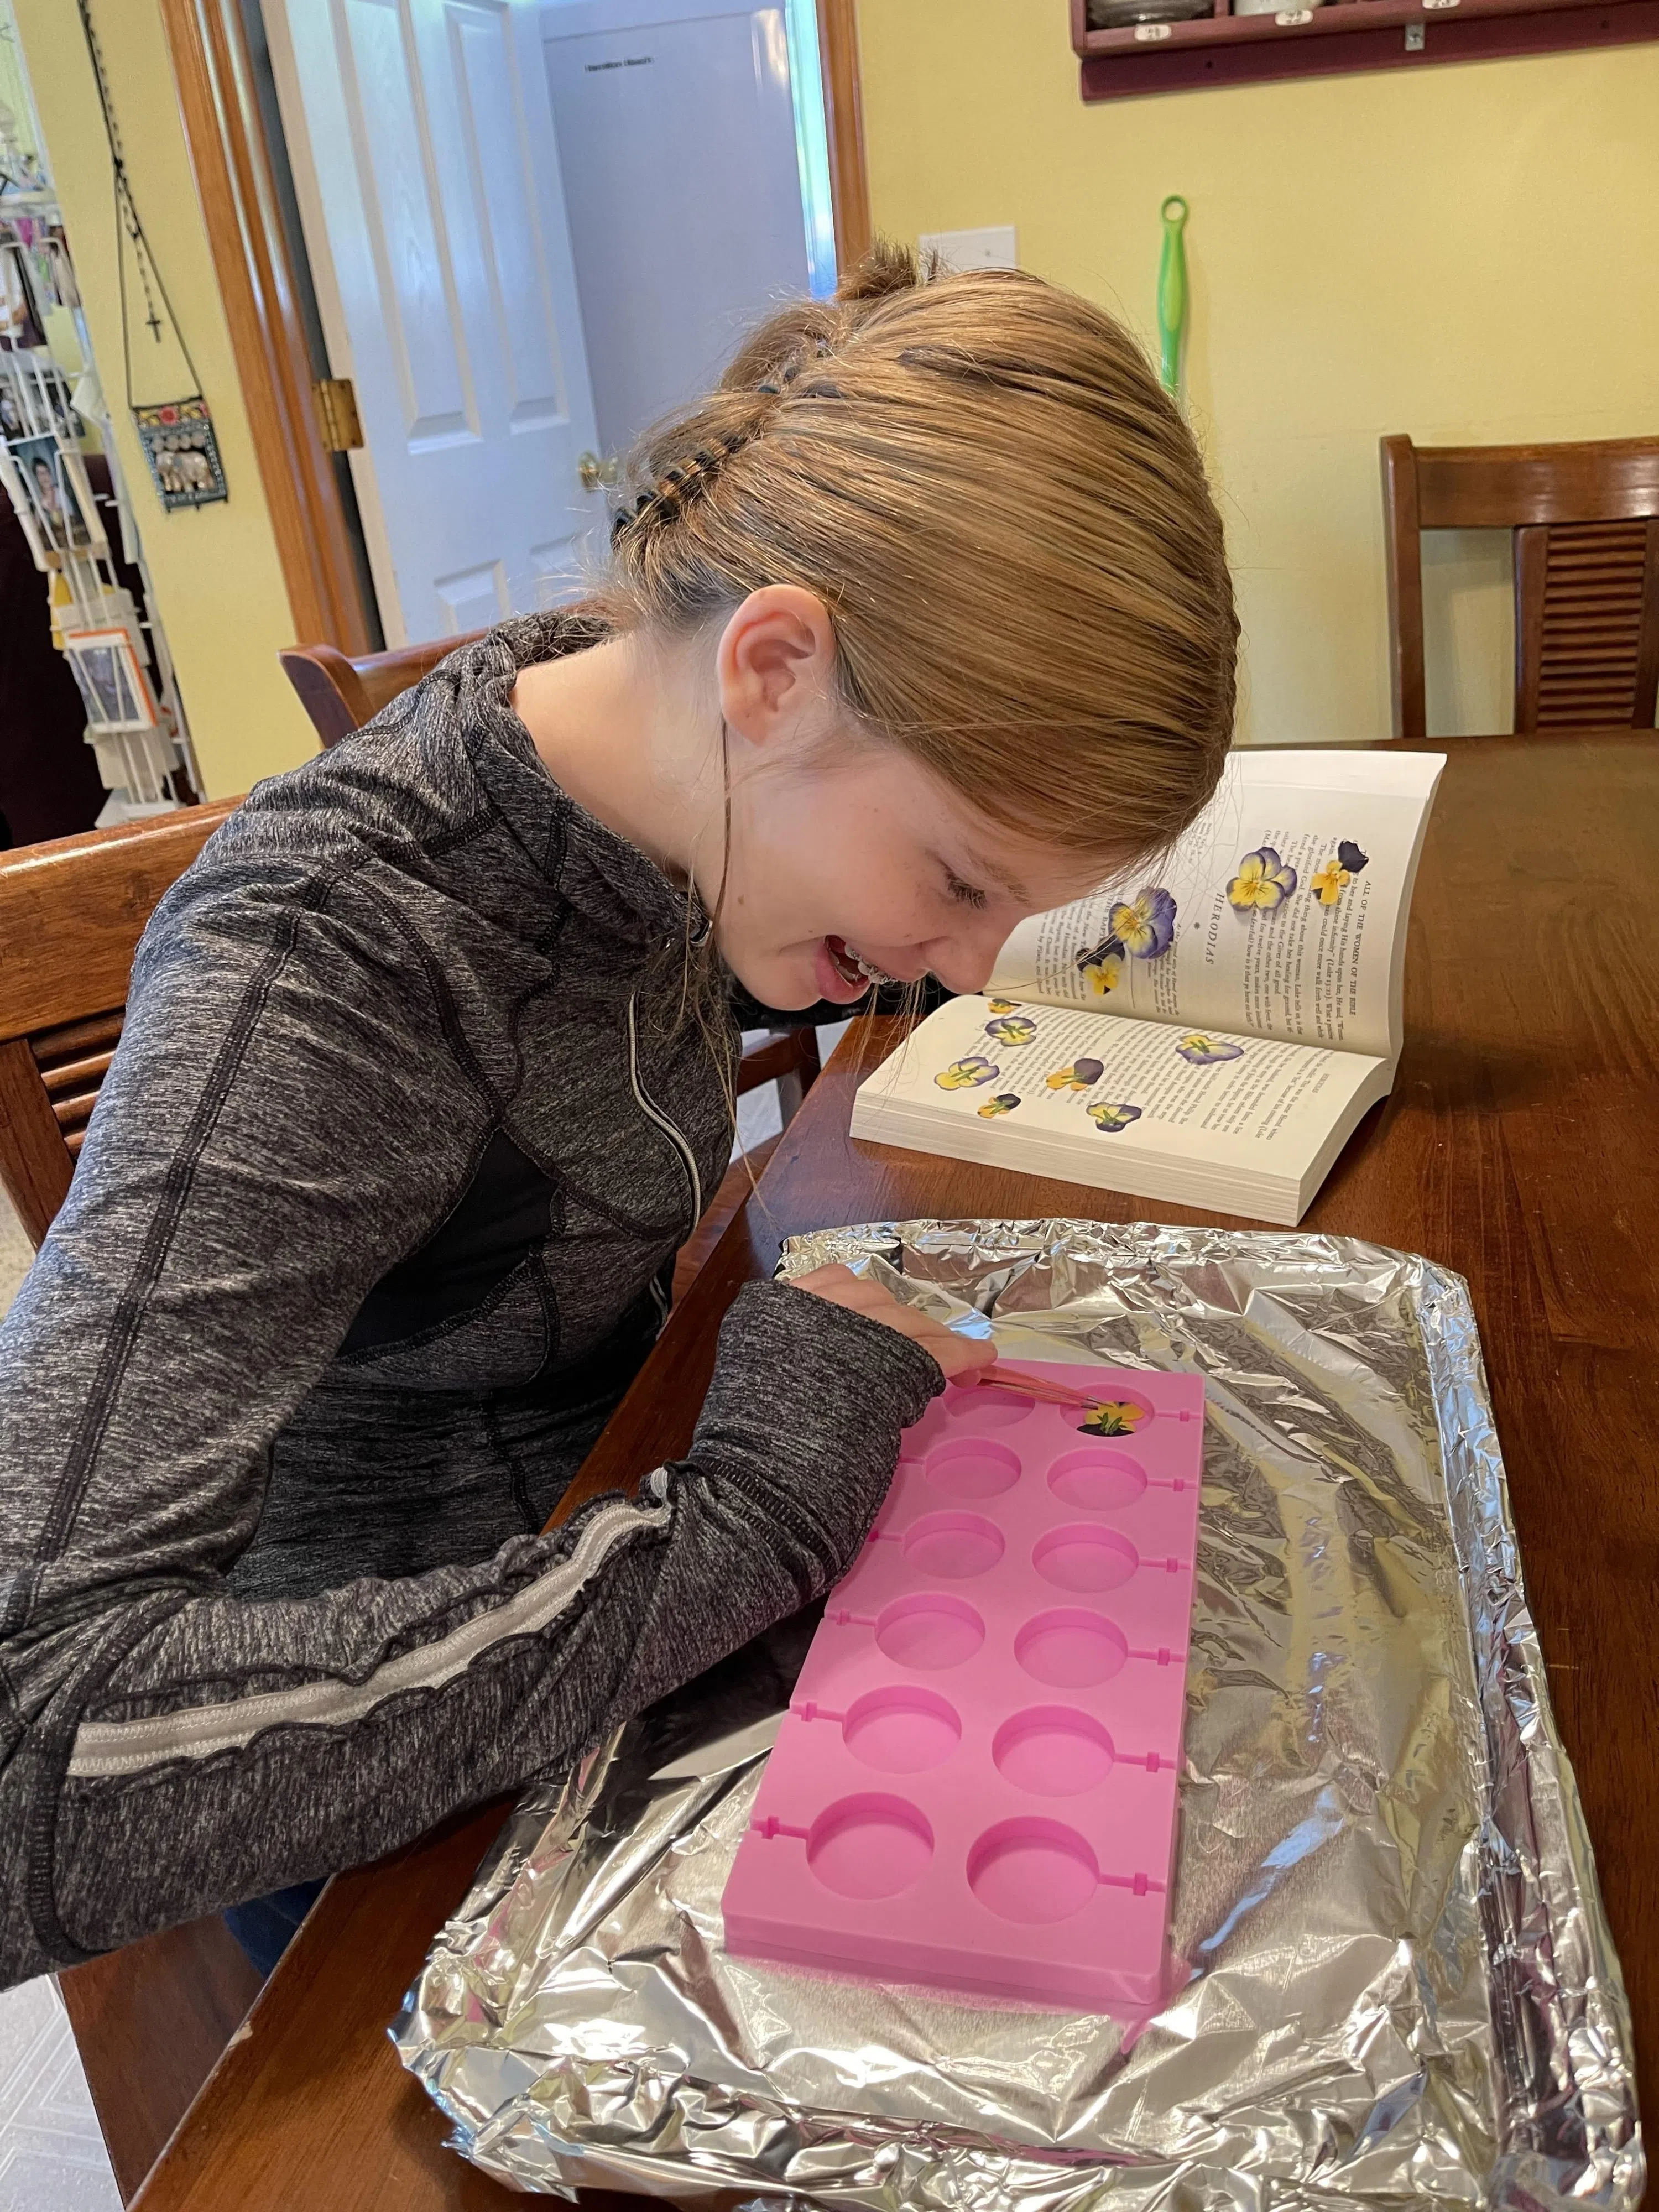
PC: Ann Kirsten
4. Gently put an unwrapped hard candy on top of each flower. If you find later that you need more candy, simply place another one on top after the first one is melted and heat the mold in the oven again.
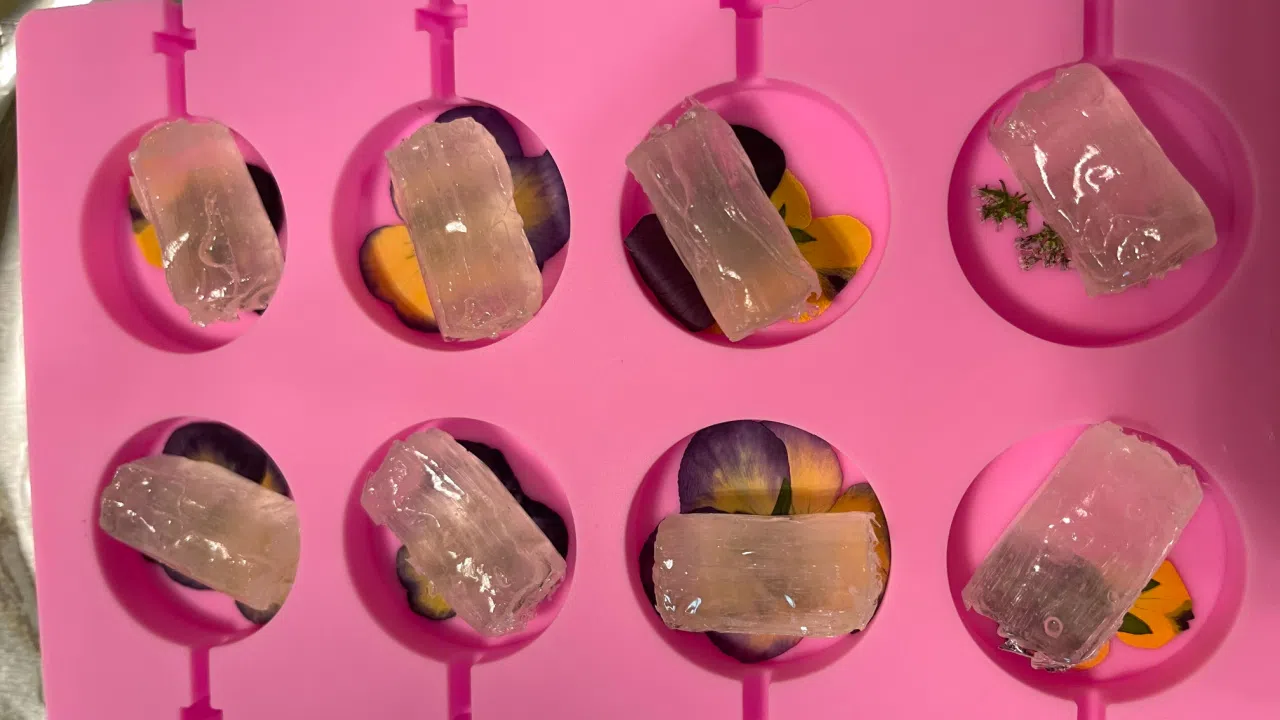
PC: Ann Kirsten
5. Put the baking sheet and mold into the preheated oven and bake for about 20 – 40 minutes or until the candy has melted.
6. Put a candy stick into the assigned space for them. Twist the stick to coat the end completely.
7. Let the candy harden. This will take only about 30 minutes.
8. Place any uneaten suckers in the small bags provided. This prevents them from getting sticky.
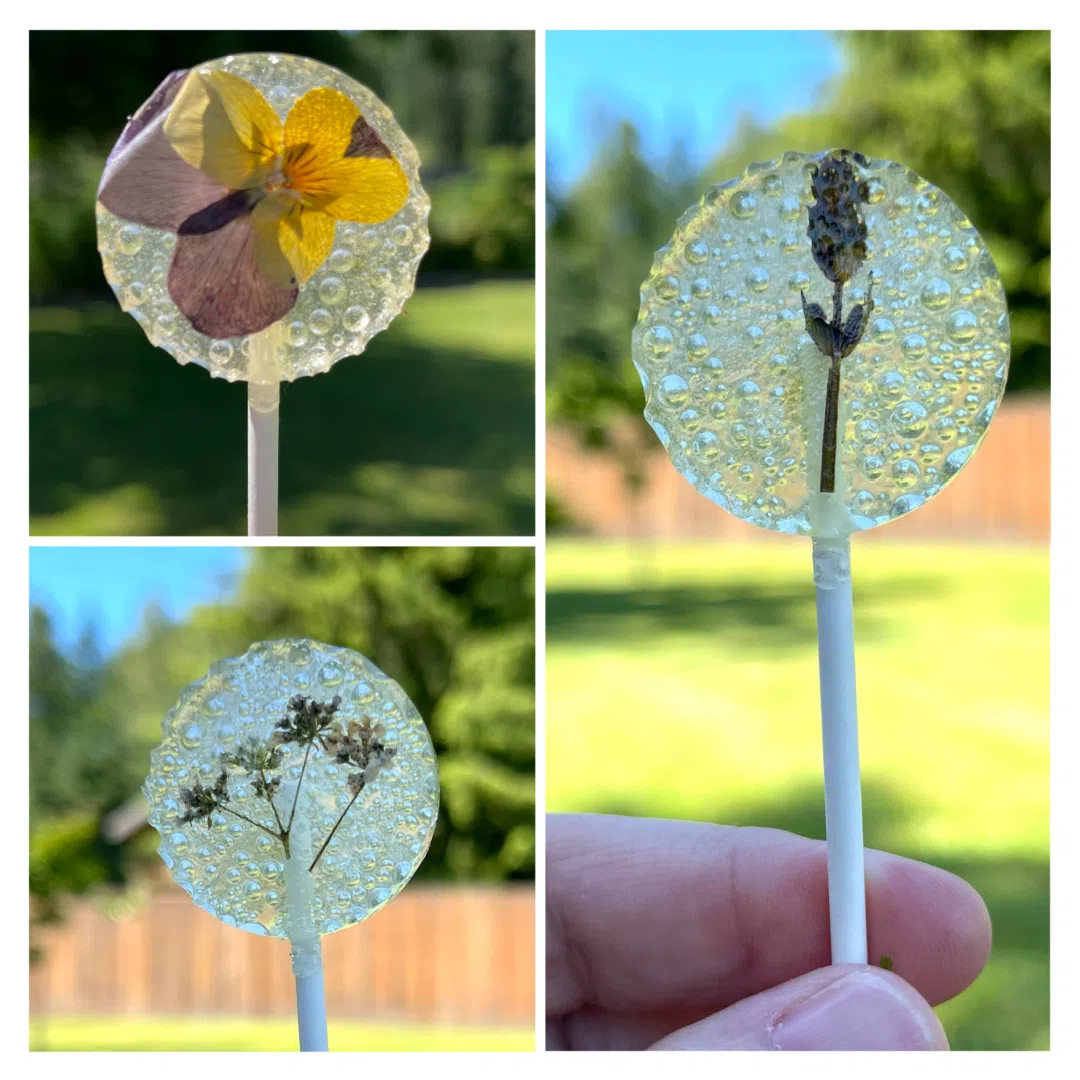
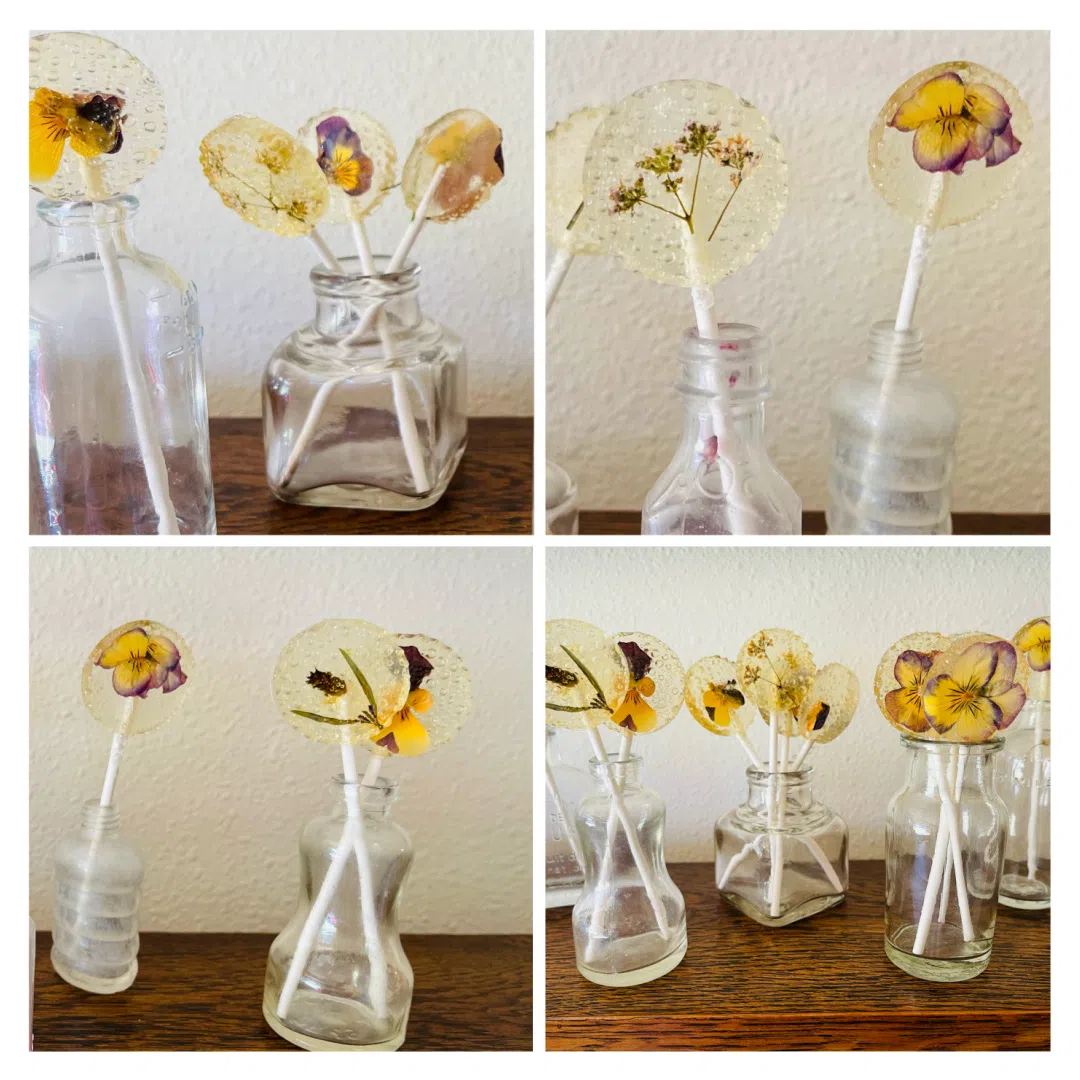
PC: Ann Kirsten
Now, seriously, how easy is that? We were thrilled with how these turned out and the grands loved them! Play around with different flowers and candies to make these your own.
(Check out this cookie recipe while we’re talking about violas): May Cookie-of-the-Month: Viola Sugar Cookies! | AllMomDoes
“How sweet are your words to my taste, sweeter than honey to my mouth!” Psalm 119:103
“My son, eat honey, for it is good, and the drippings of the honeycomb are sweet to your taste.” Proverbs 24:13
PIN THIS!
 Read more of Ann’s contributions to AllMomDoes here.
