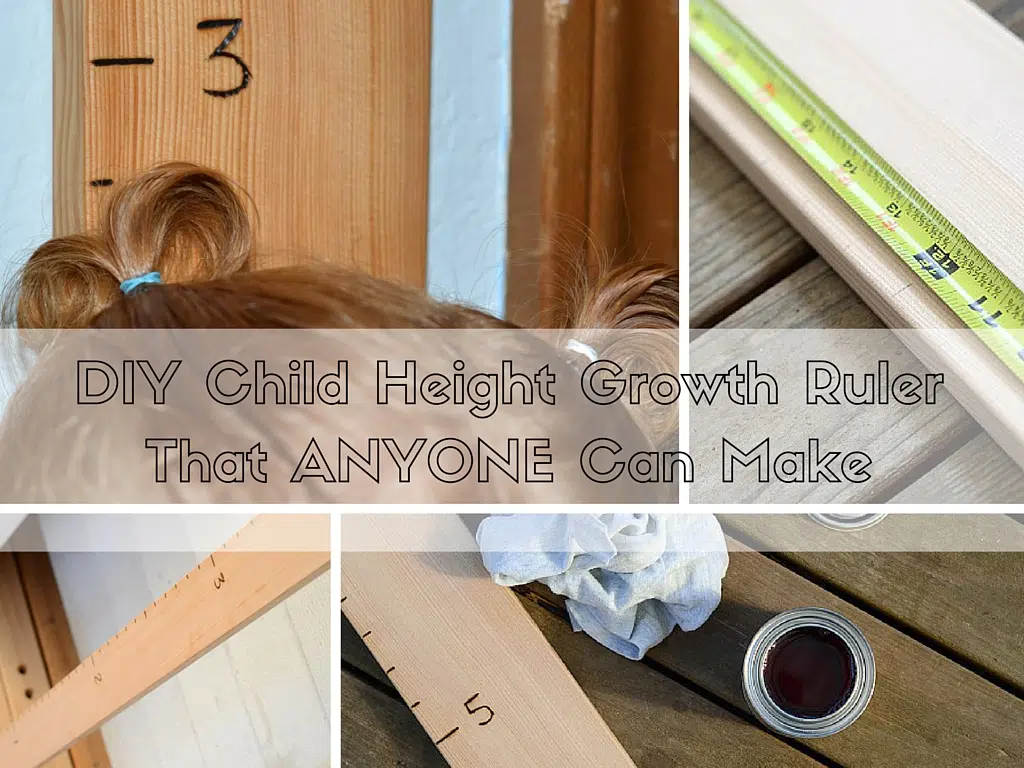
You guys. I did something totally dumb. I made this thing. I made it and I loved it and my husband loved it and my kids loved it and I was so, so proud. And then just out of curiosity I looked on the internet to see what other peoples’ homemade child growth rulers looked like and I felt nothing but disappointment and embarrassment.
Why do we do this to ourselves?
Mine didn’t look like it came from Pottery Barn. I shouldn’t be so thrilled, I thought. I was ready to take this tutorial and all of its photos and delete them.
But instead I got determined. Determined that I wouldn’t let my own stupid self and my own limitations – be it materials, money, or talent – stop me from doing and enjoying something I really wanted.
I’ve always loved the idea of marking kids’ growth on the walls. But we knew our last home was not permanent so I didn’t. But then I saw one of these on a friend’s wall and I thought, I bet I could make that! And you know what? You can, too. And even if you’ve got limitations I’ll show you how you can do it anyway. Here we go.
Buy a piece of wood that suits your space. Many of these growth rulers are done on wider pieces of wood, but I needed something thinner to fit the small space I had. Choose what works for you. Sand if necessary.

Decide how far off the floor you want your ruler to hang. Account for this and then make one-inch pencil marks all the way up the ruler. Mine would be hanging four inches above the floor so the bottom of the piece of wood would be the ‘four-inch’ mark, and that’s where I started my hash marks.


Make your marks permanent. My husband happened to come home with an inexpensive wood-burning kit from the store, but if you don’t have one (and don’t want to buy one), don’t let that stop you. Use a sharpie! You can also outsource this whole thing and just buy some vinyl decals.


Stain your wood. Or don’t if you don’t want to. I told you this is a project for anyone! I don’t think I’ve ever stained anything in my life but this was super easy and I like the richness it added. But it’s totally not necessary.


Trim off the top. I’d practiced with my new wood-burning tool on the top so I needed it trimmed off. But if you don’t have the capability, just make your ruler taller OR write your kids’ names on the top or make a nice design. Make it your own. No trimming necessary.

Pre-drill holes to hang your ruler and mark its location on the wall. Since my ruler started at 4 inches, we had to make sure it would hang 4 inches off the floor. We had to use anchors in the wall for support as well. But if you live in an apartment or don’t want to put a permanent fixture, just start your ruler at zero inches and lean it up again the wall. No problem.


Use it! I let the kids pick out their own color sharpie to start marking their heights. They were so, so excited to get measured. But I’d be dishonest if I didn’t admit it was a little nerve-wracking to start “messing up” this project that I’d spent so much energy on. Then I got over it. It was designed to capture my kids’ growth, not be a perfect wall decoration.


Cheat a little. After the ruler was hung and the kids were measured, I stepped back and felt a little disappointment. There was my son’s height, measuring in at just under four feet, and I’d never have a record of his younger years on our new growth chart. I kicked myself for not starting a growth chart way back when he was born. But then it hit me – I could go back through his medical paperwork from his check-ups and add his old measurements. It felt a little like cheating, but whatever. It’s my project and I can do whatever I want.


No project needs to be pinterest-perfect to work in your family. Don’t limit yourself before you even begin. Find ways to make it work within your budget, your lifestyle, and your skill-set. And don’t let anything take away how proud you are of the result.


