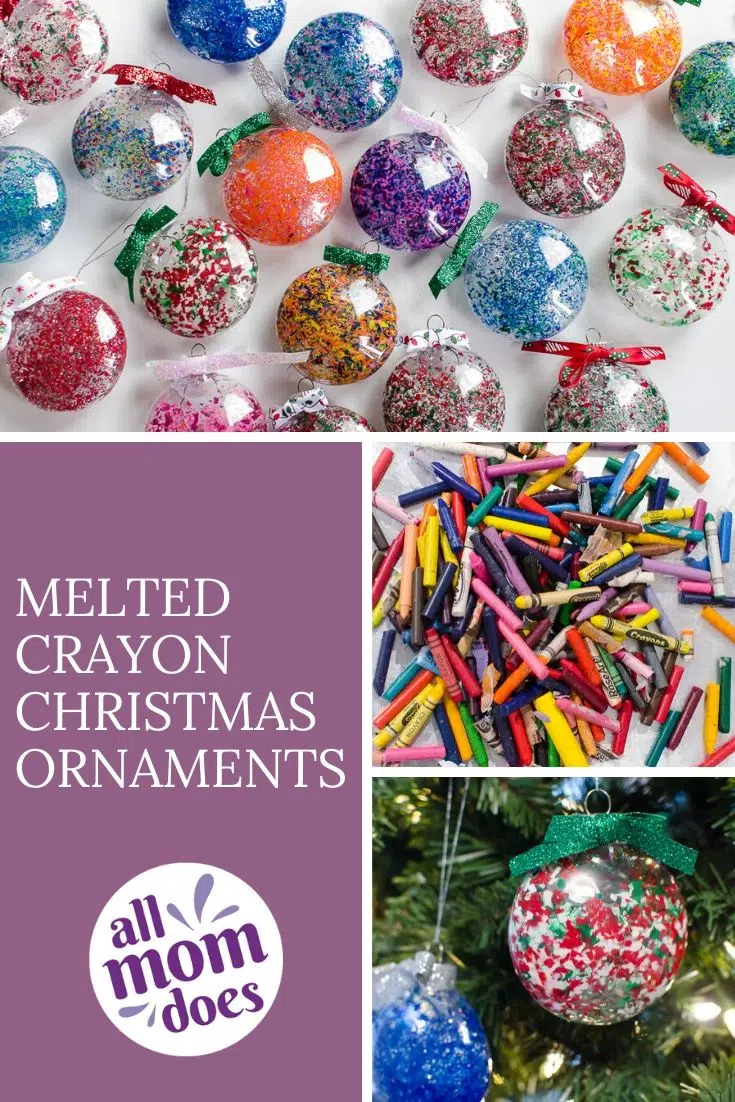
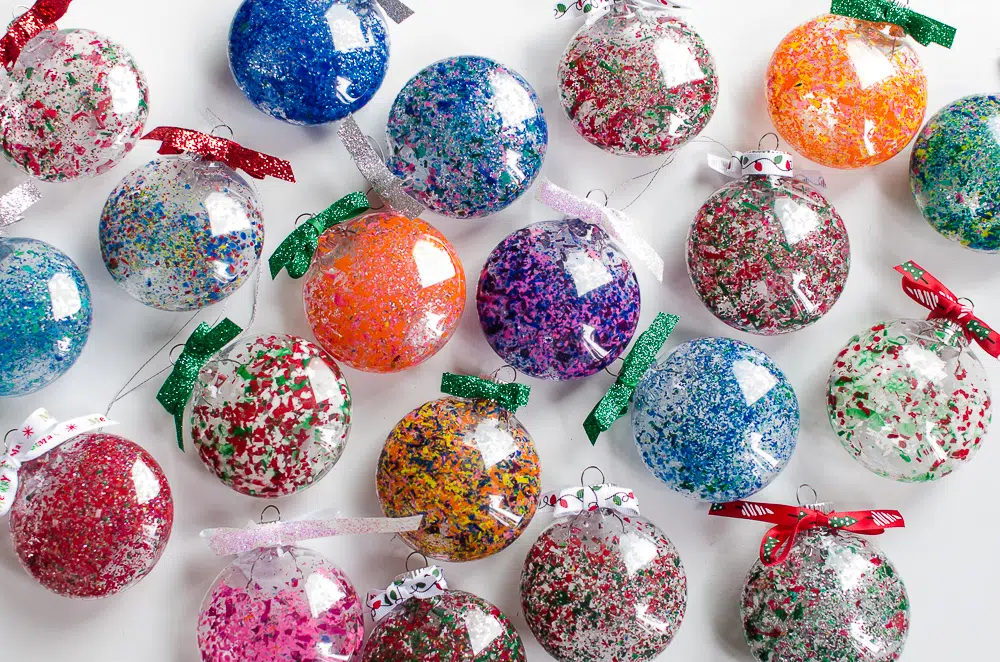
Our family loves to give out cookie boxes to our neighbors every Christmas, but this year we had a new idea – Christmas ornaments! With a little over 50 families in our neighborhood, I wanted to give a gift that was still homemade but relatively quick & easy, and not overly expensive.
DISCLAIMER: Amazon links are affiliate links. As an Amazon Associate I earn from qualifying purchases. This means that when you purchase an item through a link in this article, I earn a commission on the sale.
These ornaments were perfect. My 6-year-old daughter and I made about 30 of them in one evening, and with the holiday deals we found at the craft store, the cost comes in at well under 50 cents per ornament. Plus, we’re repurposing old crayons and other craft supplies that would have ended up in the trash anyway. It’s a win-win-win!
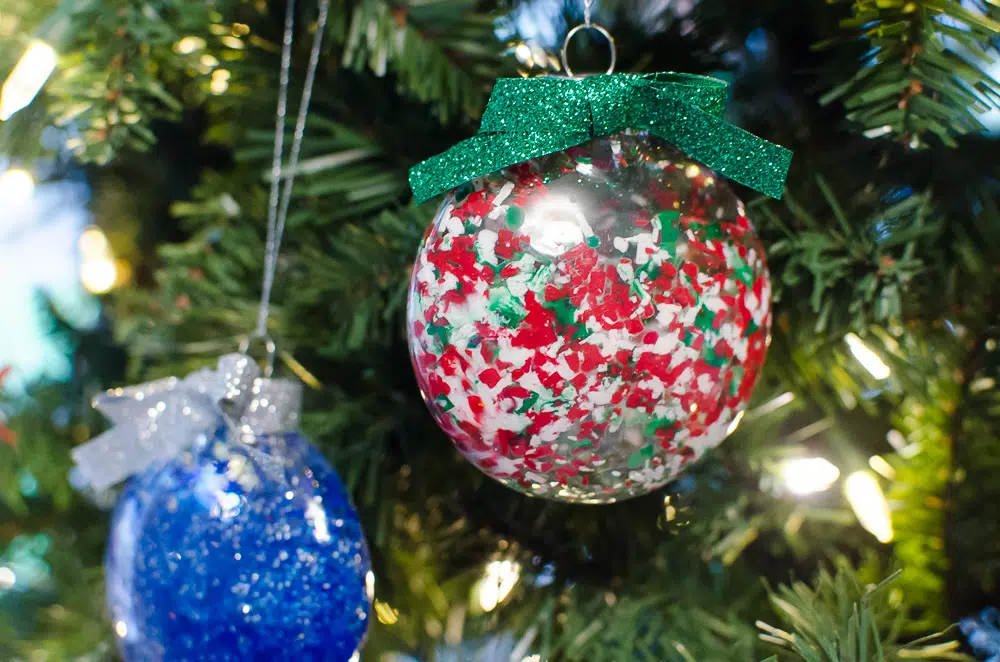
Ready to get your Christmas craft on? Here’s what you’ll need:
- Clear ornaments, any shape (I used the disc-shaped ones for this)
- Old crayons
- Paper cups
- Cheese grater (find a cheap one at a thrift store if you don’t want to use your good kitchen supplies)
- Funnel
- Hair dryer
- Christmas ribbon
- Rimmed baking sheet or serving tray
- (optional) glitter
Separate your old crayons by color and remove any paper wrappers. Work on a rimmed baking sheet, serving tray, or other crafting surface to try and contain the shavings because it’s about to get MESSY up in here.
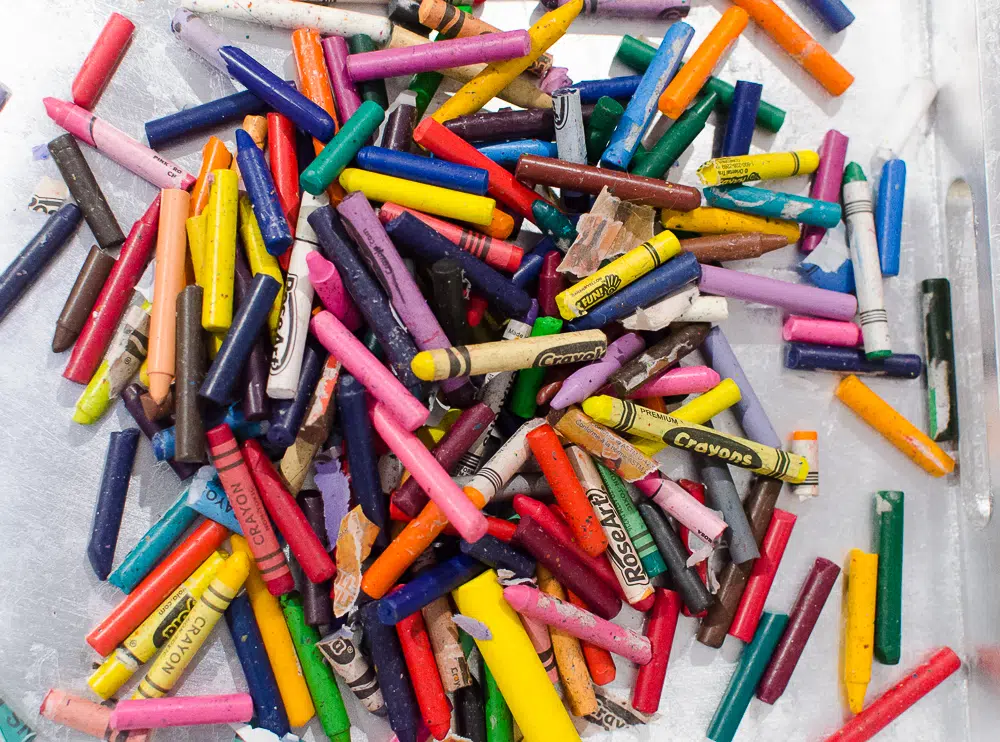
Shave crayons into paper cups, keeping them separated by color. We tried three different methods of shaving – with a vegetable peeler, a pencil sharpener, and a cheese grater. I found the cheese grater to be the fastest, while my daughter preferred the pencil sharpener technique.
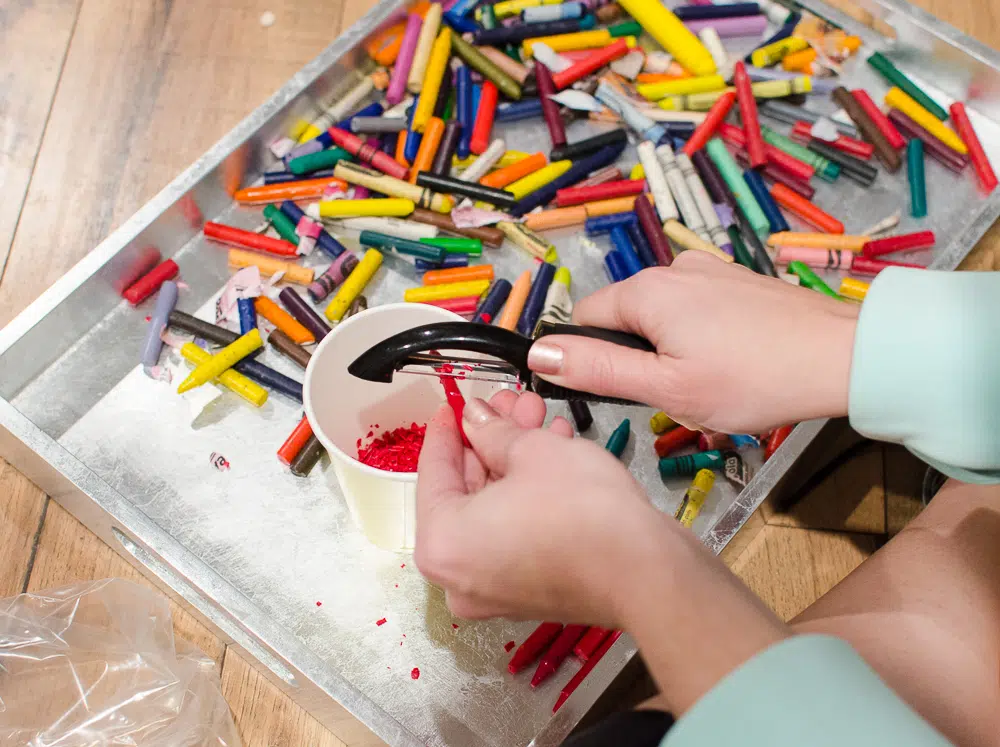
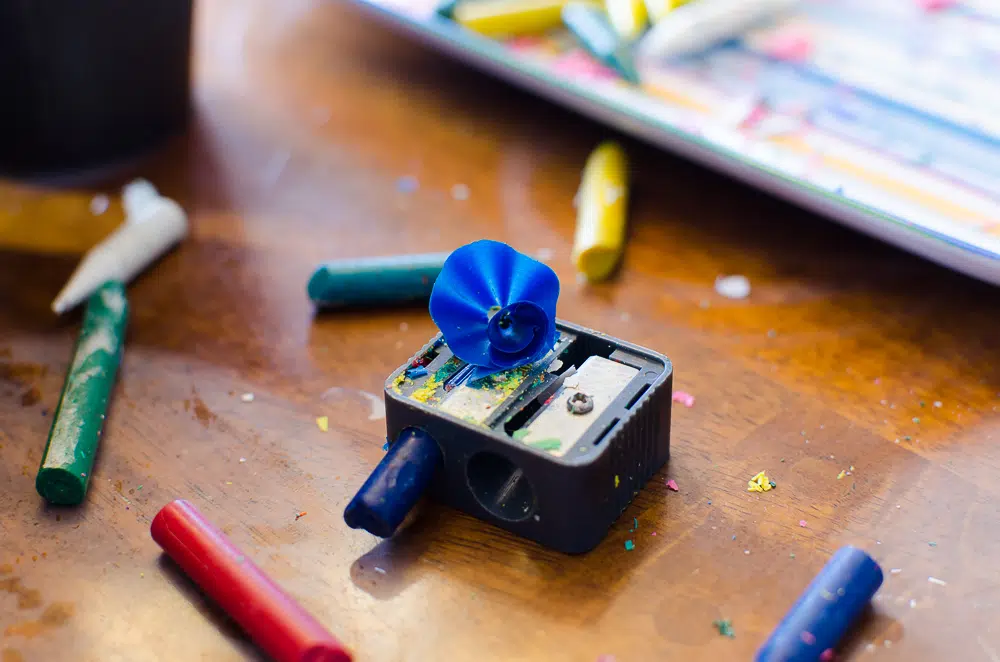
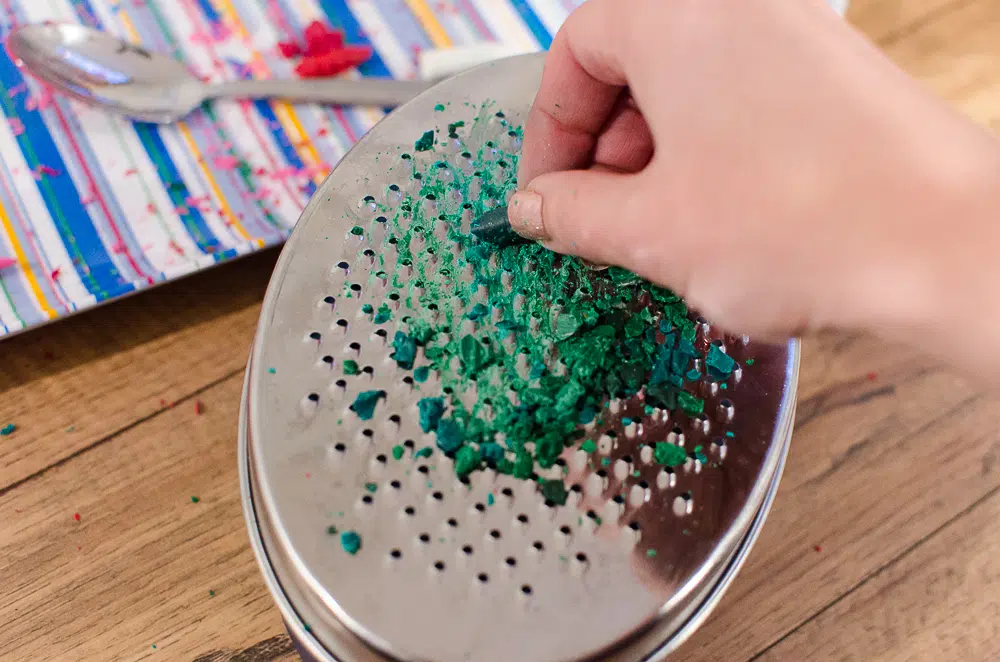
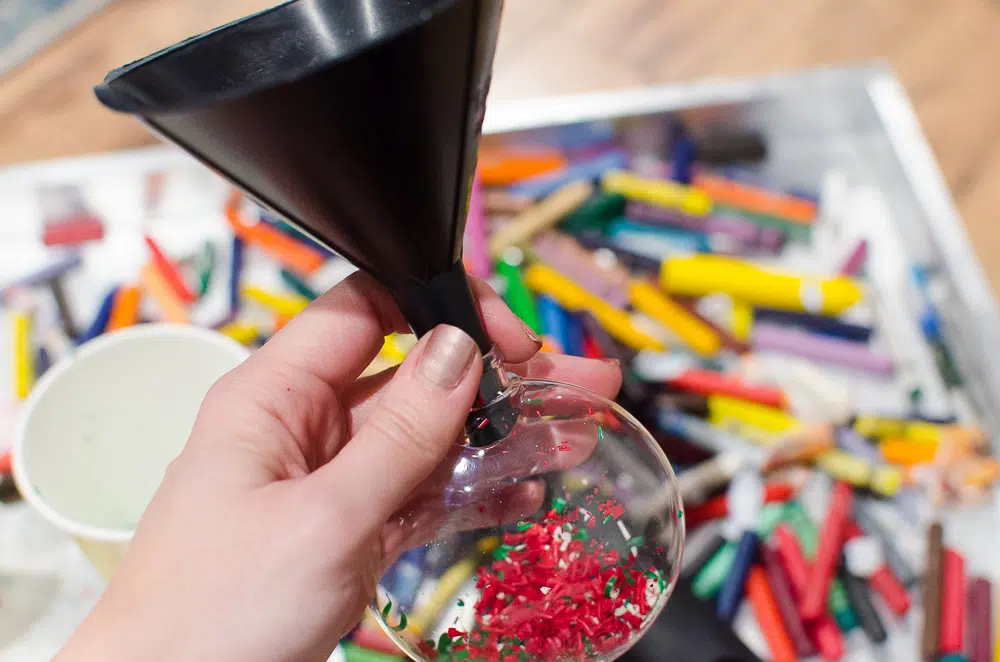
Remove top from ornament. Using a funnel, pour crayon shavings into the ornament. The amount will vary depending on your preference. Add glitter if desired. Replace top.
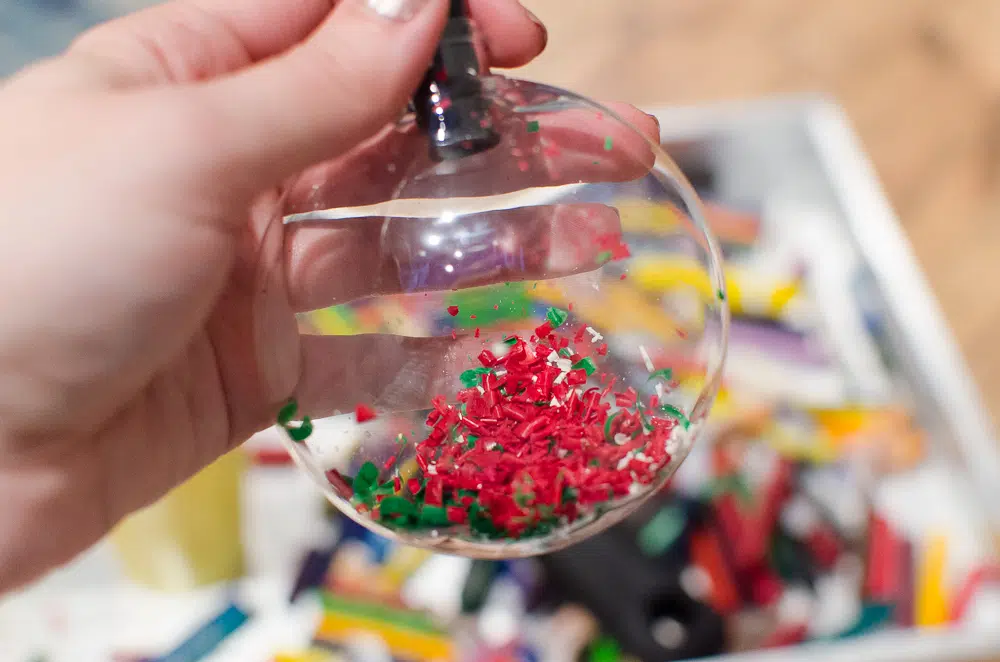
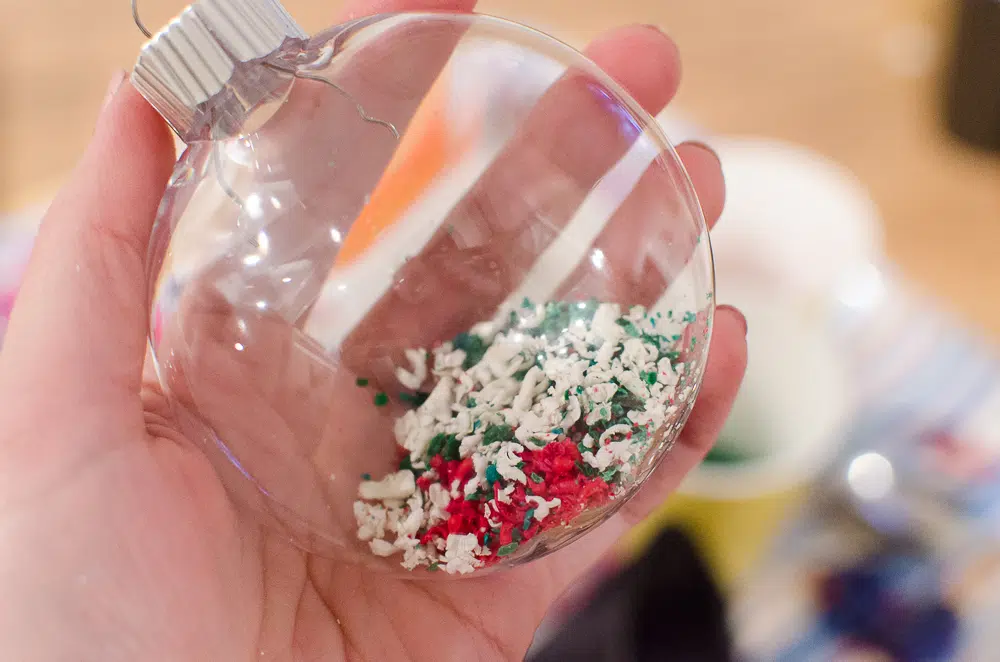
Hold the top of the ornament with a pair of kitchen tongs or pliers – if you don’t, your fingers will get HOT. Turn your hair dryer on “high” and move it back and forth over the ornament, rotating the ornament as the crayon shavings begin to melt. Avoid turning the ornament upside down – even though the top is on, you will still lose some of the crayon shavings out of the top. Continue rotating the ornament until all sides are covered in crayon shavings and you don’t hear any loose shavings inside the ornament when you shake it.
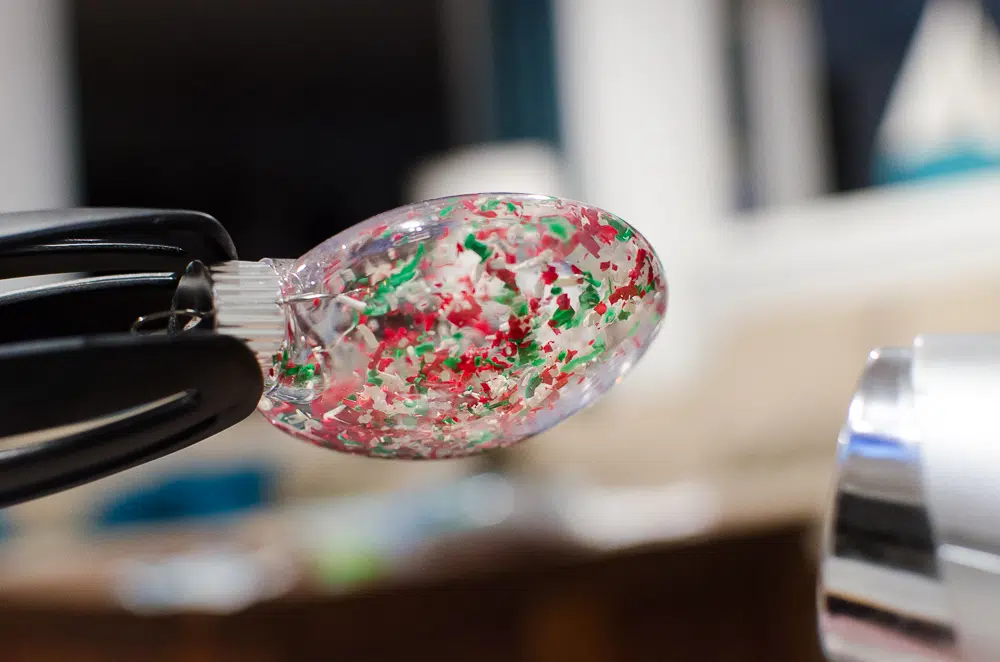
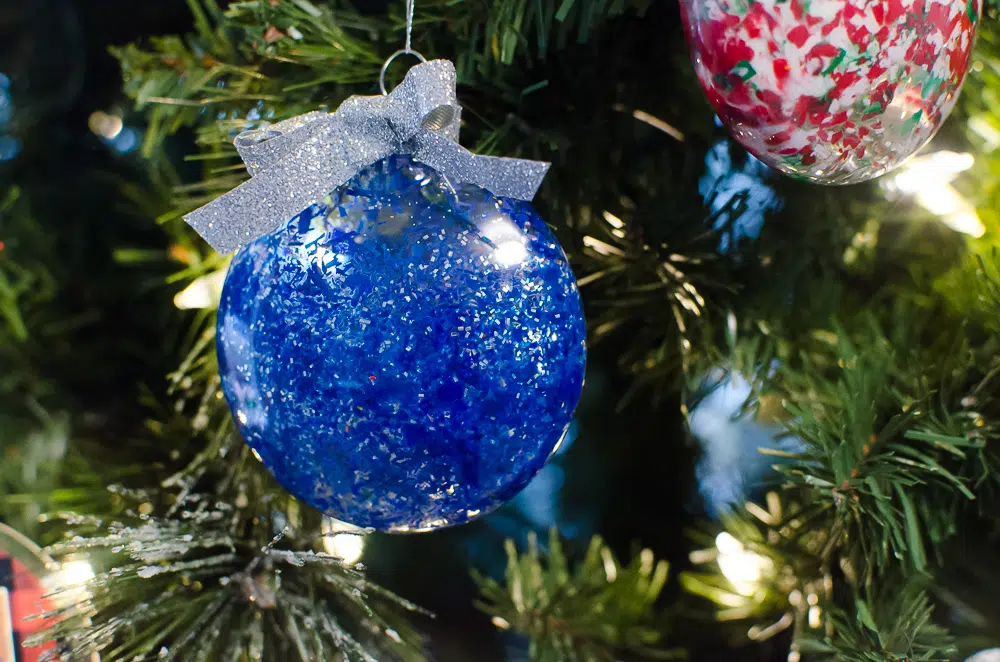
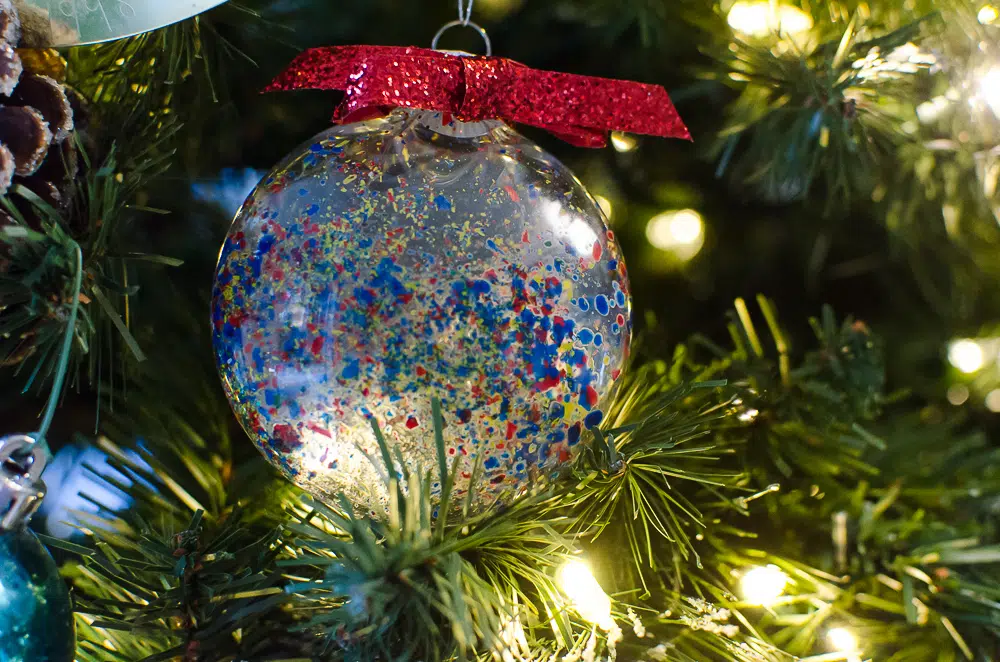
This technique can take a few tries to master, and is also a matter of preference. I prefer the “speckled” look, so I melted the shavings until they were affixed to the glass and then removed the heat. If you prefer a more solid or marbled look, you can continue to apply heat until the shavings are fully melted.
Tie a color-coordinated bow around the top of the ornament.
That’s it!
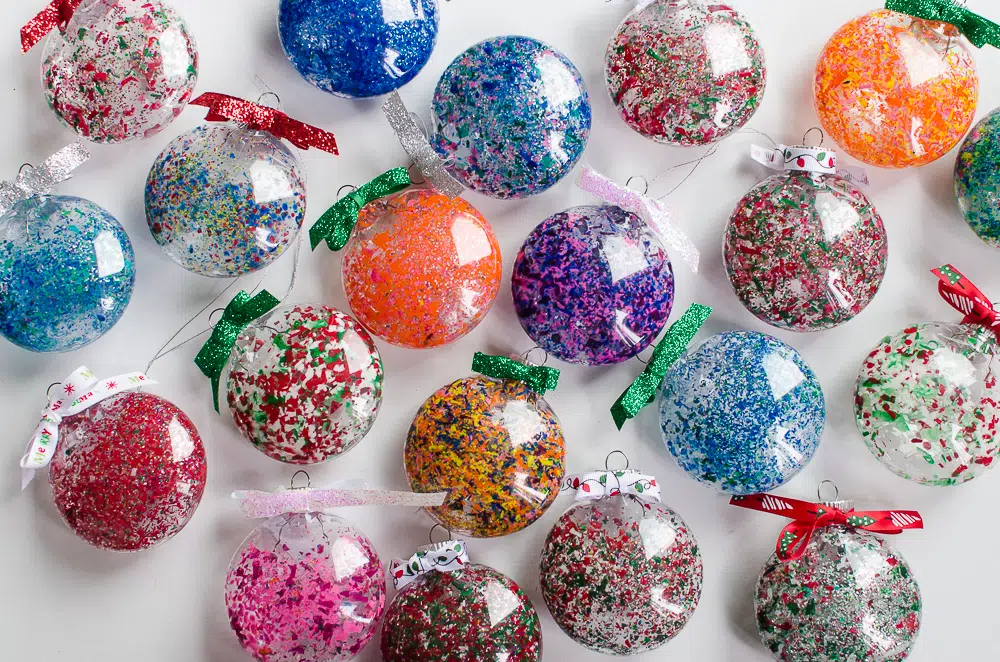
Have fun with it, and get creative with your color combinations. Don’t just stick with the traditional red, white, and green for the holiday. Make a few that are completely opaque, and some with more transparent areas. Use your imagination, let your kids experiment, and see what types of ornaments you like best. There’s no wrong way to do it – because no matter what, they’ll turn out great!
RELATED:
DIY Personalized Pine Cone Christmas Ornaments
Six Delicious DIY Christmas Gifts
DIY Christmas Presents People Actually Want to Receive
