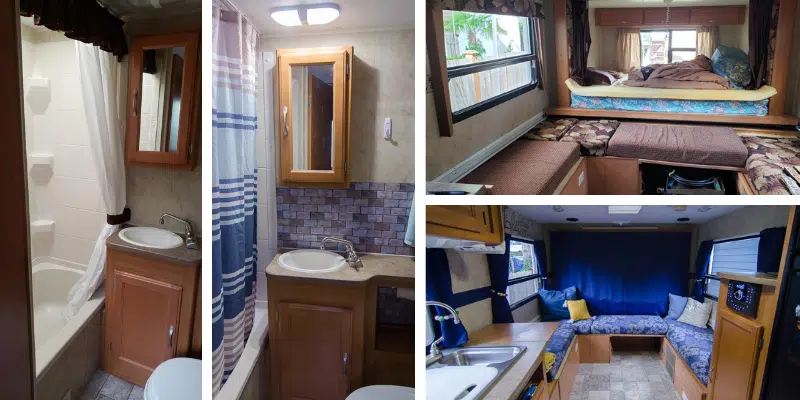
Our family has a travel trailer and we use it all the time. A couple years ago I spent time maximizing the available space and organizing it, and it’s so much more functional than when we first got it. We make so many memories on our camping adventures and I love absolutely everything about our trailer. Except for one thing.
It’s so brown.
The interior of our trailer looks incredibly dated, so I thought a remodel might be fun. After browsing beautiful before-and-afters on Pinterest, I decided I was going all-in with a complete update: I wanted to paint the walls and cabinets, install new flooring, get custom cushions and covers. It was going to be spectacular.
DISCLAIMER: Amazon links are affiliate links. As an Amazon Associate I earn from qualifying purchases. This means that when you purchase an item through a link in this article, I earn a commission on the sale.
Until I sat in the trailer to make a list of all the things I’d need. I looked around at all the nooks and crannies and realized painting it would be a pain. And then I looked at the cabinets, flooring, and walls with fresh eyes and realized that they were in great shape. If the paint started to chip or I screwed something up, I knew I’d regret messing with something that didn’t really need fixing in the first place.
Plus, my realistic side kicked in. As much as I loved the light and airy cottage-style camper interiors I found on Pinterest, the reality is that we camp in the Pacific Northwest. It rains, it gets muddy, I’ve got two dogs and two kids, and there is no way a whitewashed interior and light-colored floors are a good idea. So I scaled back my remodel plans and decided I was just going to work with the brown-toned walls and floors and try to tone down the other brown elements. {SEE MY COMPLETE LIST OF ITEMS USED ALONG WITH TOTAL REMODEL BUDGET AT THE BOTTOM OF THIS ARTICLE.}
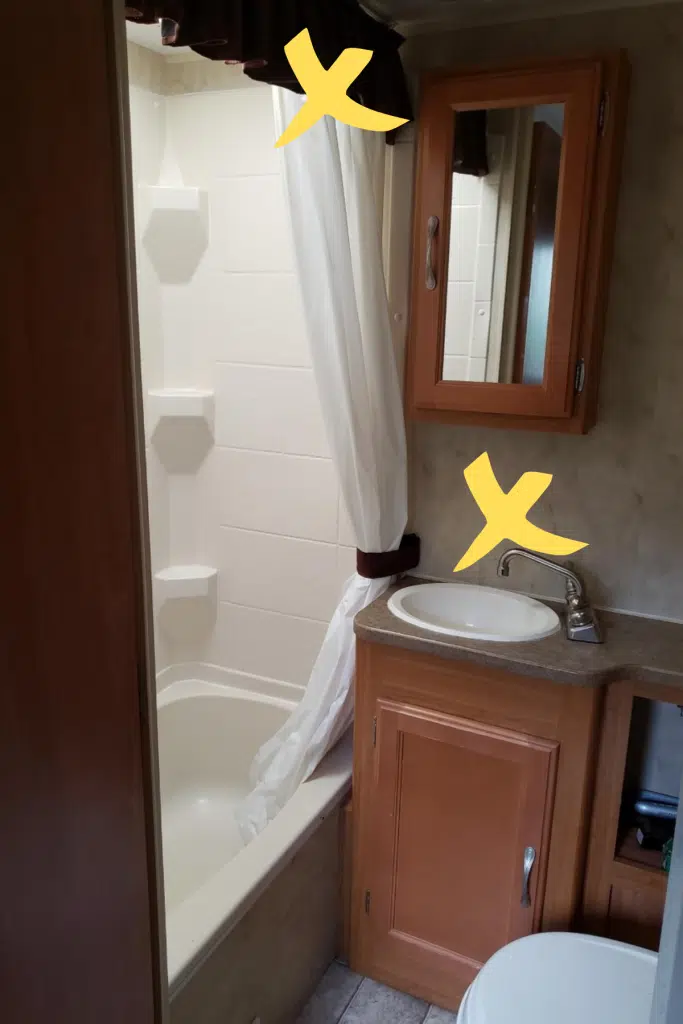
Here’s what needed to go:
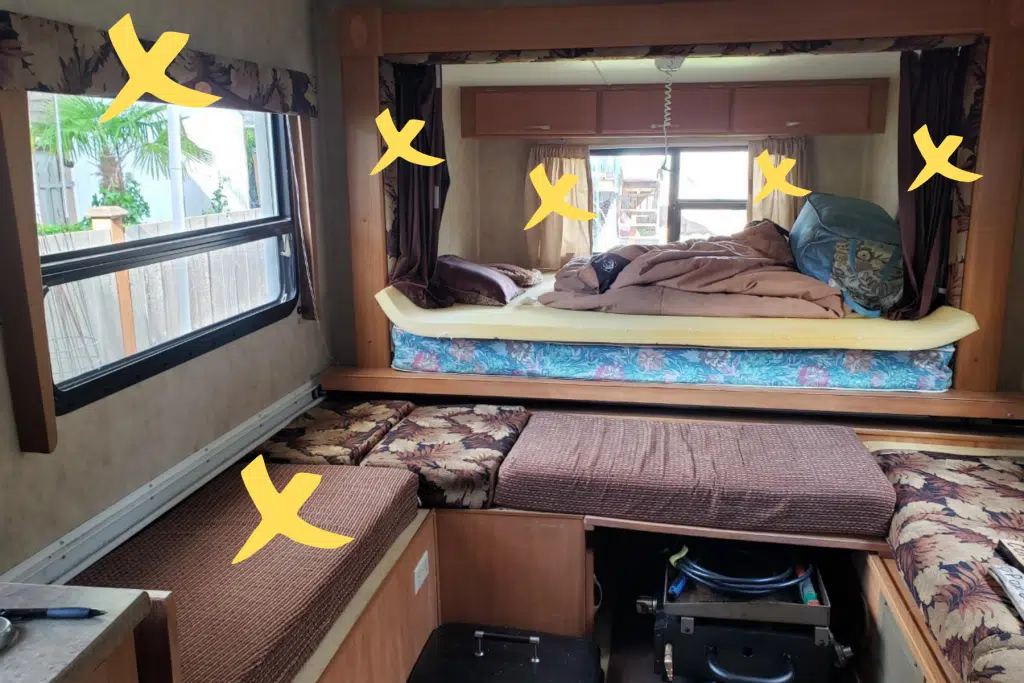
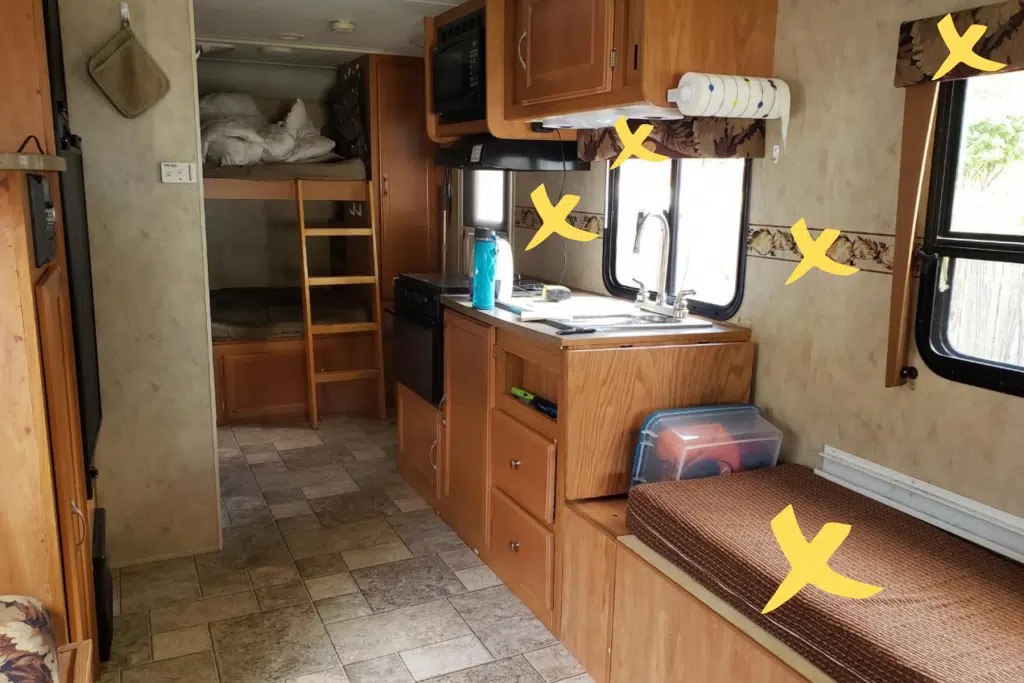
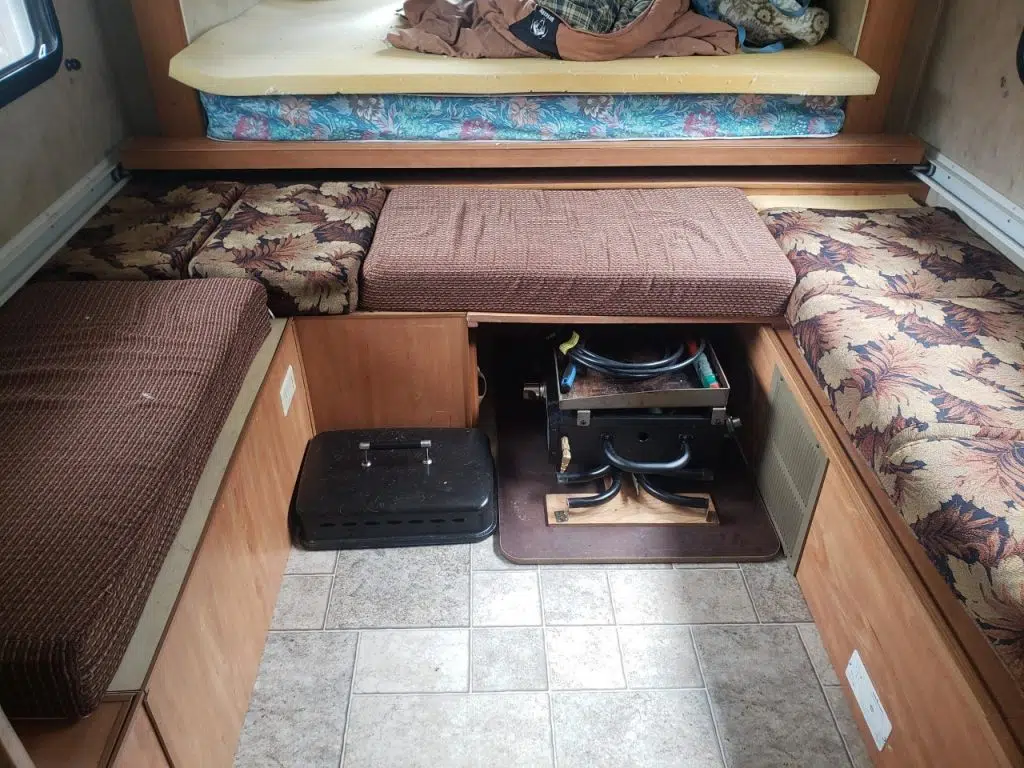
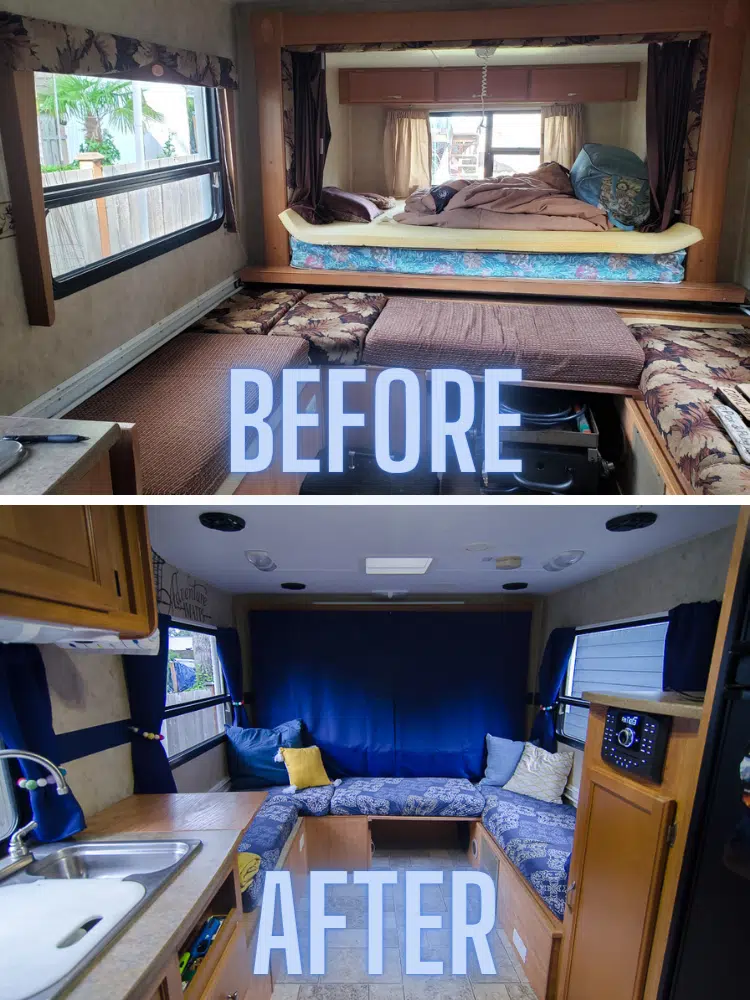
A few years ago we reconfigured the traditional dinette and jack knife sofa to make more interior space. When we put everything back together we just cobbled together the old cushions in the seating area. They are functional, but super ugly. This was high on the priority list to make prettier.
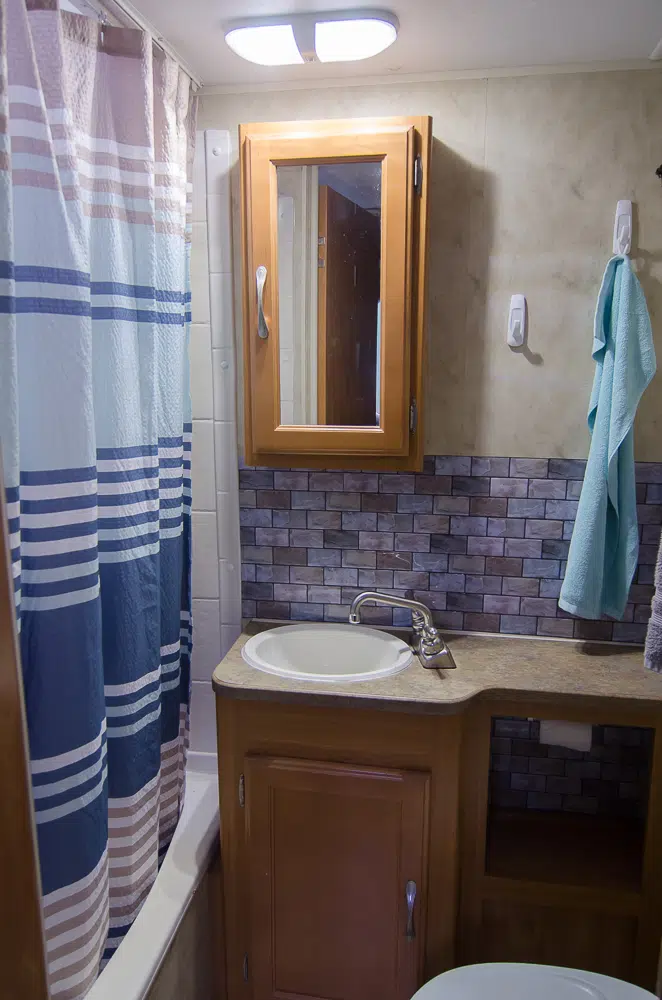
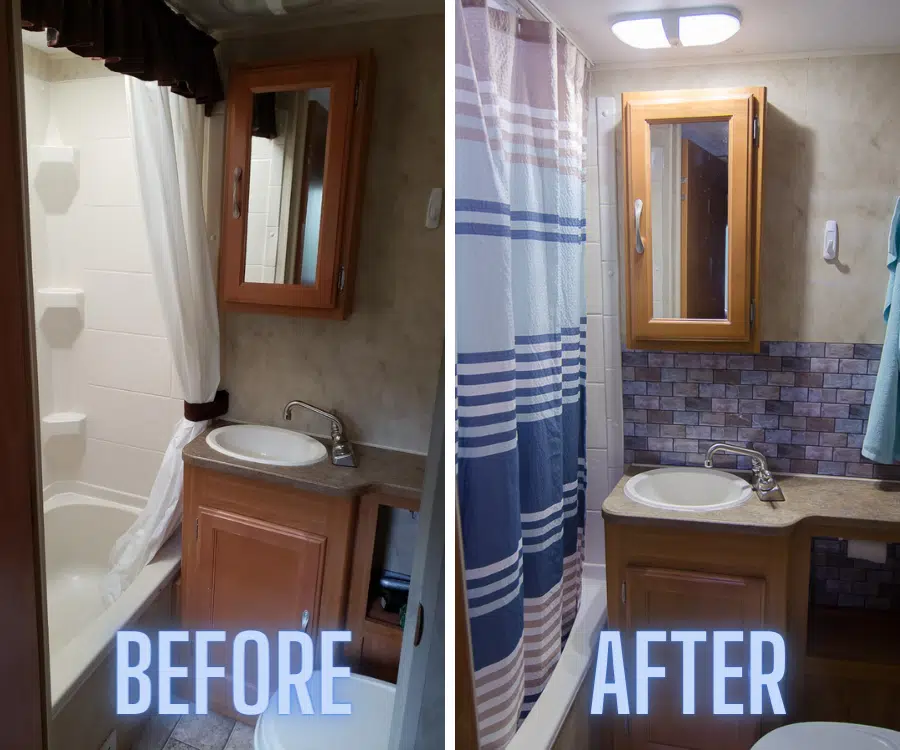
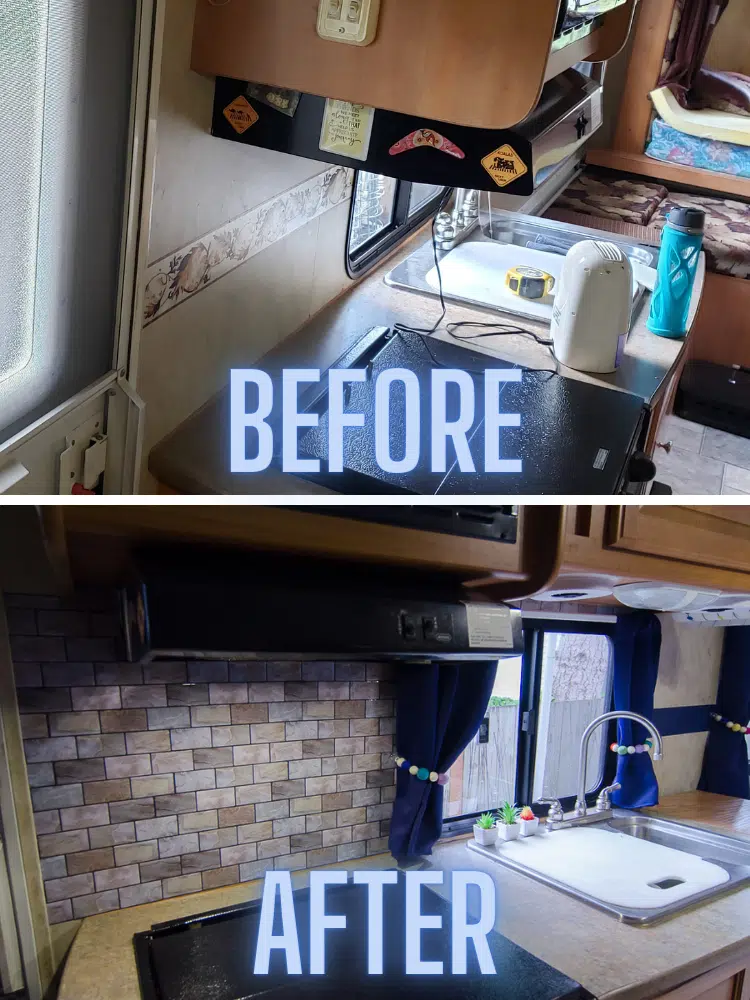
The first thing we did was add peel-and-stick backsplash to the kitchen and bathroom. A peel-and-stick wallpaper border was used to cover up the old ugly brown design across the middle of the wall. I also found a shower curtain at Goodwill that makes a huge difference in the overall appearance.
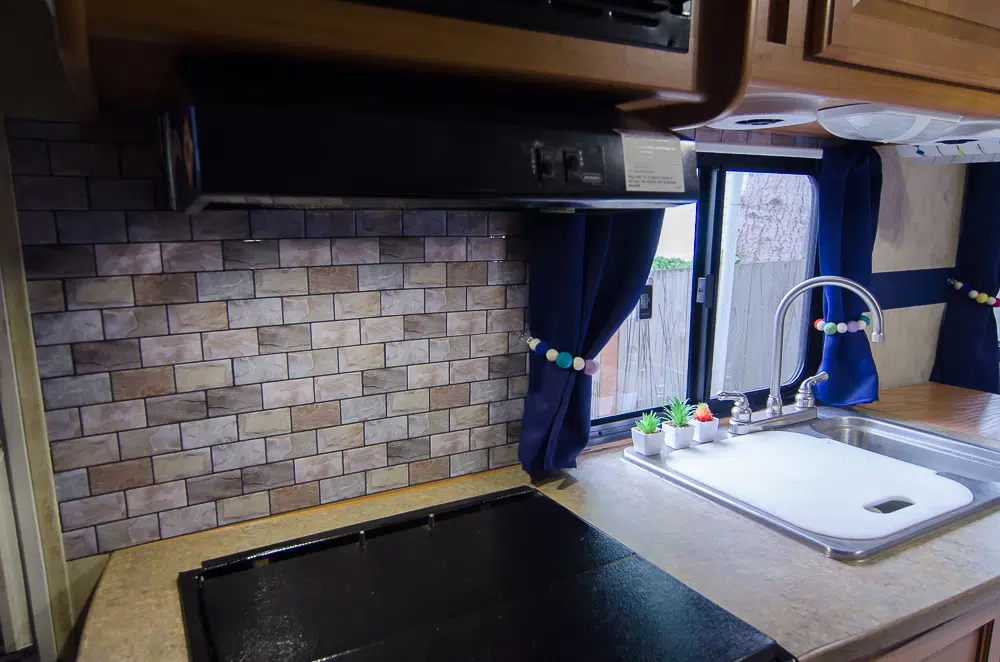
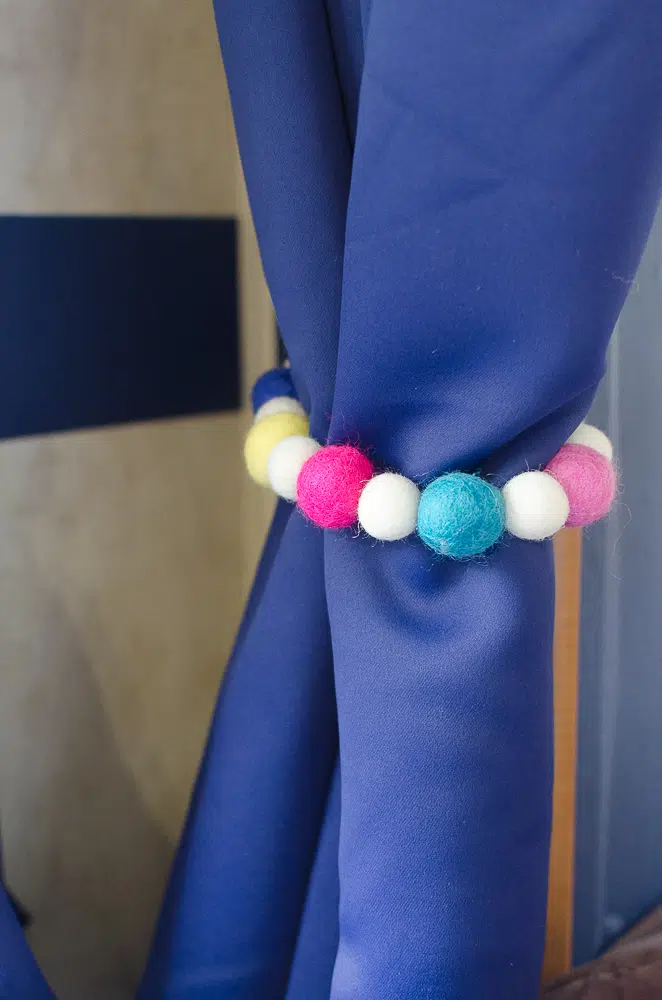
Next we replaced the cornice boards and blinds with blackout curtains. They really do make it nice and dark! We made the tie backs with felt balls and fastened them with Command hooks. And instead of shelling out money for new custom cushions, I bought these great slipcovers to easily cover them up. I also bought some eclectic pillows at Goodwill along with a couple of coordinating throw blankets. Initially I bought some cute new blankets, but realized I’d rather have used ones for the trailer since they’ll probably get dirty and have the occasional ember burn a hole in them when cuddled up around the fire.
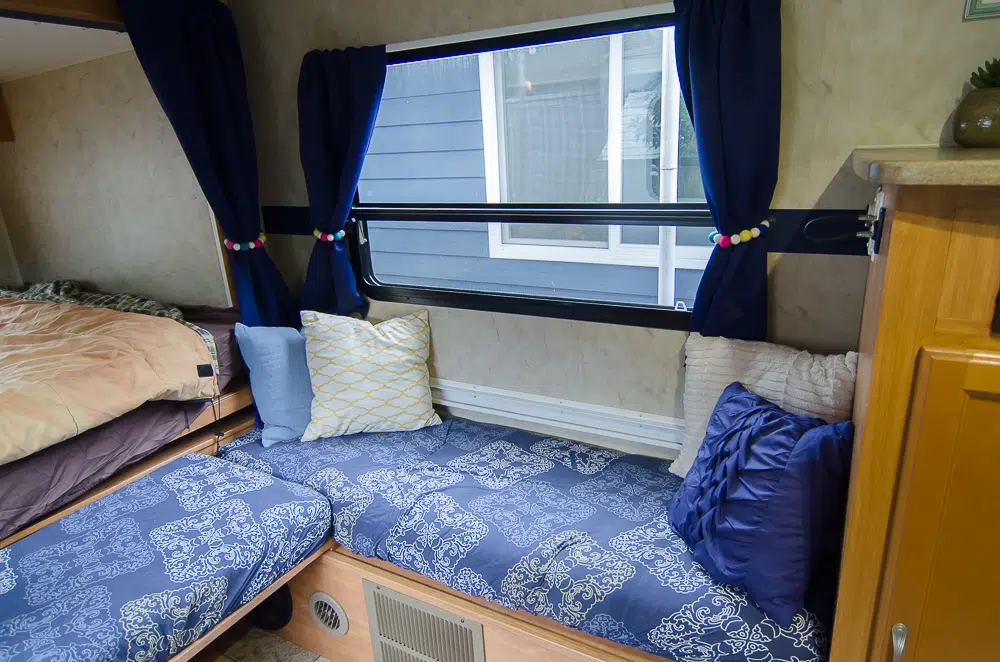
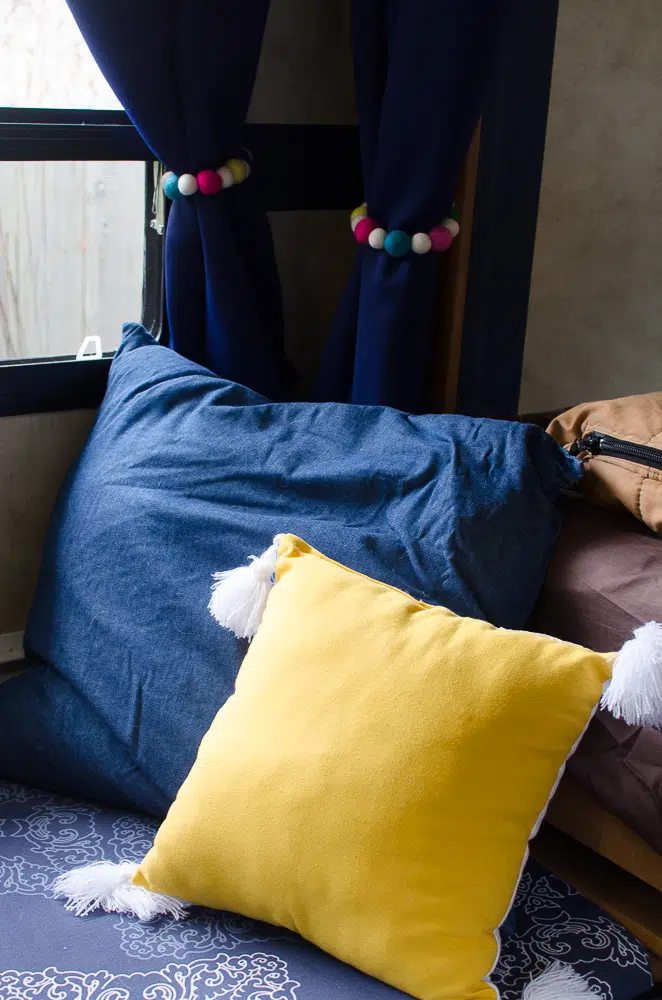
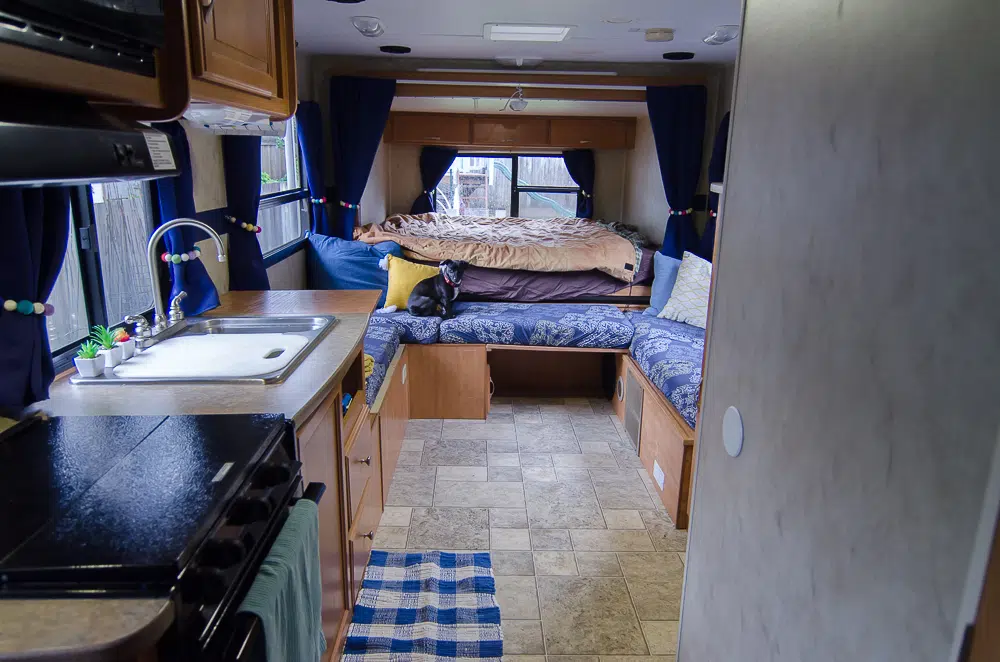
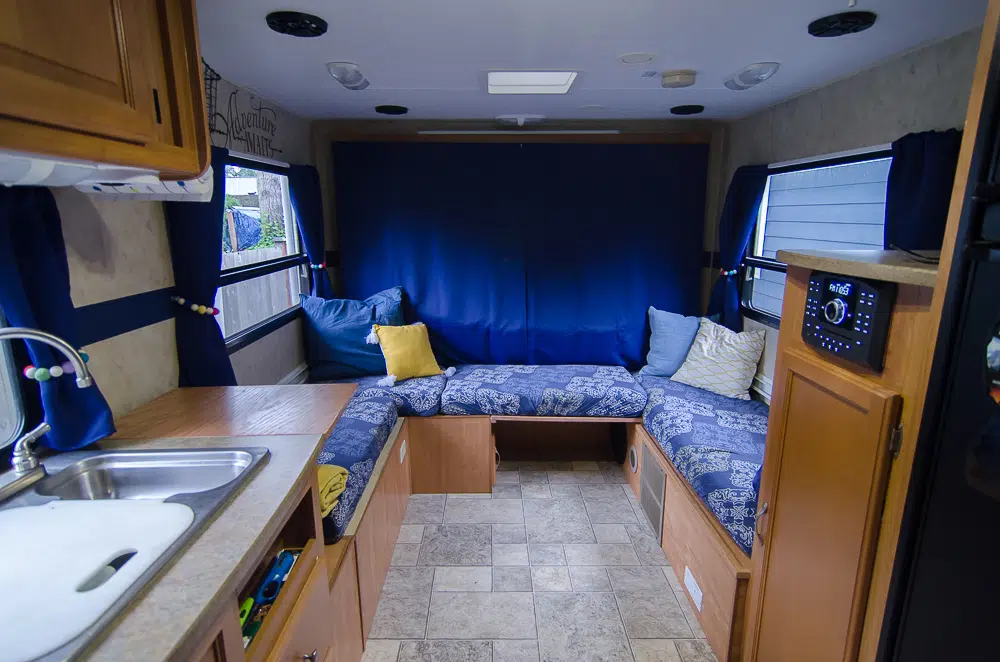
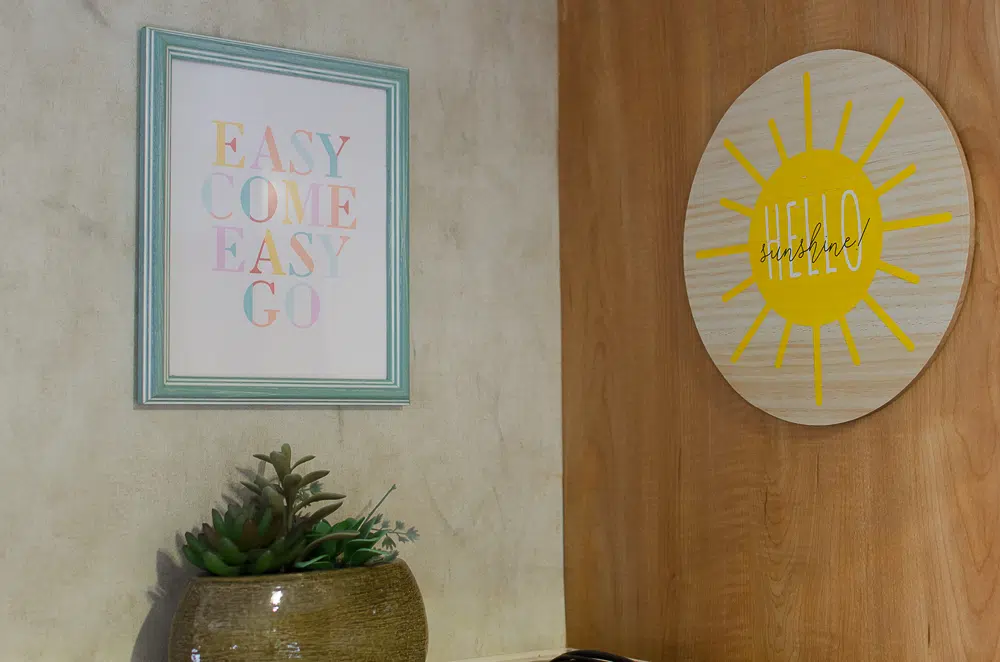
Then I added some more pops of color with lightweight decor I got at Goodwill and put it up using heavy duty mounting adhesive.
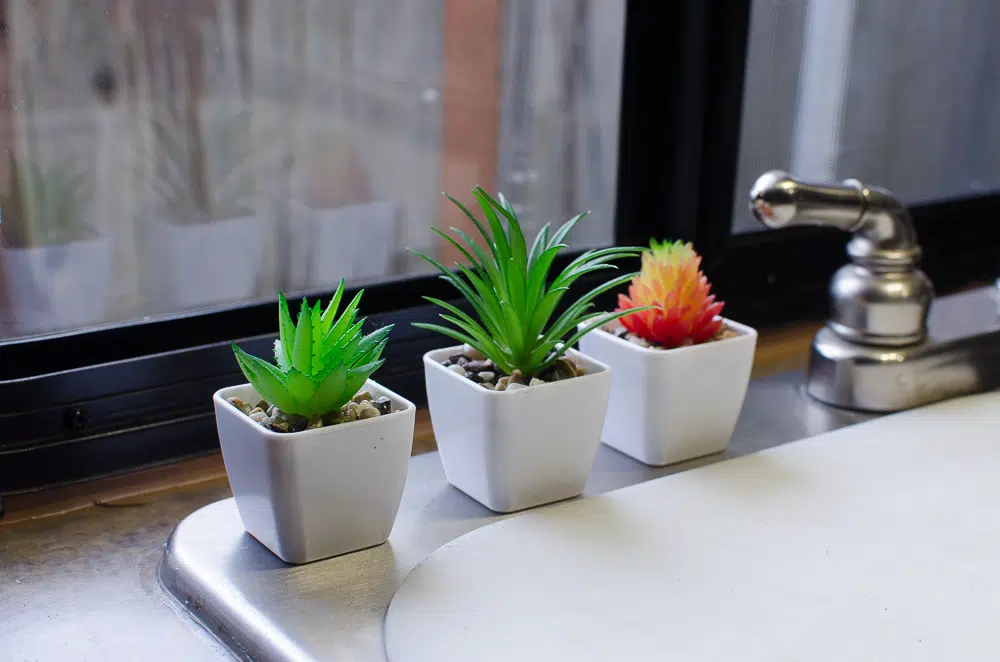
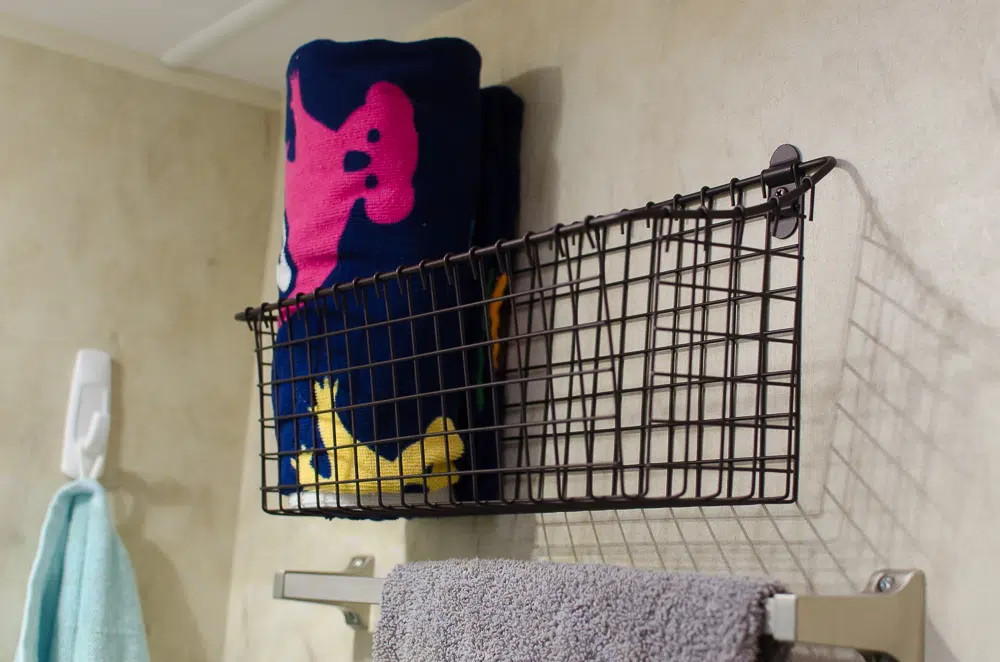
I added a couple of baskets for additional storage.
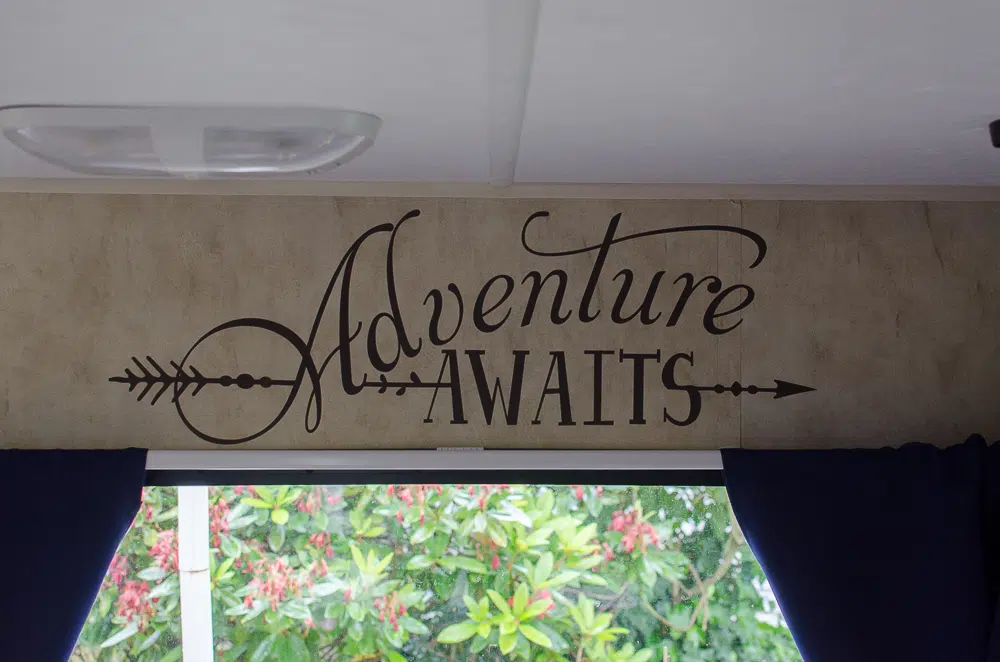
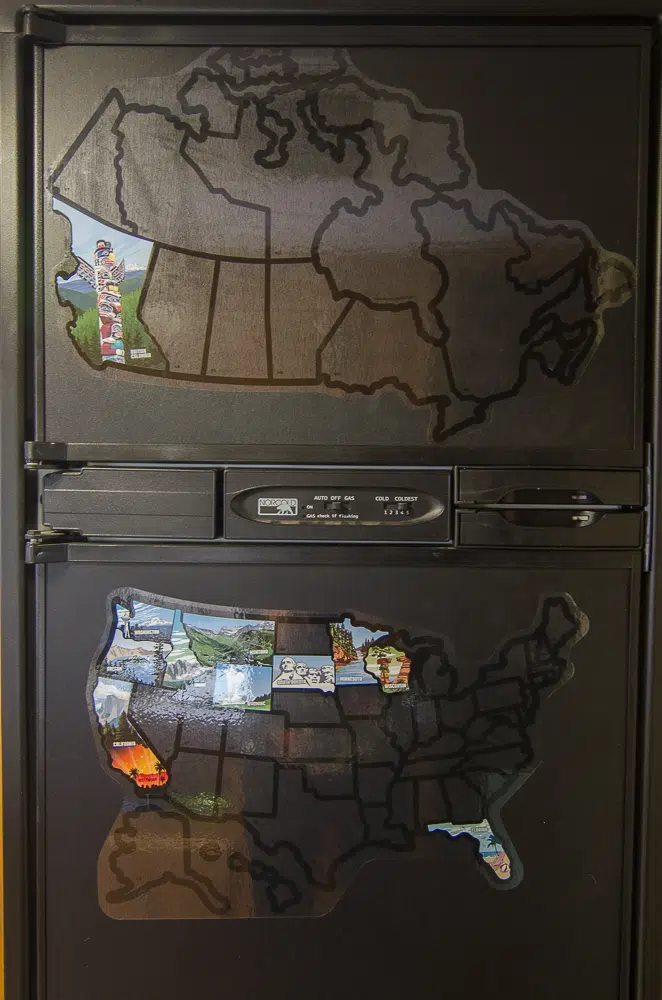
And finished it off with my favorite elements of the whole remodel: a wall vinyl and a sticker map to track our travels.
I actually do have regular (and pretty) bedding for our bed, but we both loooooooove our double sleeping bag and it keeps winning out, comfort-wise. Someday we may spring for a new RV mattress (I’ve heard great things about this one from experienced campers) but for now we’ll stick with the plush and cozy sleeping bag we’ve used for years.
And that’s it! Over the course of a weekend we updated our trailer. There was no painting involved and everything was pretty easy. And while, yes, there is still a lot of brown, the whole trailer feels MUCH more updated and personalized. And it’s practical, too. I don’t have to worry about every spec of camping dirt showing up on my walls, floors, or cabinets.
Below are the products I used, and what I spent. In total I spent about $450.
- PEEL & STICK BACKSPLASH (2 boxes): $80
- BLACKOUT CURTAINS (available in multiple colors and sizes): $100
- PEEL & STICK WALLPAPER BORDER: $15
- CUSHION COVERS: $60
- MOUNTING ADHESIVE: $11
- STORAGE BASKETS: $20
- “ADVENTURE AWAITS” WALL VINYL: $15
- RV STICKER MAPS (US and CANADA): $45
- BLUE & WHITE CHECKERED RUG: $10
- FELT BALLS + RINGS FOR CURTAIN TIE BACKS: $30
- GOODWILL DECOR & FURNISHINGS: $65 (though I did seriously contemplate this yellow throw blanket and these super-cute camping-themed throw pillow covers)
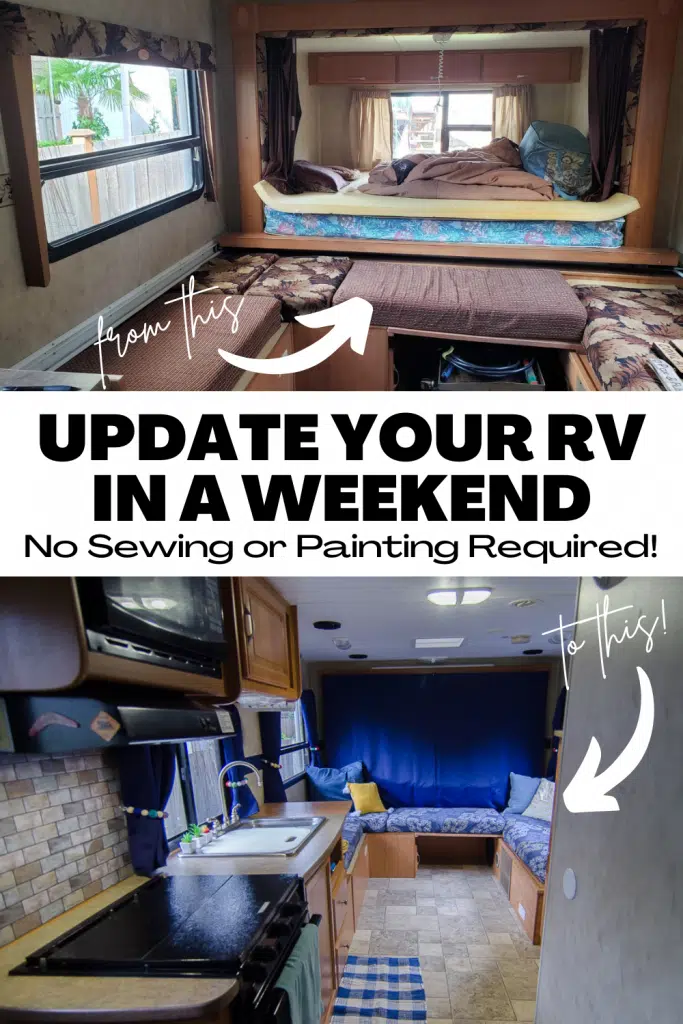
Here are the final before-and-after side-by-sides!
PIN THIS!
RELATED:
https://www.allmomdoes.com/2019/07/28/tips-to-organize-your-travel-trailer/
https://www.allmomdoes.com/2021/06/18/camping-with-dogs-these-are-the-things-you-need/
