We moved into our home nearly four years ago, and we bought a suite of new appliances. When we were at the store I fell in love with the gorgeous French door refrigerators, so that’s what I got. But the love affair was short-lived when I noticed its major flaw almost immediately: the drawer freezer.
You guys. I freeze everything. Which means at times my freezer is filled with random-sized containers of parmesan cheese rinds, chicken bones and veggie scraps for making stock, leftover rice, half-cans of coconut milk, baggies of tomato paste, egg yolks, lemon juice…you name it, I’ve probably freezed it at some time. I developed this habit when I had a side-by-side fridge and freezer with a ton of shelves and a couple small baskets that made everything easy to stack and organize and keep visible.
But this drawer freezer that lives below my gorgeous French door fridge…let me tell you, it’s an abyss. And for almost four years now I’ve been meaning to find a way to organize it…and I FINALLY got around to it. Here’s how I managed to organize my drawer freezer. But first, let me tell you why it’s a pain.
The Problem With Drawer Freezers
Now, there are lots of different types of drawer freezers. Some have two drawers. Others have three. They all have different designs so my problem might not be the same as yours. But mine has 3 main problems:
- The top compartment is prime real estate because it’s so easy to organize. It’s not too deep, you can stack stuff, it’s easily accessible. Basically you want to put everything you can there – but you can’t.
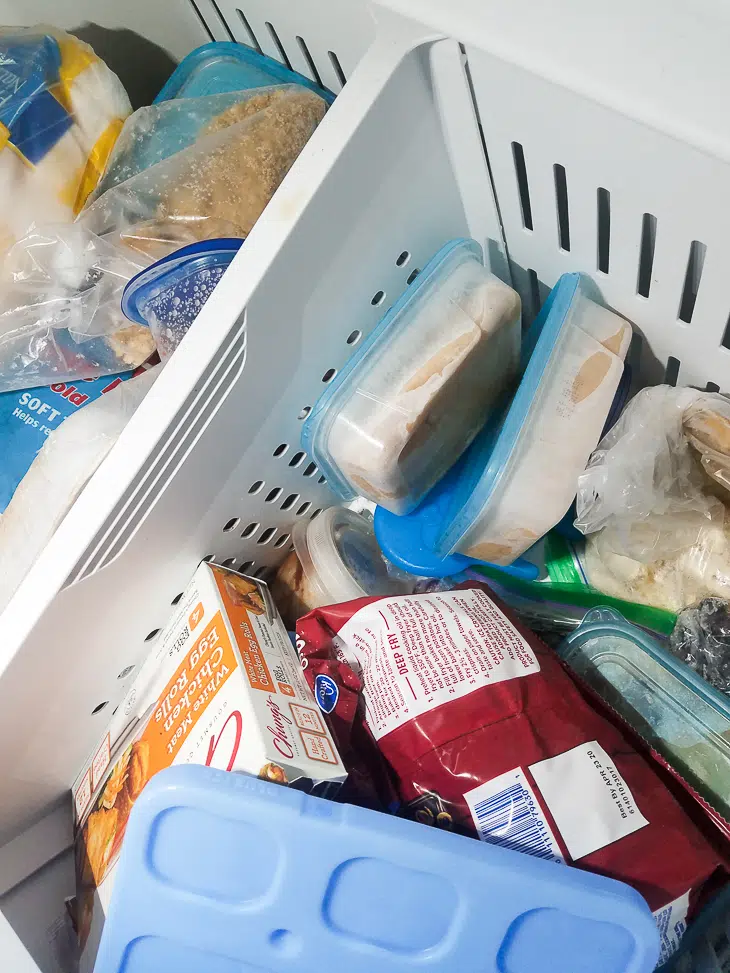
- The bottom compartment is ridiculously deep. Even if you put boxed or packaged items in there, you’re going to end up with wasted space. It’s inevitable that things will get stacked on top of each other, hiding some of the contents.
- The bottom compartment is awkward. The back of my bottom compartment slopes up. No doubt that’s to accommodate the refrigeration mechanism so it can’t be a 90 degree angle. And I appreciate the attempt to give me more usable space, but let’s be honest – it’s not really usable.
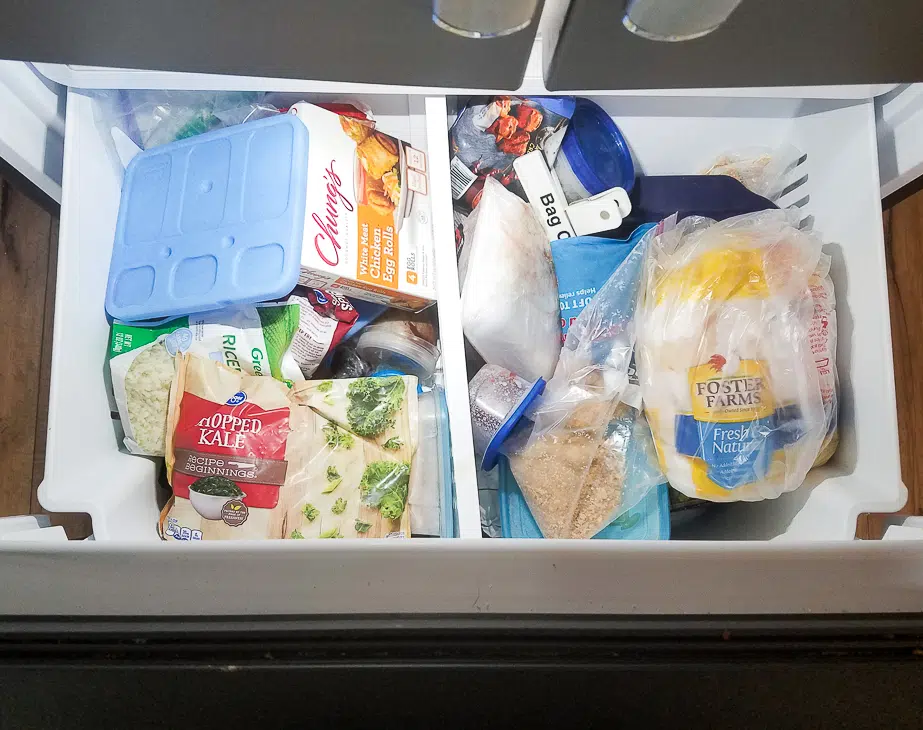
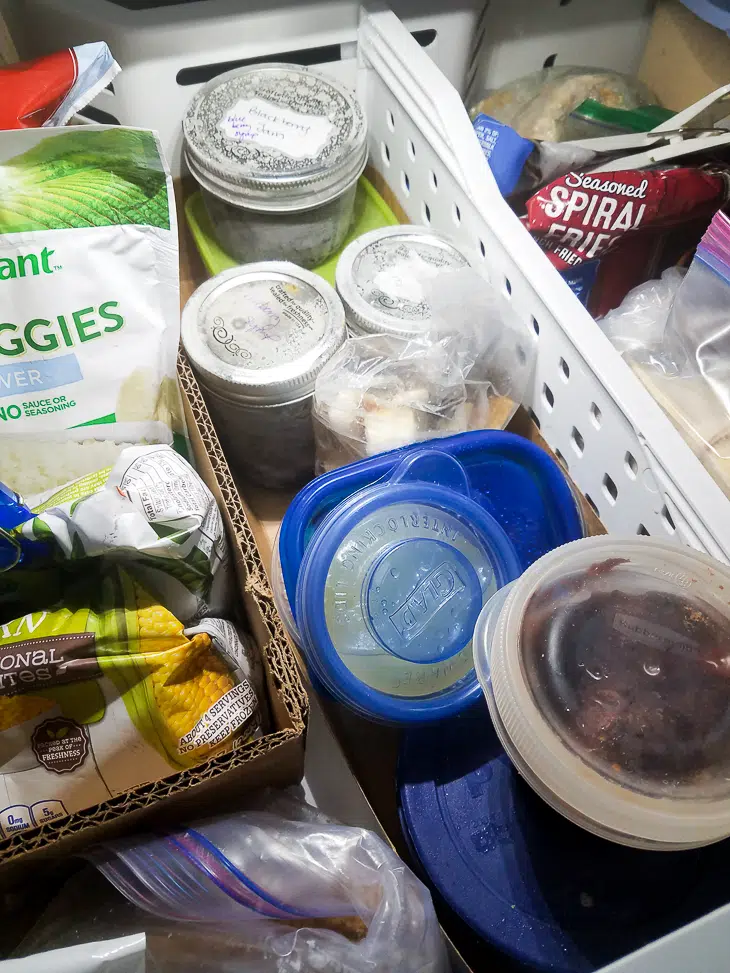
Here’s how my freezer was looking before I started this project. Not well organized, lots of things weren’t visible, a ton of teeny containers that would tend to get lost in the bottom of the freezer, and the space was not well maximized.
Organizing a Drawer Freezer
Once I identified the specific problems I faced with organizing my freezer (AND KEEPING IT ORGANIZED), I was able to implement specific solutions. Here’s how I organized my drawer freezer
1. Take everything out. Until you see exactly what you have, you won’t be able to organize it.
2. Remove things that don’t need to be there. I discovered I had a huge stash of ice packs taking up valuable real estate in my freezer. They’re not things I use on a regular basis – mainly in the summer when we go on picnics – so I took them out. I’ll re-freeze them when I need them, but for now they don’t need to take up space I don’t have.
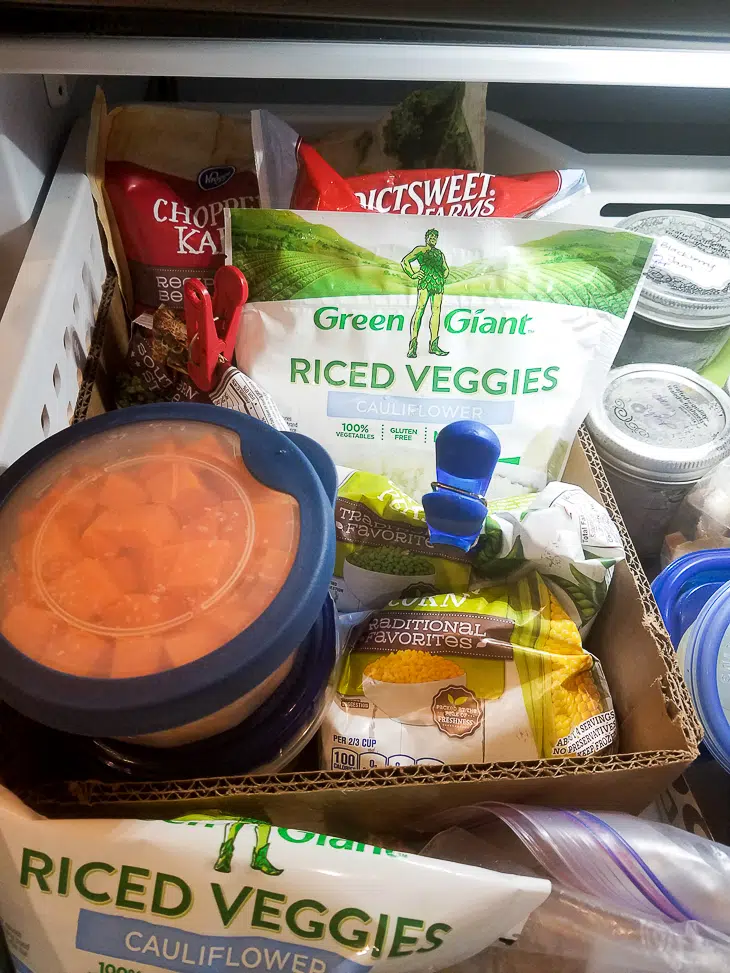
3. Create smaller compartments to stack items so they’ll remain visible. Yes, you can buy organizers for your freezers. But I just use cardboard boxes and they hold up just fine. Instead of tossing all of my frozen veggie bags into the deep drawer, I can now see everything I have. I also cut a case of pop in half to create a space for all of my little miscellaneous things.
4. Short things go on top, taller things go on the bottom. I know. Duh. But maximize that precious space on top by choosing to house things that can fit well.
5. Make awkward things stackable. I’ll be honest. I’m not sure how to do this for pot roasts and whole chickens, but for other things like chicken breasts I take them out of the packaging before I freeze them and put them in square, stackable containers. That means I have a whole square stack of containers of chicken that is easily identifiable. No more losing random containers of chicken to freezer burn.
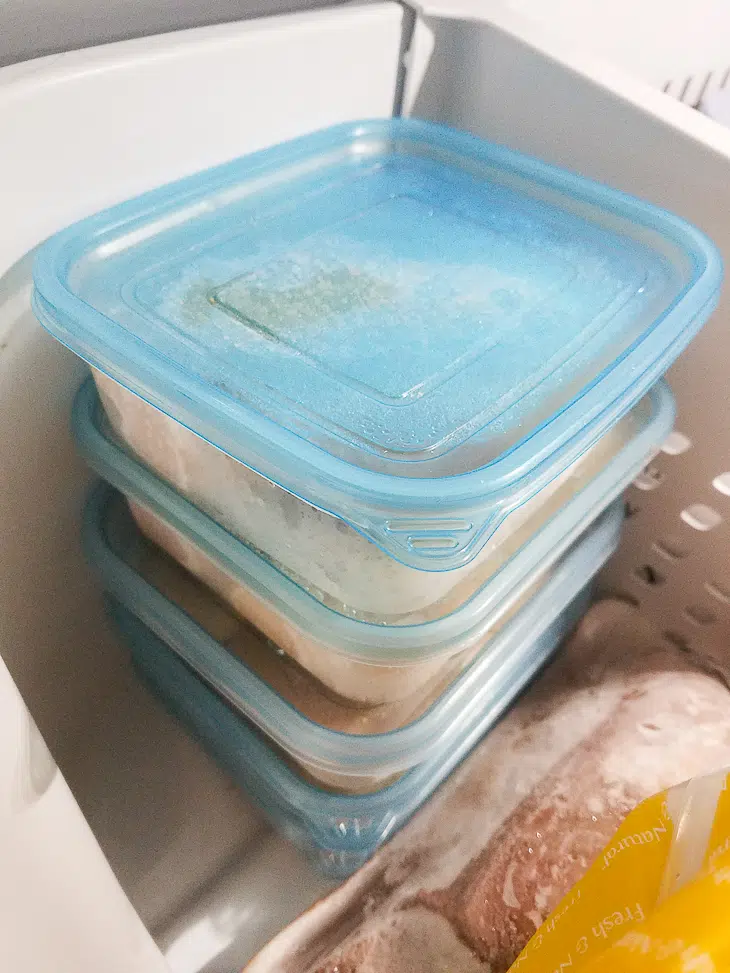
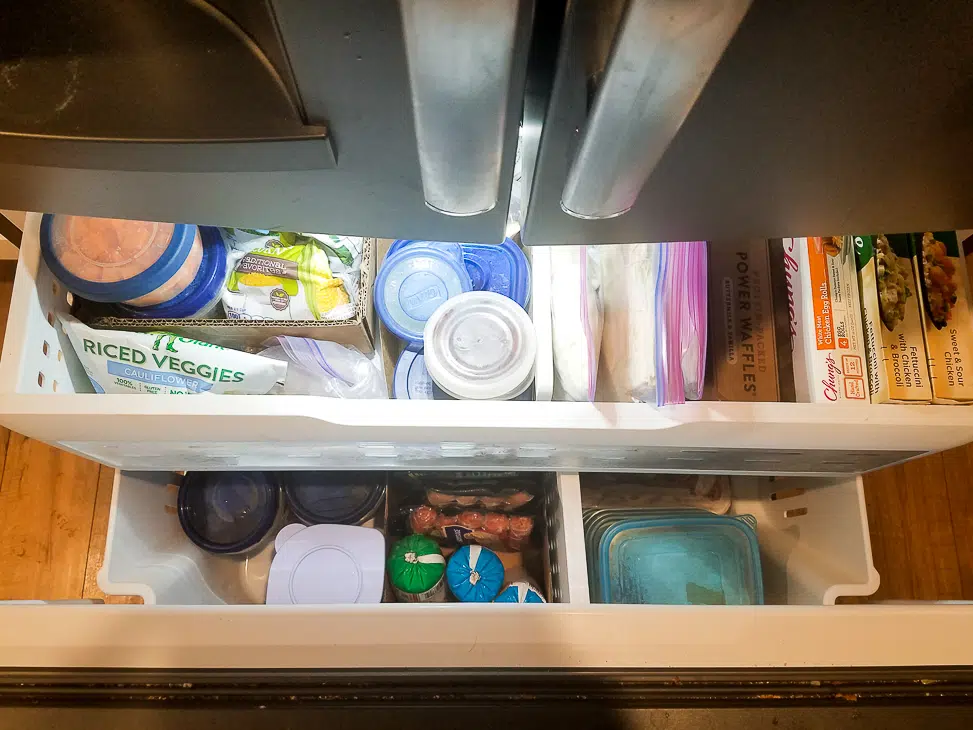
6. Identify freezer zones. You don’t have to label these (unless of course you want to), but keep “like” items together. In my top drawer, the left side is veggies and all of my small, random items – each in their little cardboard organizers. On the right are packaged or fully cooked items. In the bottom drawer on the right are raw meats, and on the left are packaged meats that are stacked for easy visibility. That’s also where I put my chicken broth and leftovers. However you choose to organize it, stick with that organization the next time you put something in the freezer. Just last night I put in a half can of coconut milk for next week’s breakfast casserole, and while there were plenty of spaces that I could have stacked it, I put it with the rest of my “miscellaneous frozen items” so I won’t lose it.
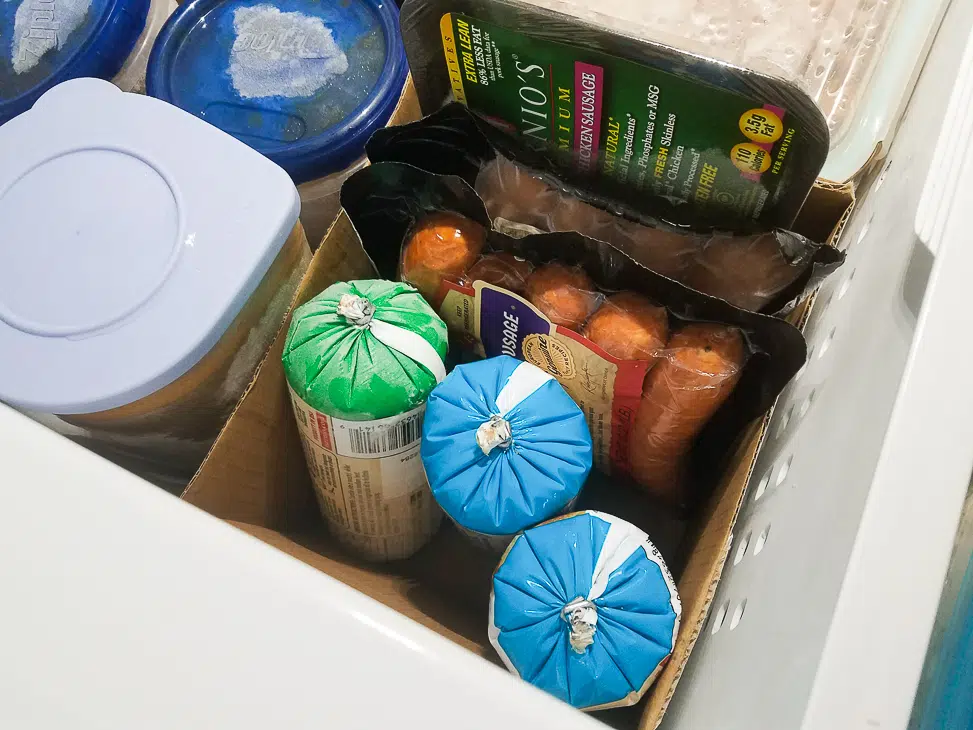
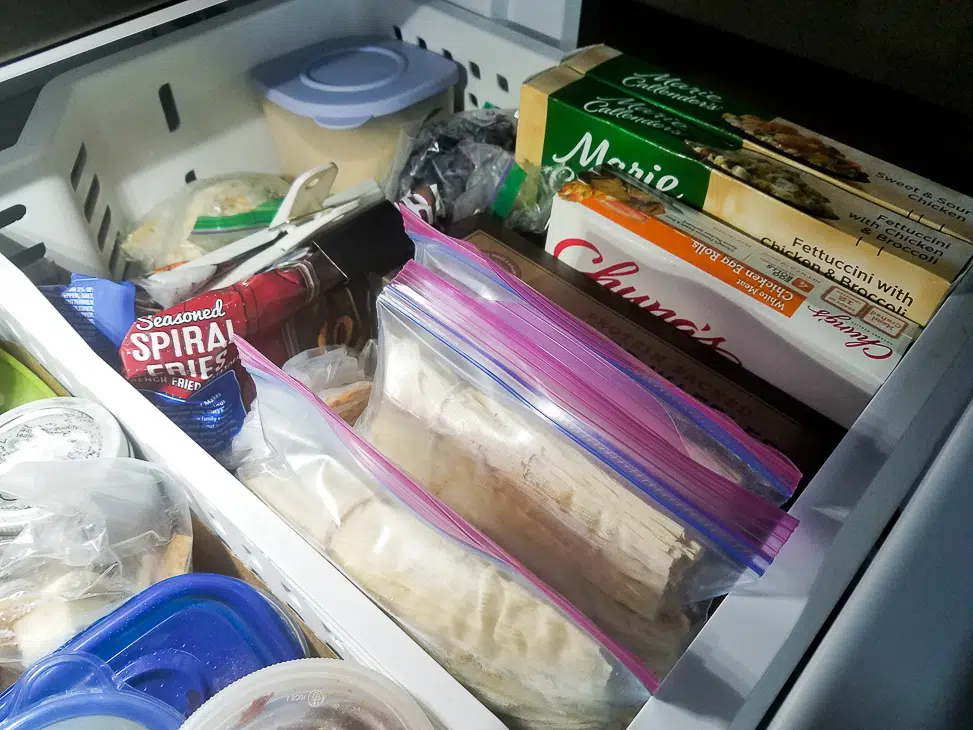
7. Be smart about what you put in areas that are not easily visible. In my freezer, it’s very difficult to see the very back of the top freezer drawer. So, that’s where I’ve put my yeast. It’s one of those things that I know I keep in the freezer, and I won’t forget it’s there if I can’t see it. So by using that space for something that I don’t need to see on a regular basis, I don’t risk forgetting about some random food that found itself hidden back there.
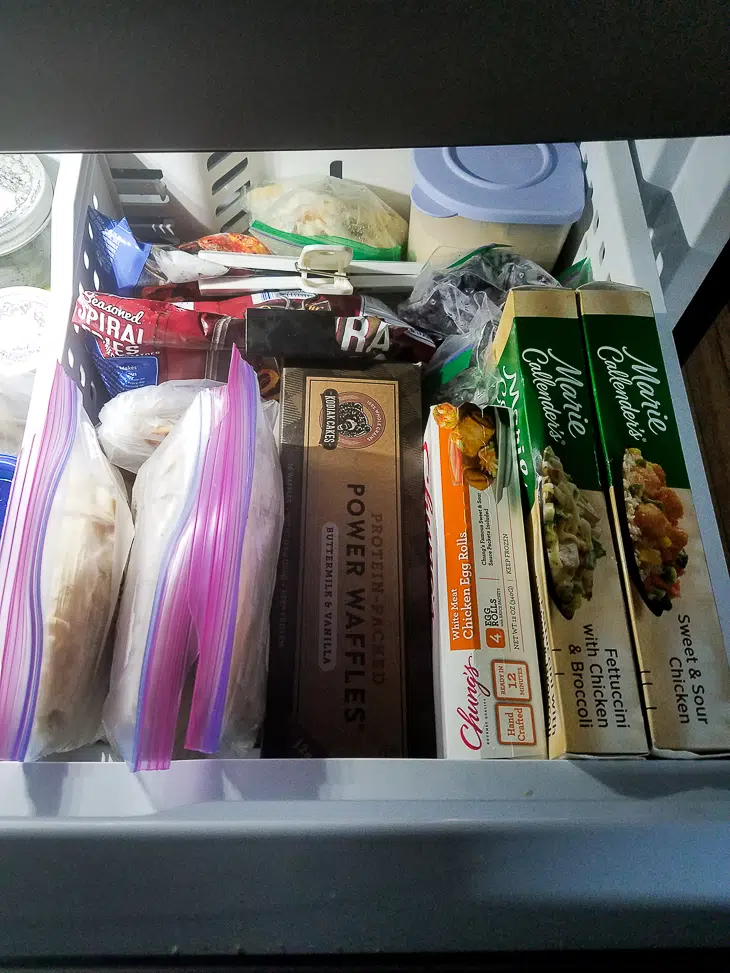
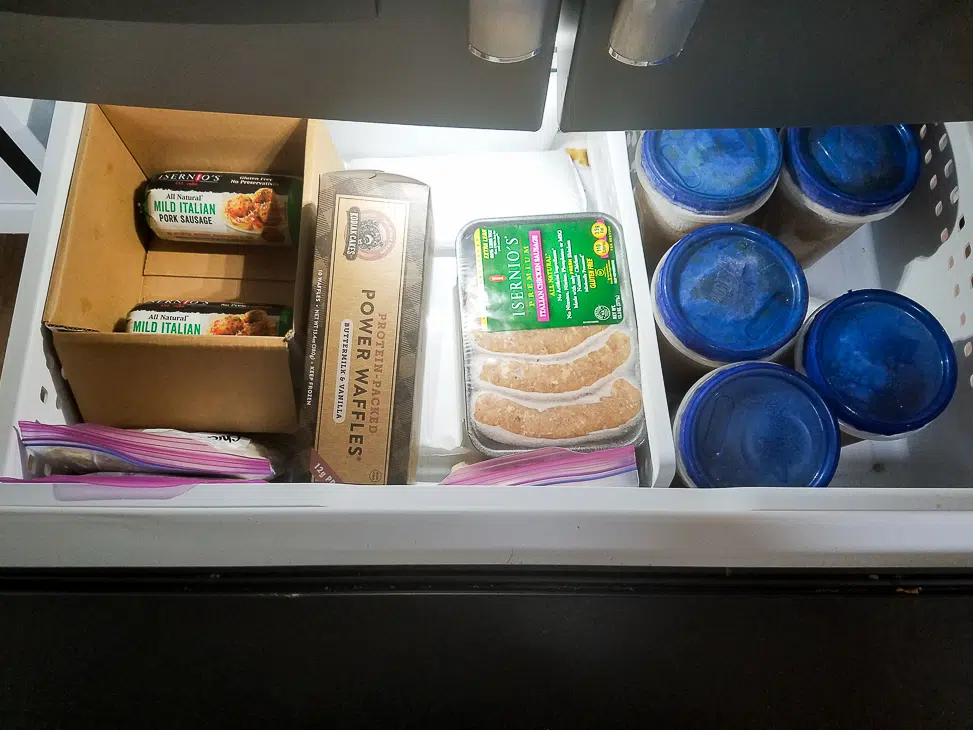
Here’s the end result after organizing my freezer – and I think I’ll be able to maintain it since I’ve got identified zones for everything. After four years of hating my freezer, I think we’ve finally made peace with each other. What are your best tips for organizing a drawer freezer?
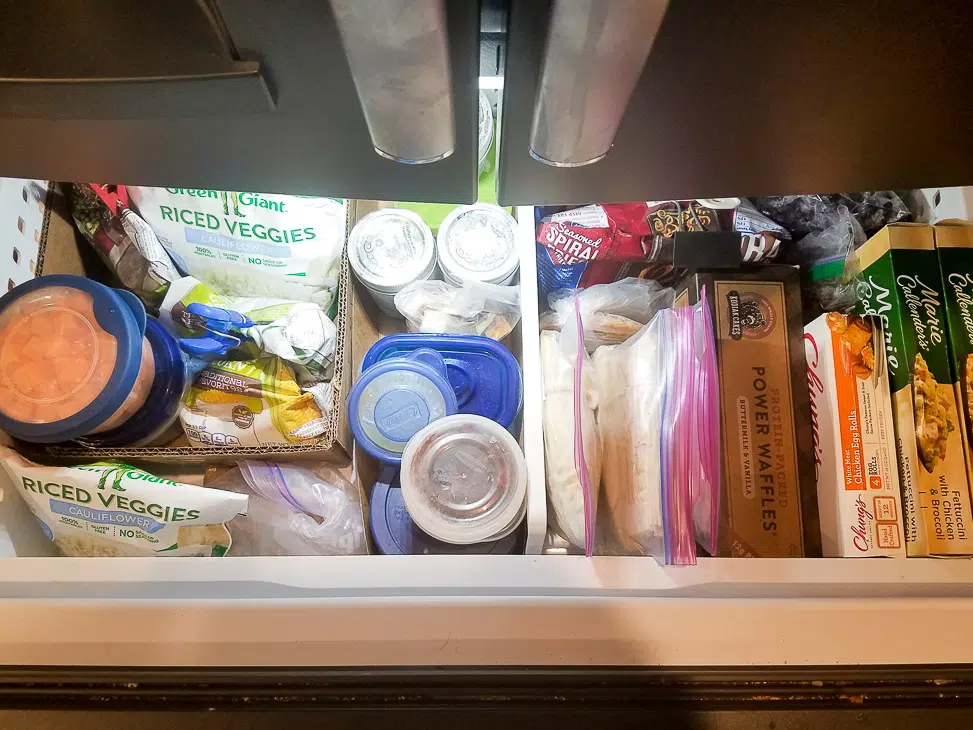
top drawer – veggies & miscellaneous on left, packaged & fully cooked on right
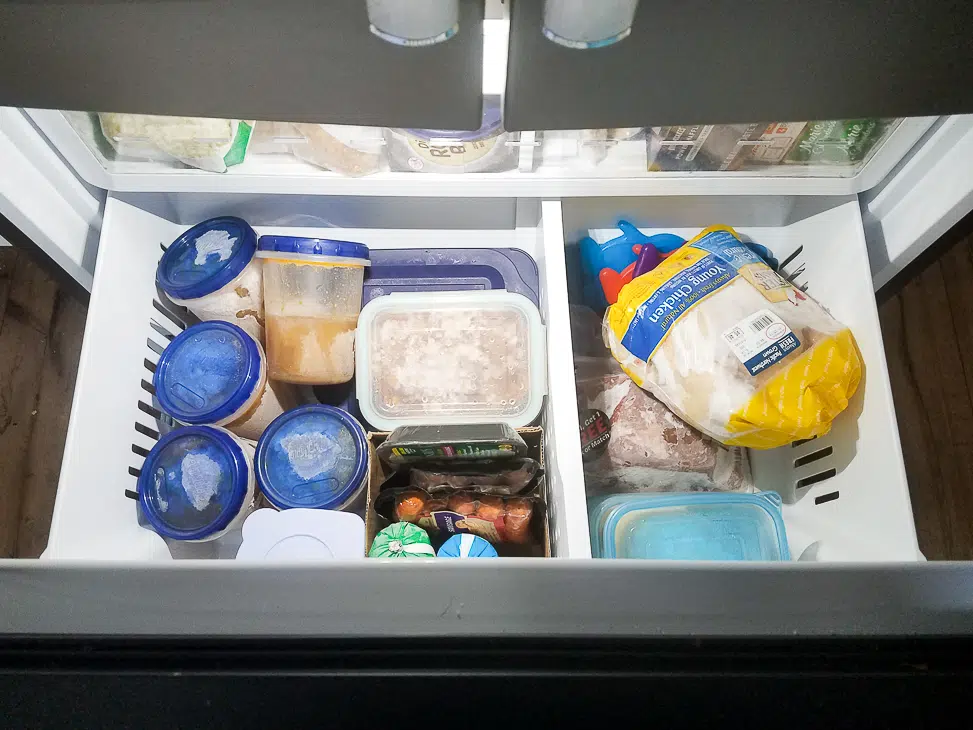
bottom drawer – broth, packaged meats, and leftovers on left, raw meats on right
RELATED:
- A Real Mom’s Fridge Clean-Out
- Save $2200 Year with This Trick
- How to Make Flavorful Homemade Chicken Broth
- The Essential Tools You Need for a DIY Kitchen Remodel
PIN THIS!
 Read more of Kristina’s contributions to allmomdoes here.

