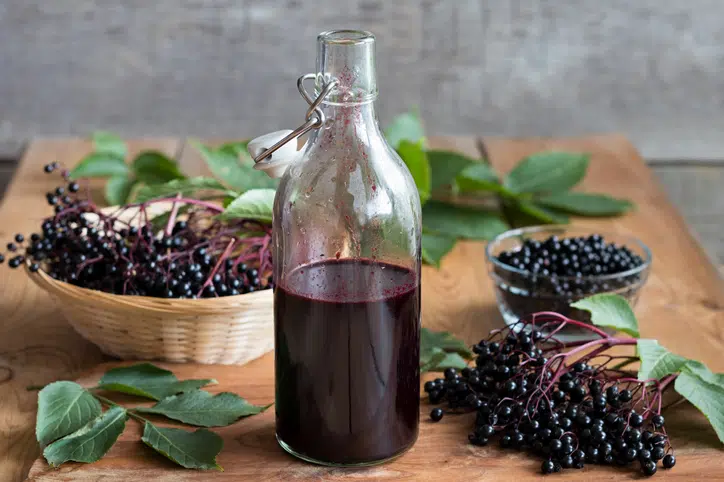
I’ve heard about the many health benefits of Elderberry Syrup, and what a powerful home remedy it was for preventing and alleviating cold and flu symptoms. So this cold season, I decided to ‘armor up’ and purchase some for our family to start taking it regularly. But when I saw the prices at the store, I had a bit of sticker shock! $10 and up for a little 4 ounce bottle? I knew I could make my own and save big! I quickly put my money-saving skills to work.
I asked one of my holistic-minded and healthy momma friends whether she made hers or bought syrup for her family of 7. She was a ‘make your own’ gal too and shared a great link with a recipe.
I searched online and found organic dried Elderberries on Amazon for $36 for a pound. (I’ve since found them even cheaper – $22/pound!) I calculated out the cost: with this recipe and a pound of dried berries, I could make 6 large batches of syrup, with 16 ounces or more of finished syrup per batch. With the honey and other ingredients factored in, I estimate it cost me $0.42 per ounce, or $1.66 for 4 ounces instead of $10-12! That is a huge savings, especially for how much our family would be soon consuming!
On my first try with this recipe, I had two issues: first, the mixture did not reduce as much as I would have liked. So I decided to cook it longer and remove the lid for the last 10-15 minutes of simmering to concentrate it even further. Secondly, the syrup was too sweet with a full cup of honey, so I reduced the honey to roughly 2/3 a cup and I like the flavor much better. This reduced the cost too!
Altered Recipe from Wellness Mama.
Homemade Elderberry Syrup
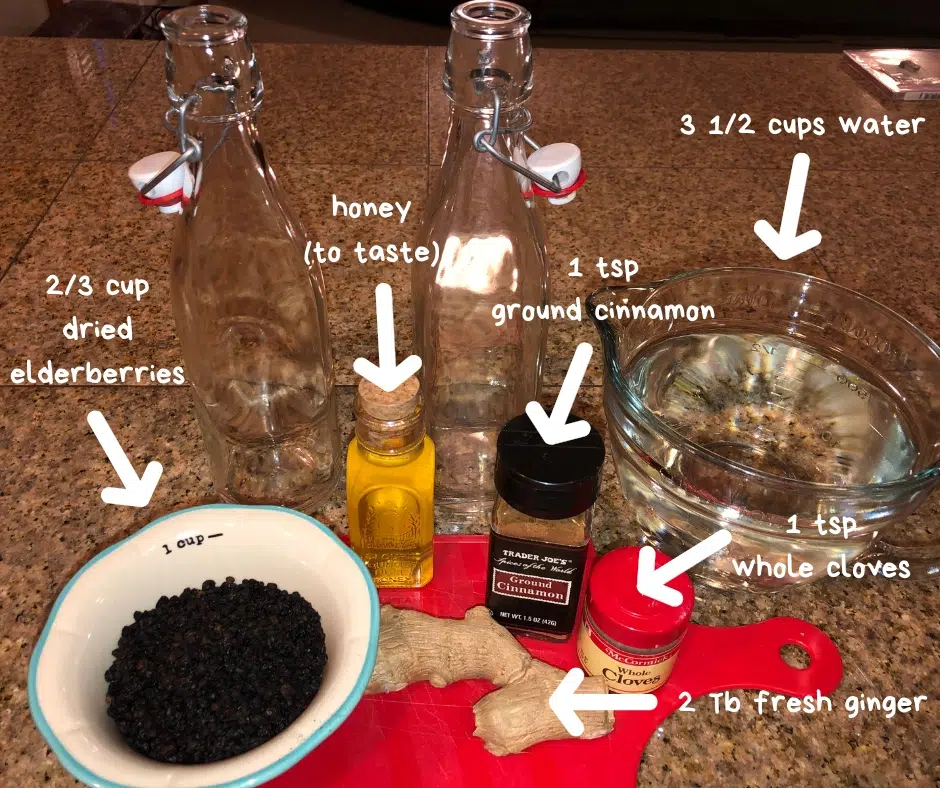
- 2/3 cup dried Elderberries
- 3 1/2 cups water
- 2 TBSP fresh ginger root – grated or diced finely
- 1 tsp ground cinnamon
- ½ tsp ground cloves (or 1 tsp whole cloves)
- ½ – 2/3 cup raw honey (adjust to taste)
Kitchen Tools Needed:
- 4 qt or larger saucepan with tight fitting lid
- Fine wire/mesh strainer
- Spatula for stirring & scraping
- Flip top bottles or Mason jars with tight lids
Directions:
- Pour all ingredients except honey in saucepan, and stir briskly to combine.
- Bring mixture to a boil, then reduce to a simmer and cover. Let simmer for 30-45 minutes covered, stirring every 10 minutes or so. This is to plump up and rehydrate those berries!
- Remove lid, continue to simmer another 15 minutes, or until the liquid has reduced in half from the beginning amount.
- Remove from heat, let cool about 20-30 minutes and pour entire mixture into a large bowl.
- Using a fork or backside of a strong spoon, mash berries and combine ingredients well. Work through all berries until they are all smooshed, (that’s a technical term – smooshed).

- Let sit another 15-20 mins to “steep”.
- Pour mixture through fine mesh strainer. Drain well, and then gently press the berry mixture to mash out all the good stuff and any remaining liquid.
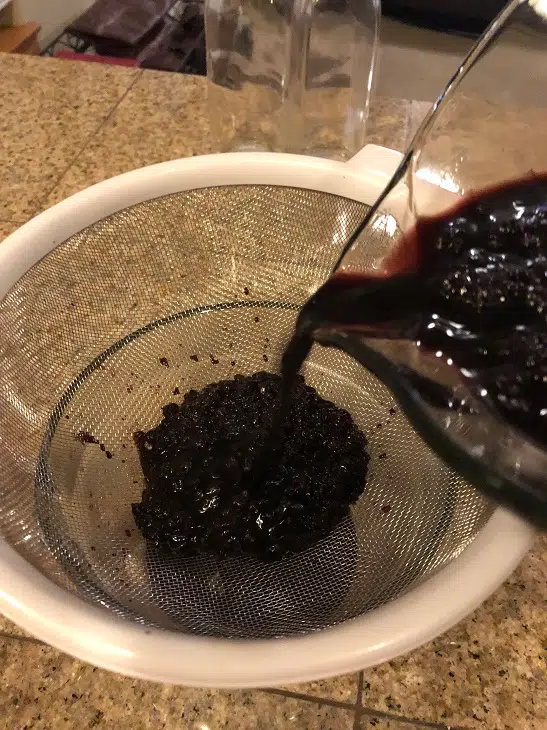
- Allow to cool to room temperature, then add honey and mix well.
- Fill your bottles or jars, and refrigerate. That’s it!
Each batch yields about 16 – 20 ounces of Elderberry Syrup depending on how much you reduce the liquid. Syrup will keep for 2-3 weeks in the fridge, but our family of 4 usually drinks it faster than that!
Recommended Use:
- Take 1-2 teaspoon of syrup per day for overall wellness.
- At onset of cold or flu symptoms, take 1-2 teaspoons, 3 times a day until symptoms subside.
AllMomDoes may provide information related to exercise, fitness, diet and nutrition and is intended for your personal use and informational purposes only. You should consult with a physician before beginning any exercise, fitness, diet or nutrition routine, especially if you are pregnant or have a pre-existing health condition. Nothing contained on AllMomDoes should be considered as medical advice or diagnosis. The use of AllMomDoes is solely at your own risk.
 Julie Brossow is a working mom. She is passionate about finding deals, stretching dollars, and healthy living with homemade remedies.
