Beautiful, colorful flowers are blooming and blossoming all around us, and now is the perfect time to gather them for all kinds of projects. My favorite flower themed project so far is pressed flower bookmarks. I made some for myself, for family and friends too. It is such a beautiful and creative way to preserve flowers, so I get to enjoy their beauty all year round. I absolutely loved every single step of this process, even the part where I had to wait for two weeks as my flowers dried safely tucked away between the pages of the heaviest and largest book we own. I was able to endure the waiting part and trust the process because I knew that in the end, I would love the result. Had I not waited the required time for my flowers to get pressed, flattened and dried appropriately, the results would have been botched and sub-par. And so it is with every season of waiting that God places us in. Trust in Him, trust the process, because He makes everything beautiful, in its time.
Ecclesiastes 3:11 He has made everything beautiful and appropriate in its time.
What you need:
Flowers
Paper towel
Large heavy book
Laminating pouch
Laminator
Scissors
Hole puncher
Ribbon
Directions:
Step 1: Pick some pretty flowers. Try to choose thin or delicate flowers for the best result and fast drying time.
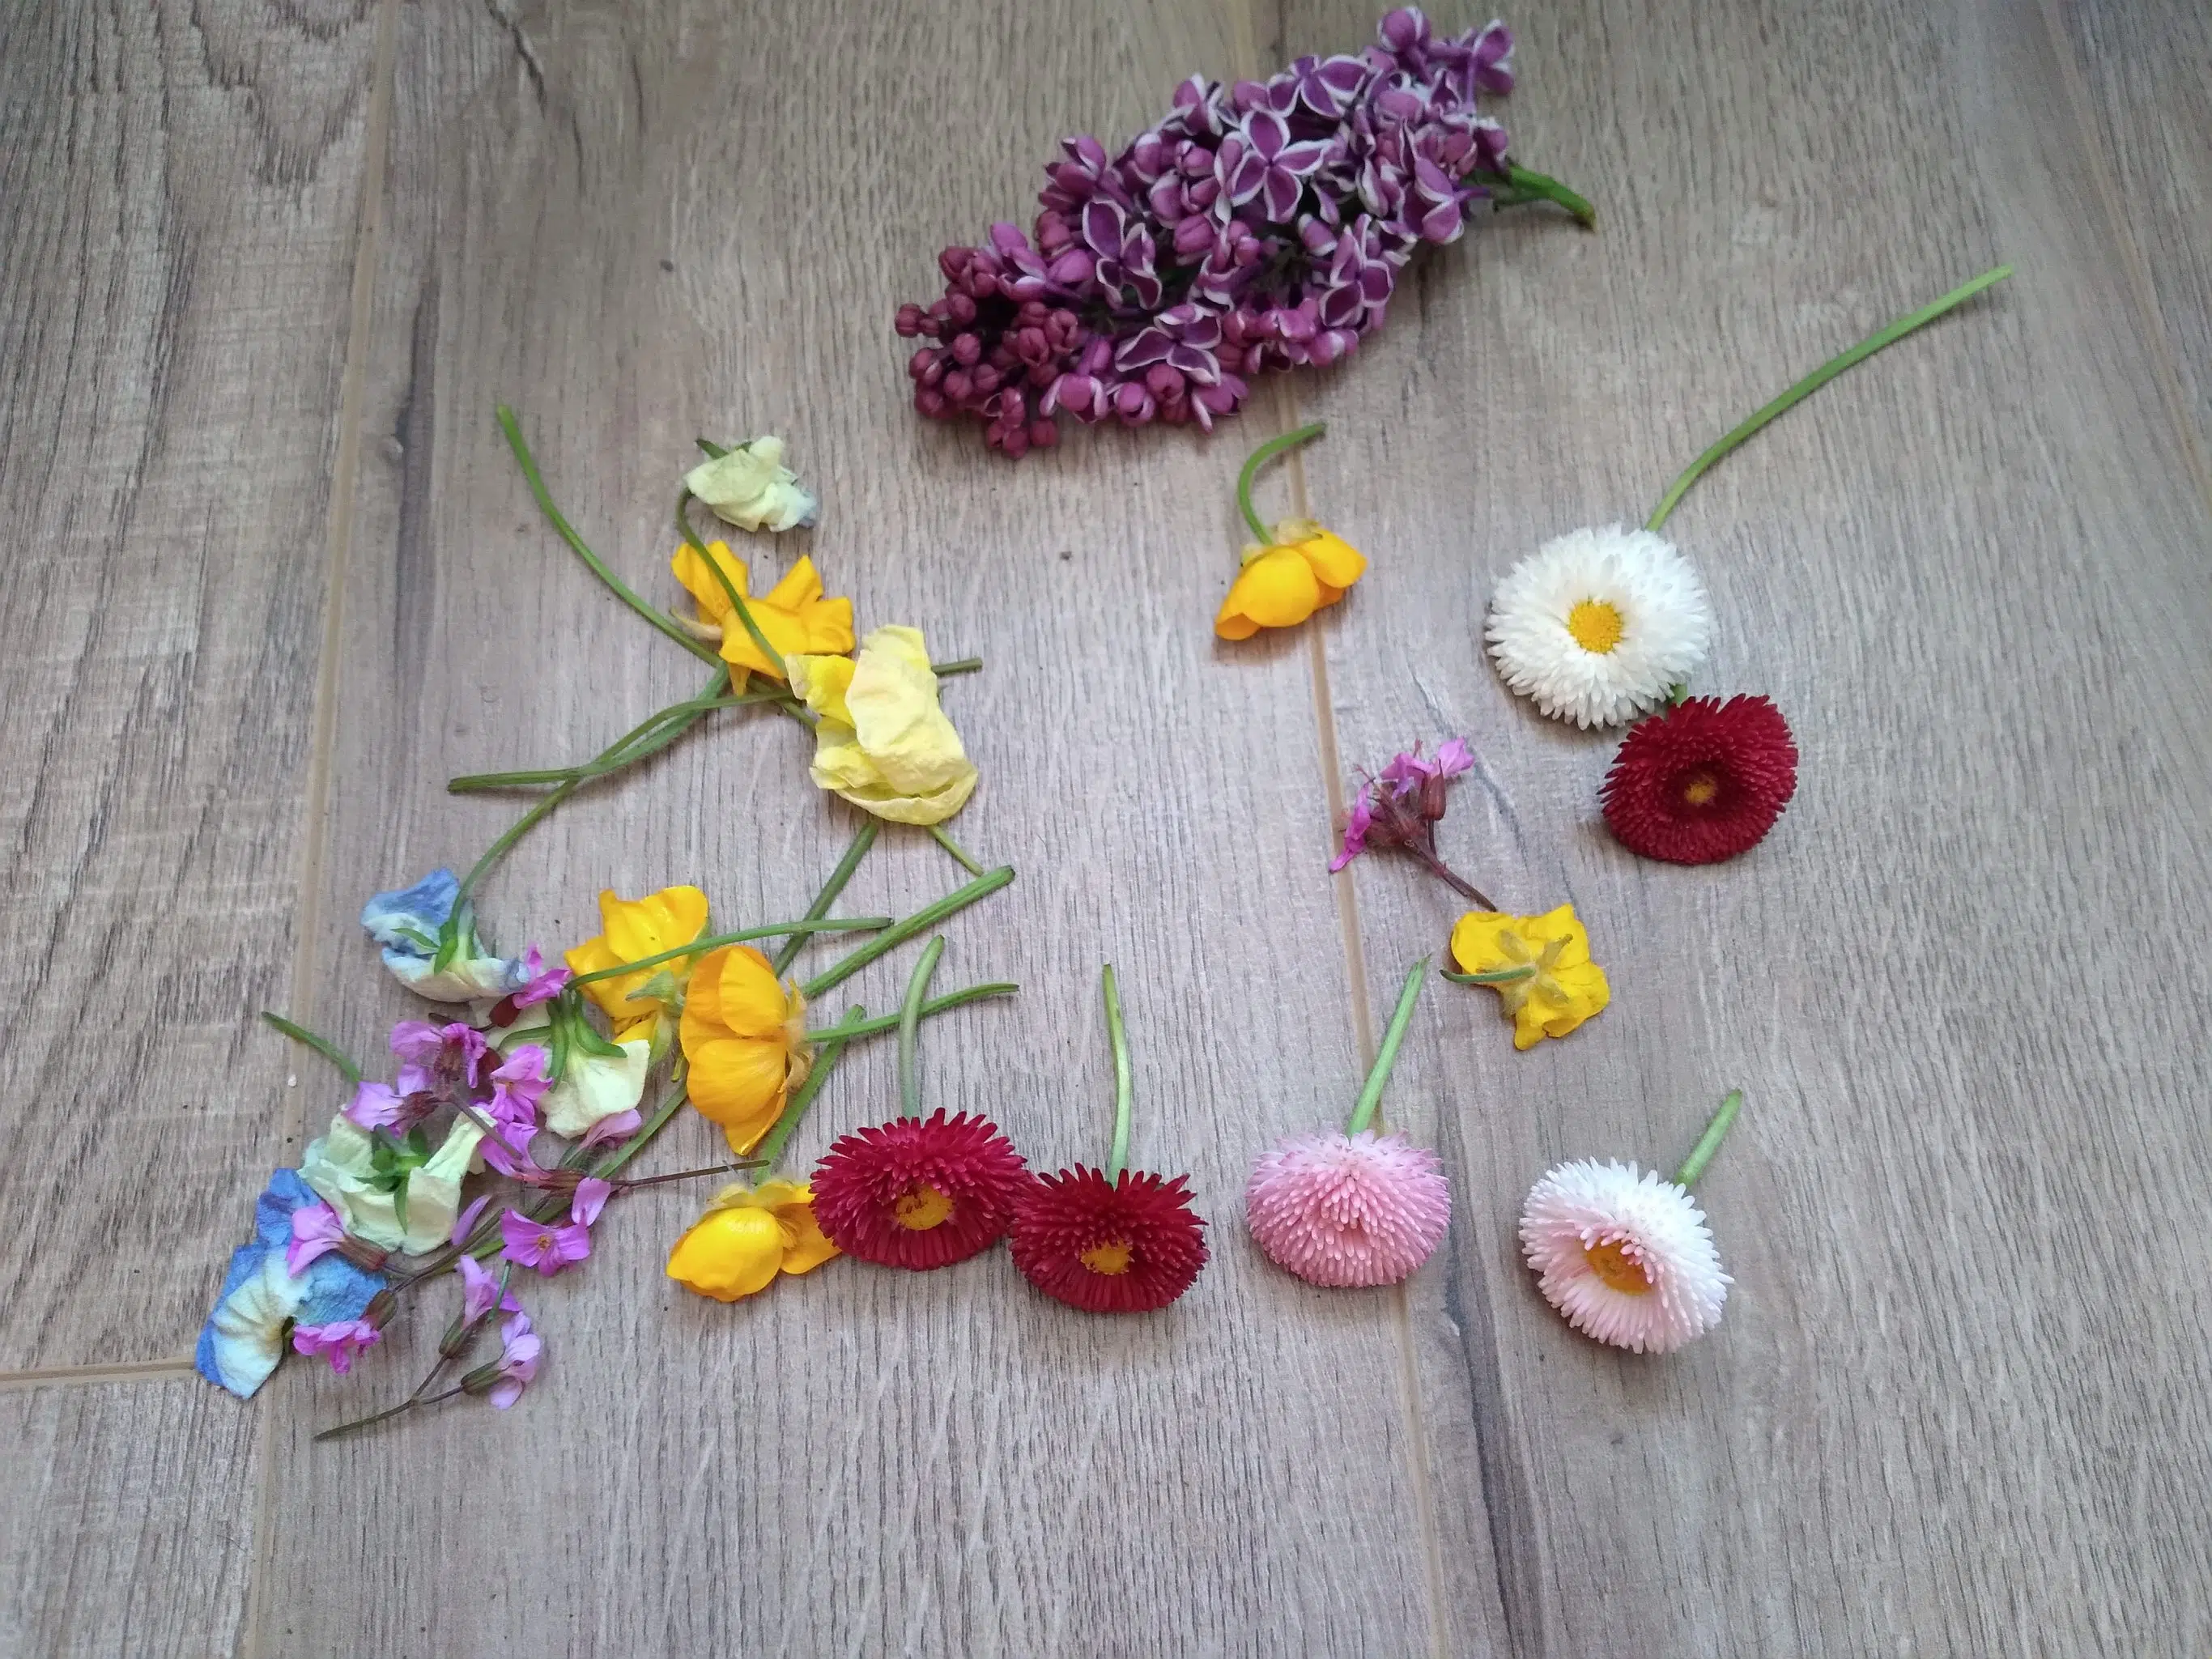
PC: Rachel Matembe
Step 2: Lay the flowers out on a paper towel. Do not let the flowers touch. Cover with another paper towel. The paper towels will absorb the moisture from the flowers as they dry and prevent the book pages from getting wrinkly.
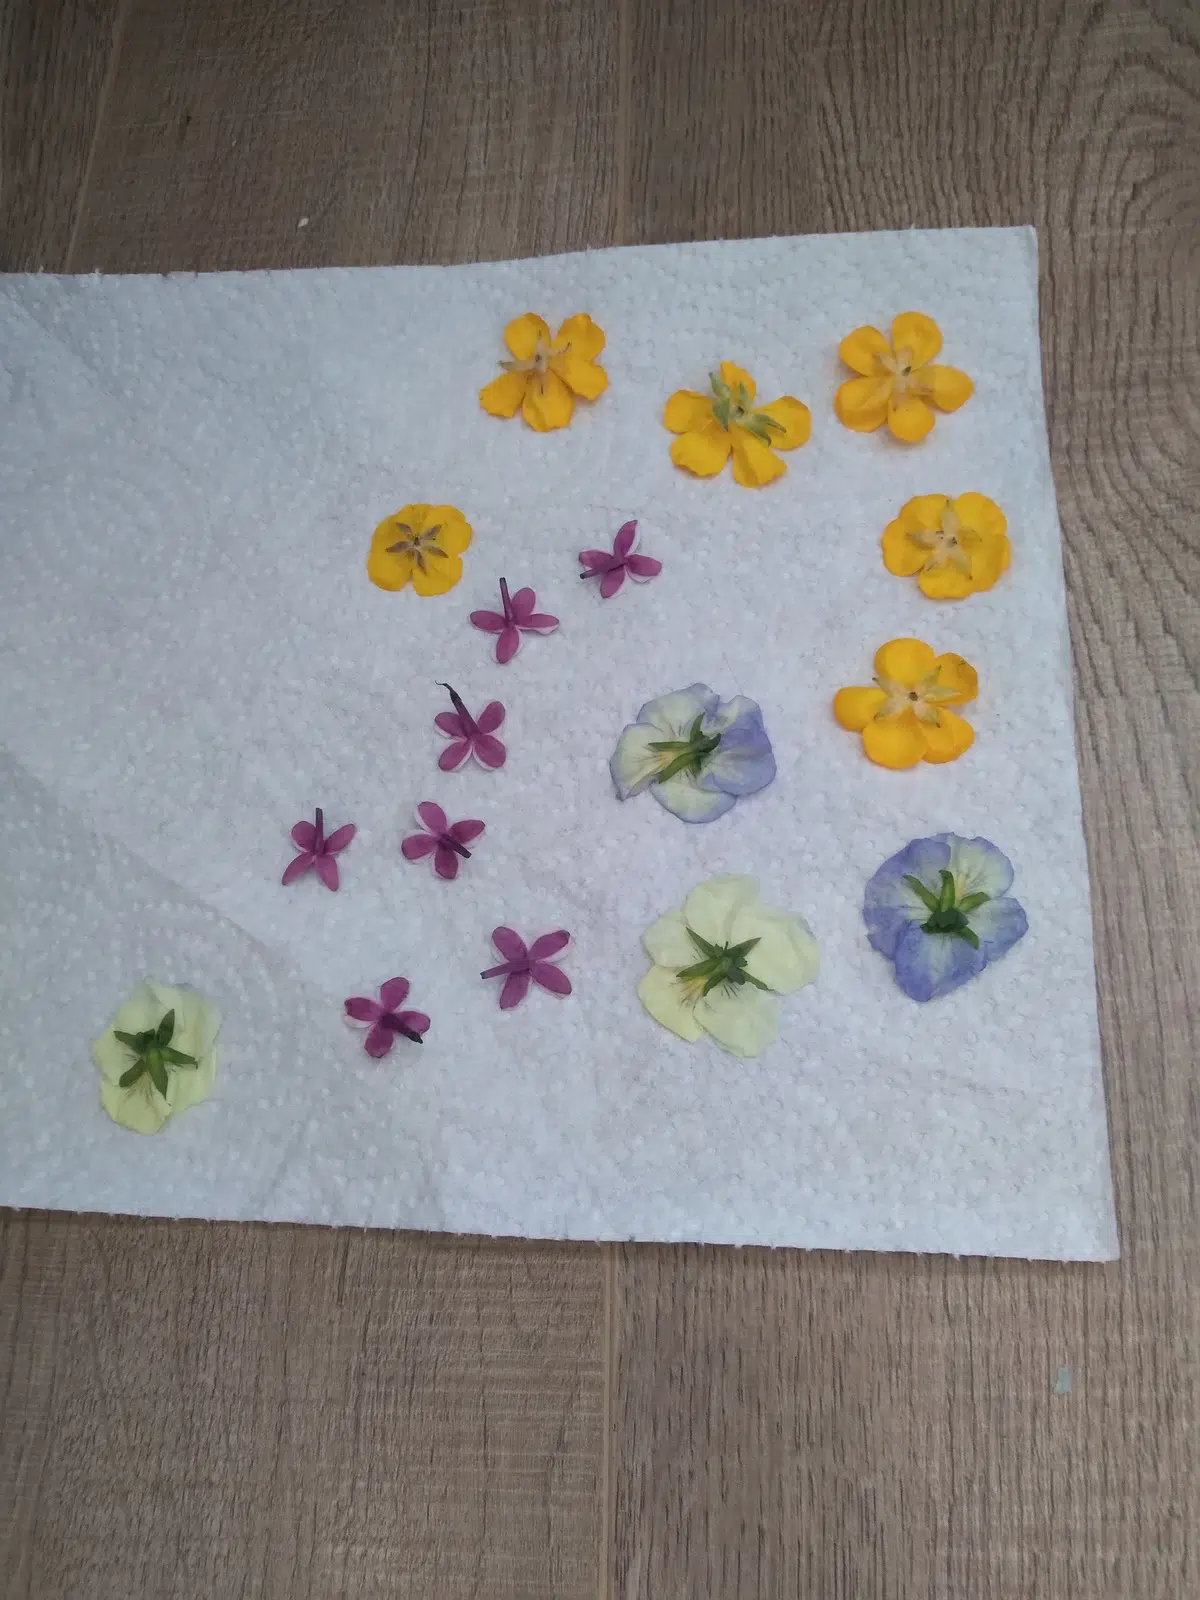
PC: Rachel Matembe
Step 3: Place these in the middle of a large, heavy book and close the book. Carefully pile more books on top for added weight.
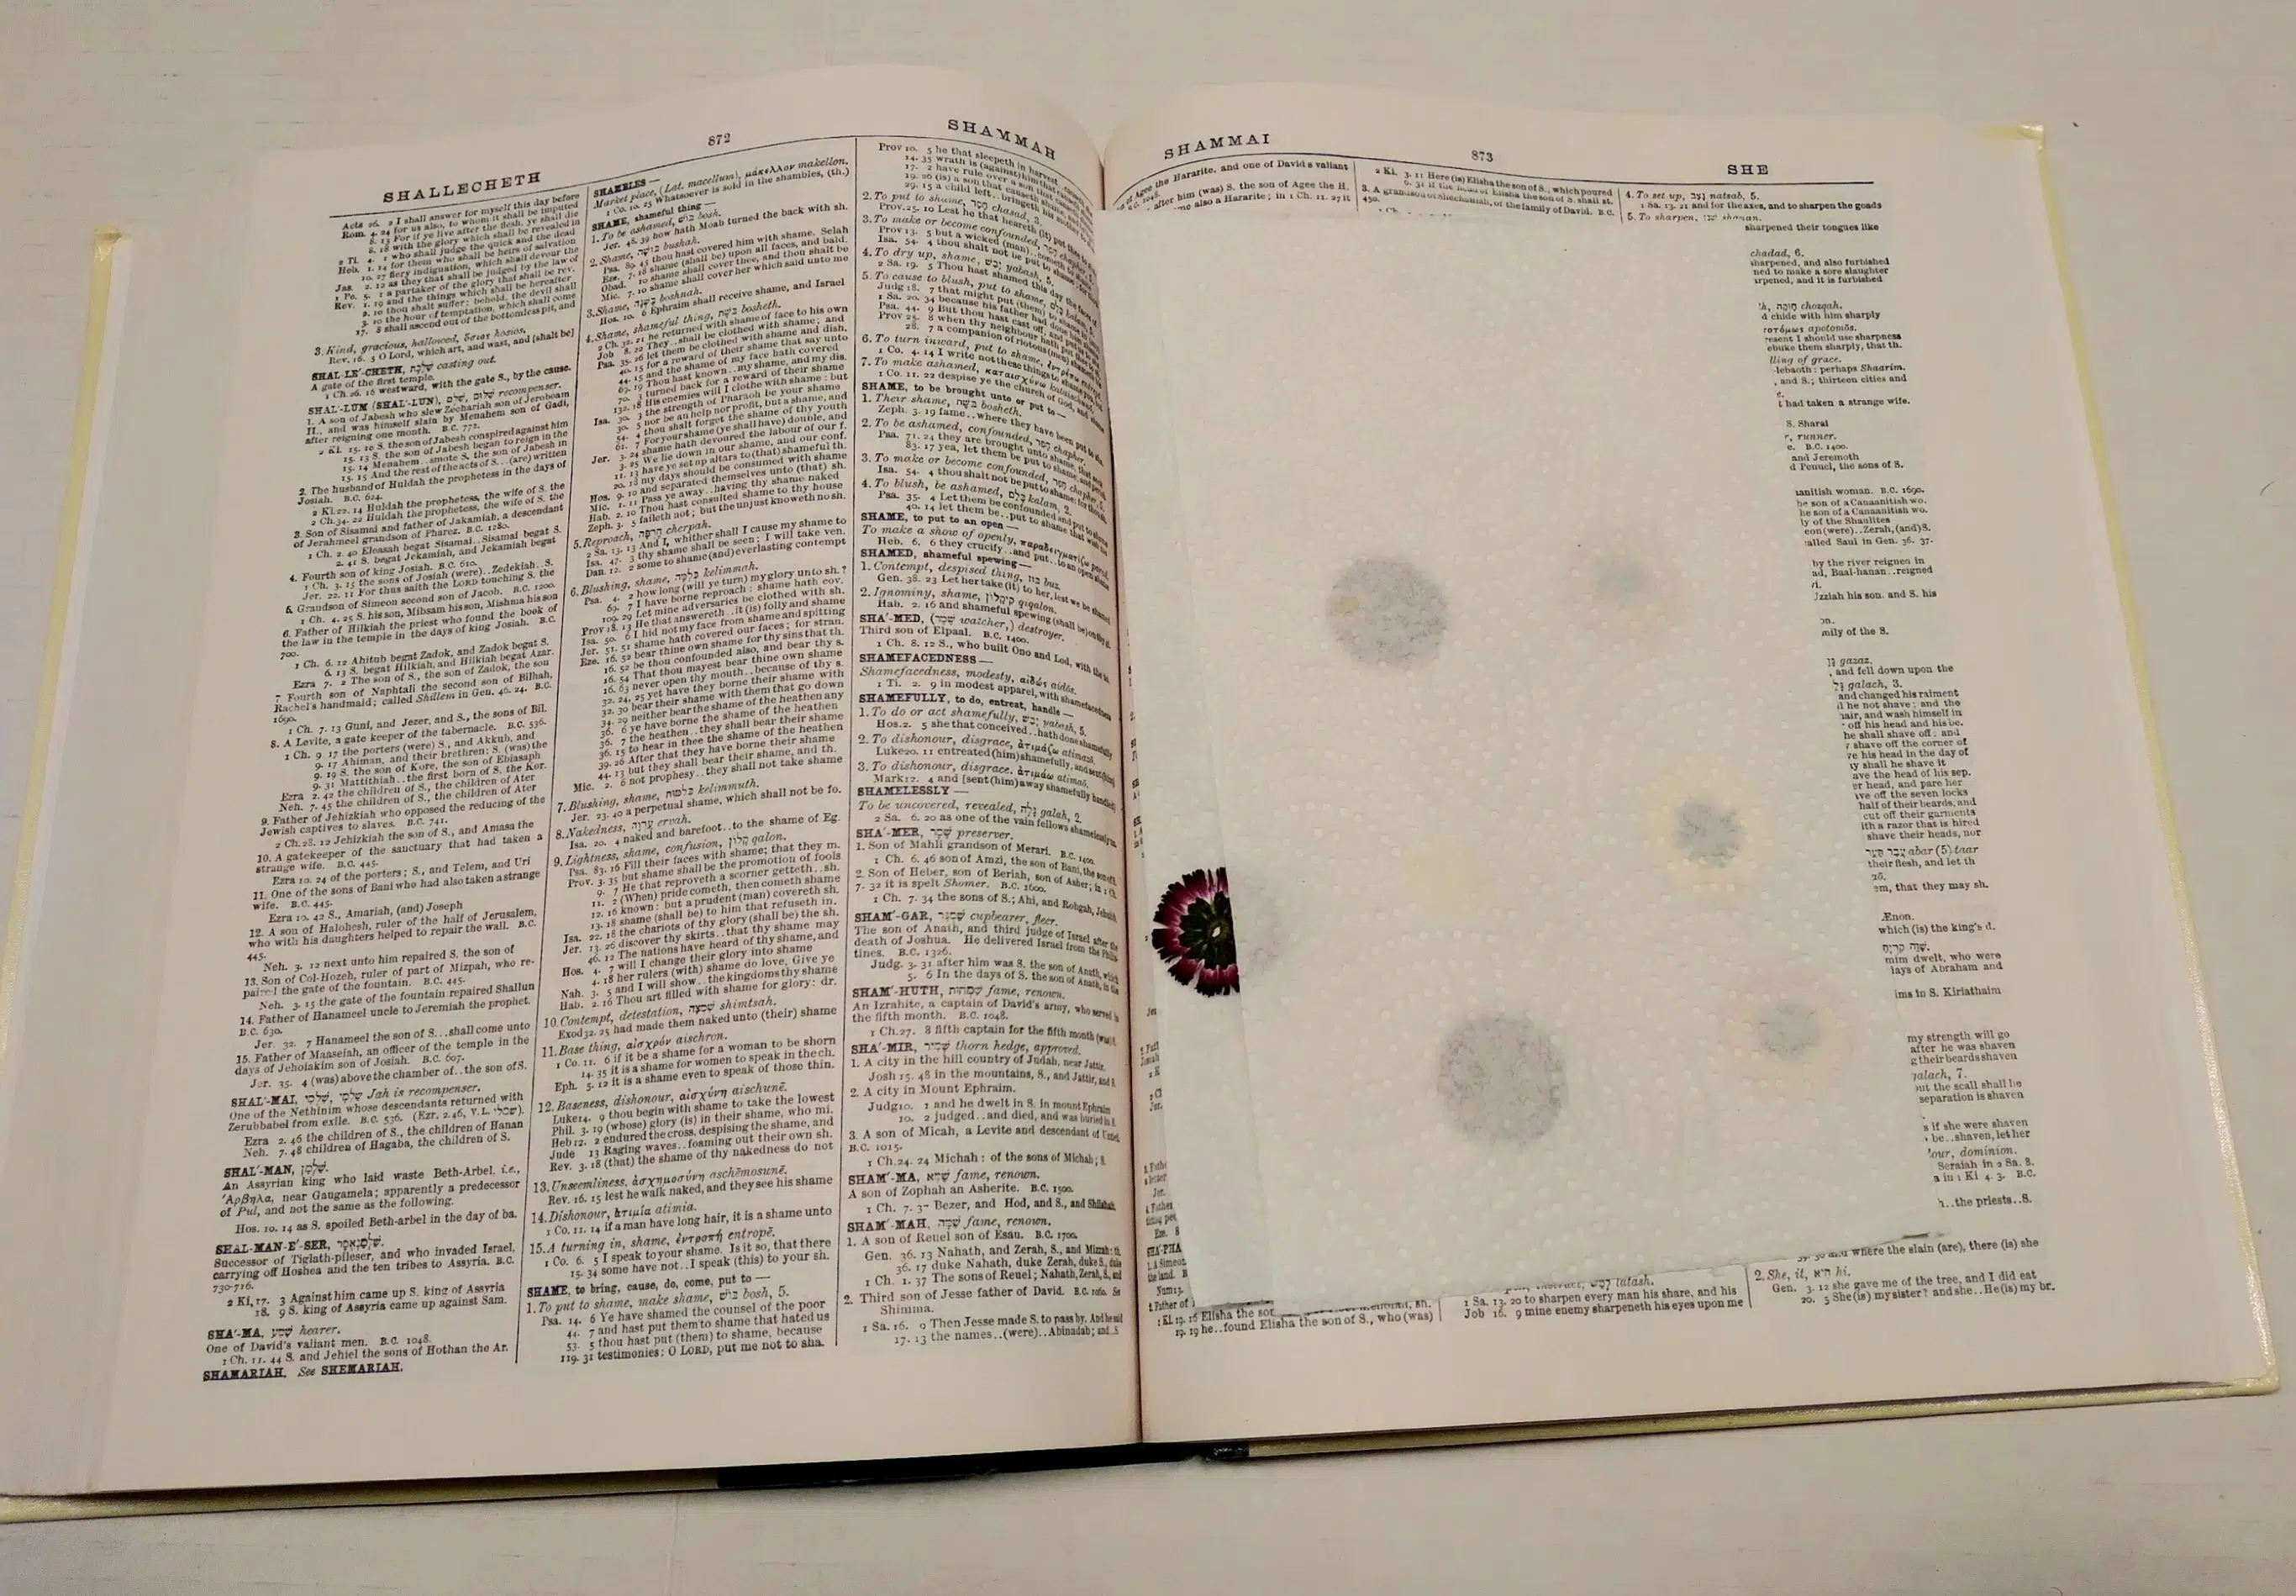
PC: Rachel Matembe
Step 4: Wait at least 7 days before using. I waited 2 weeks to be on the safe side.
Step 5: Arrange the pressed, dried flowers on a laminating pouch leaving enough space between each arrangement.
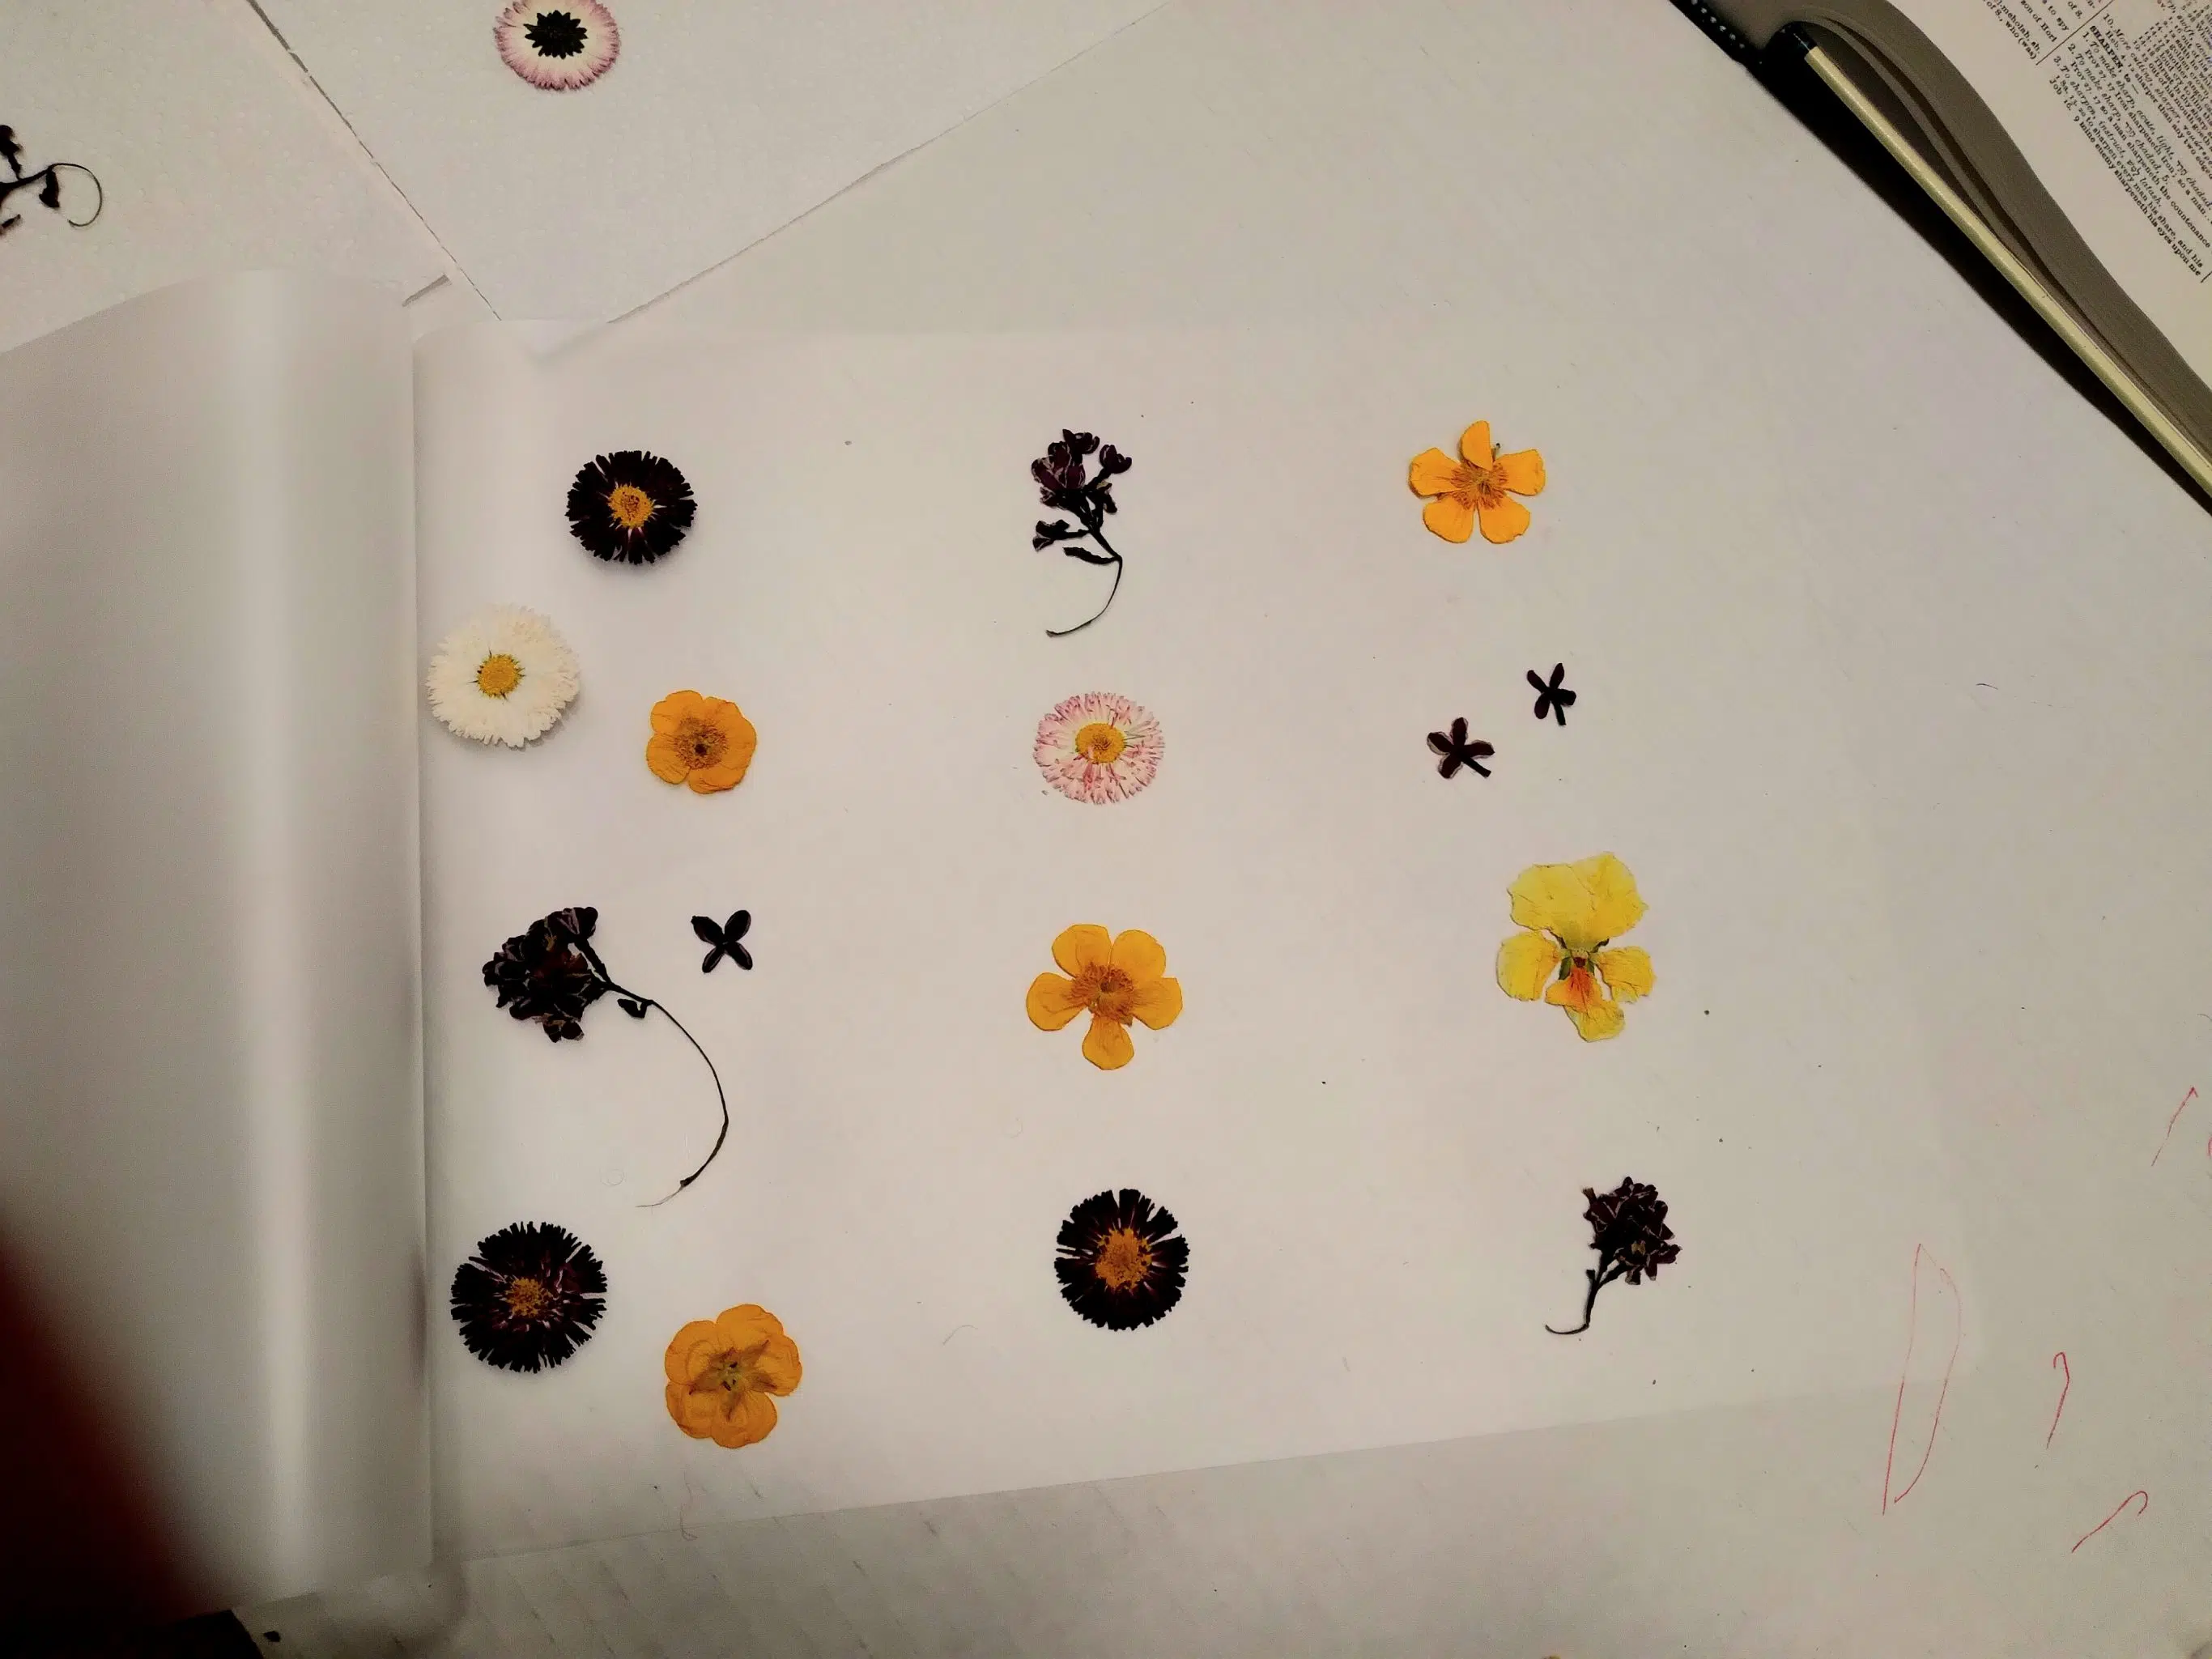
PC: Rachel Matembe
Tip: Leave a section of plastic at the top that you will punch a hole through for your bookmark’s ribbon.
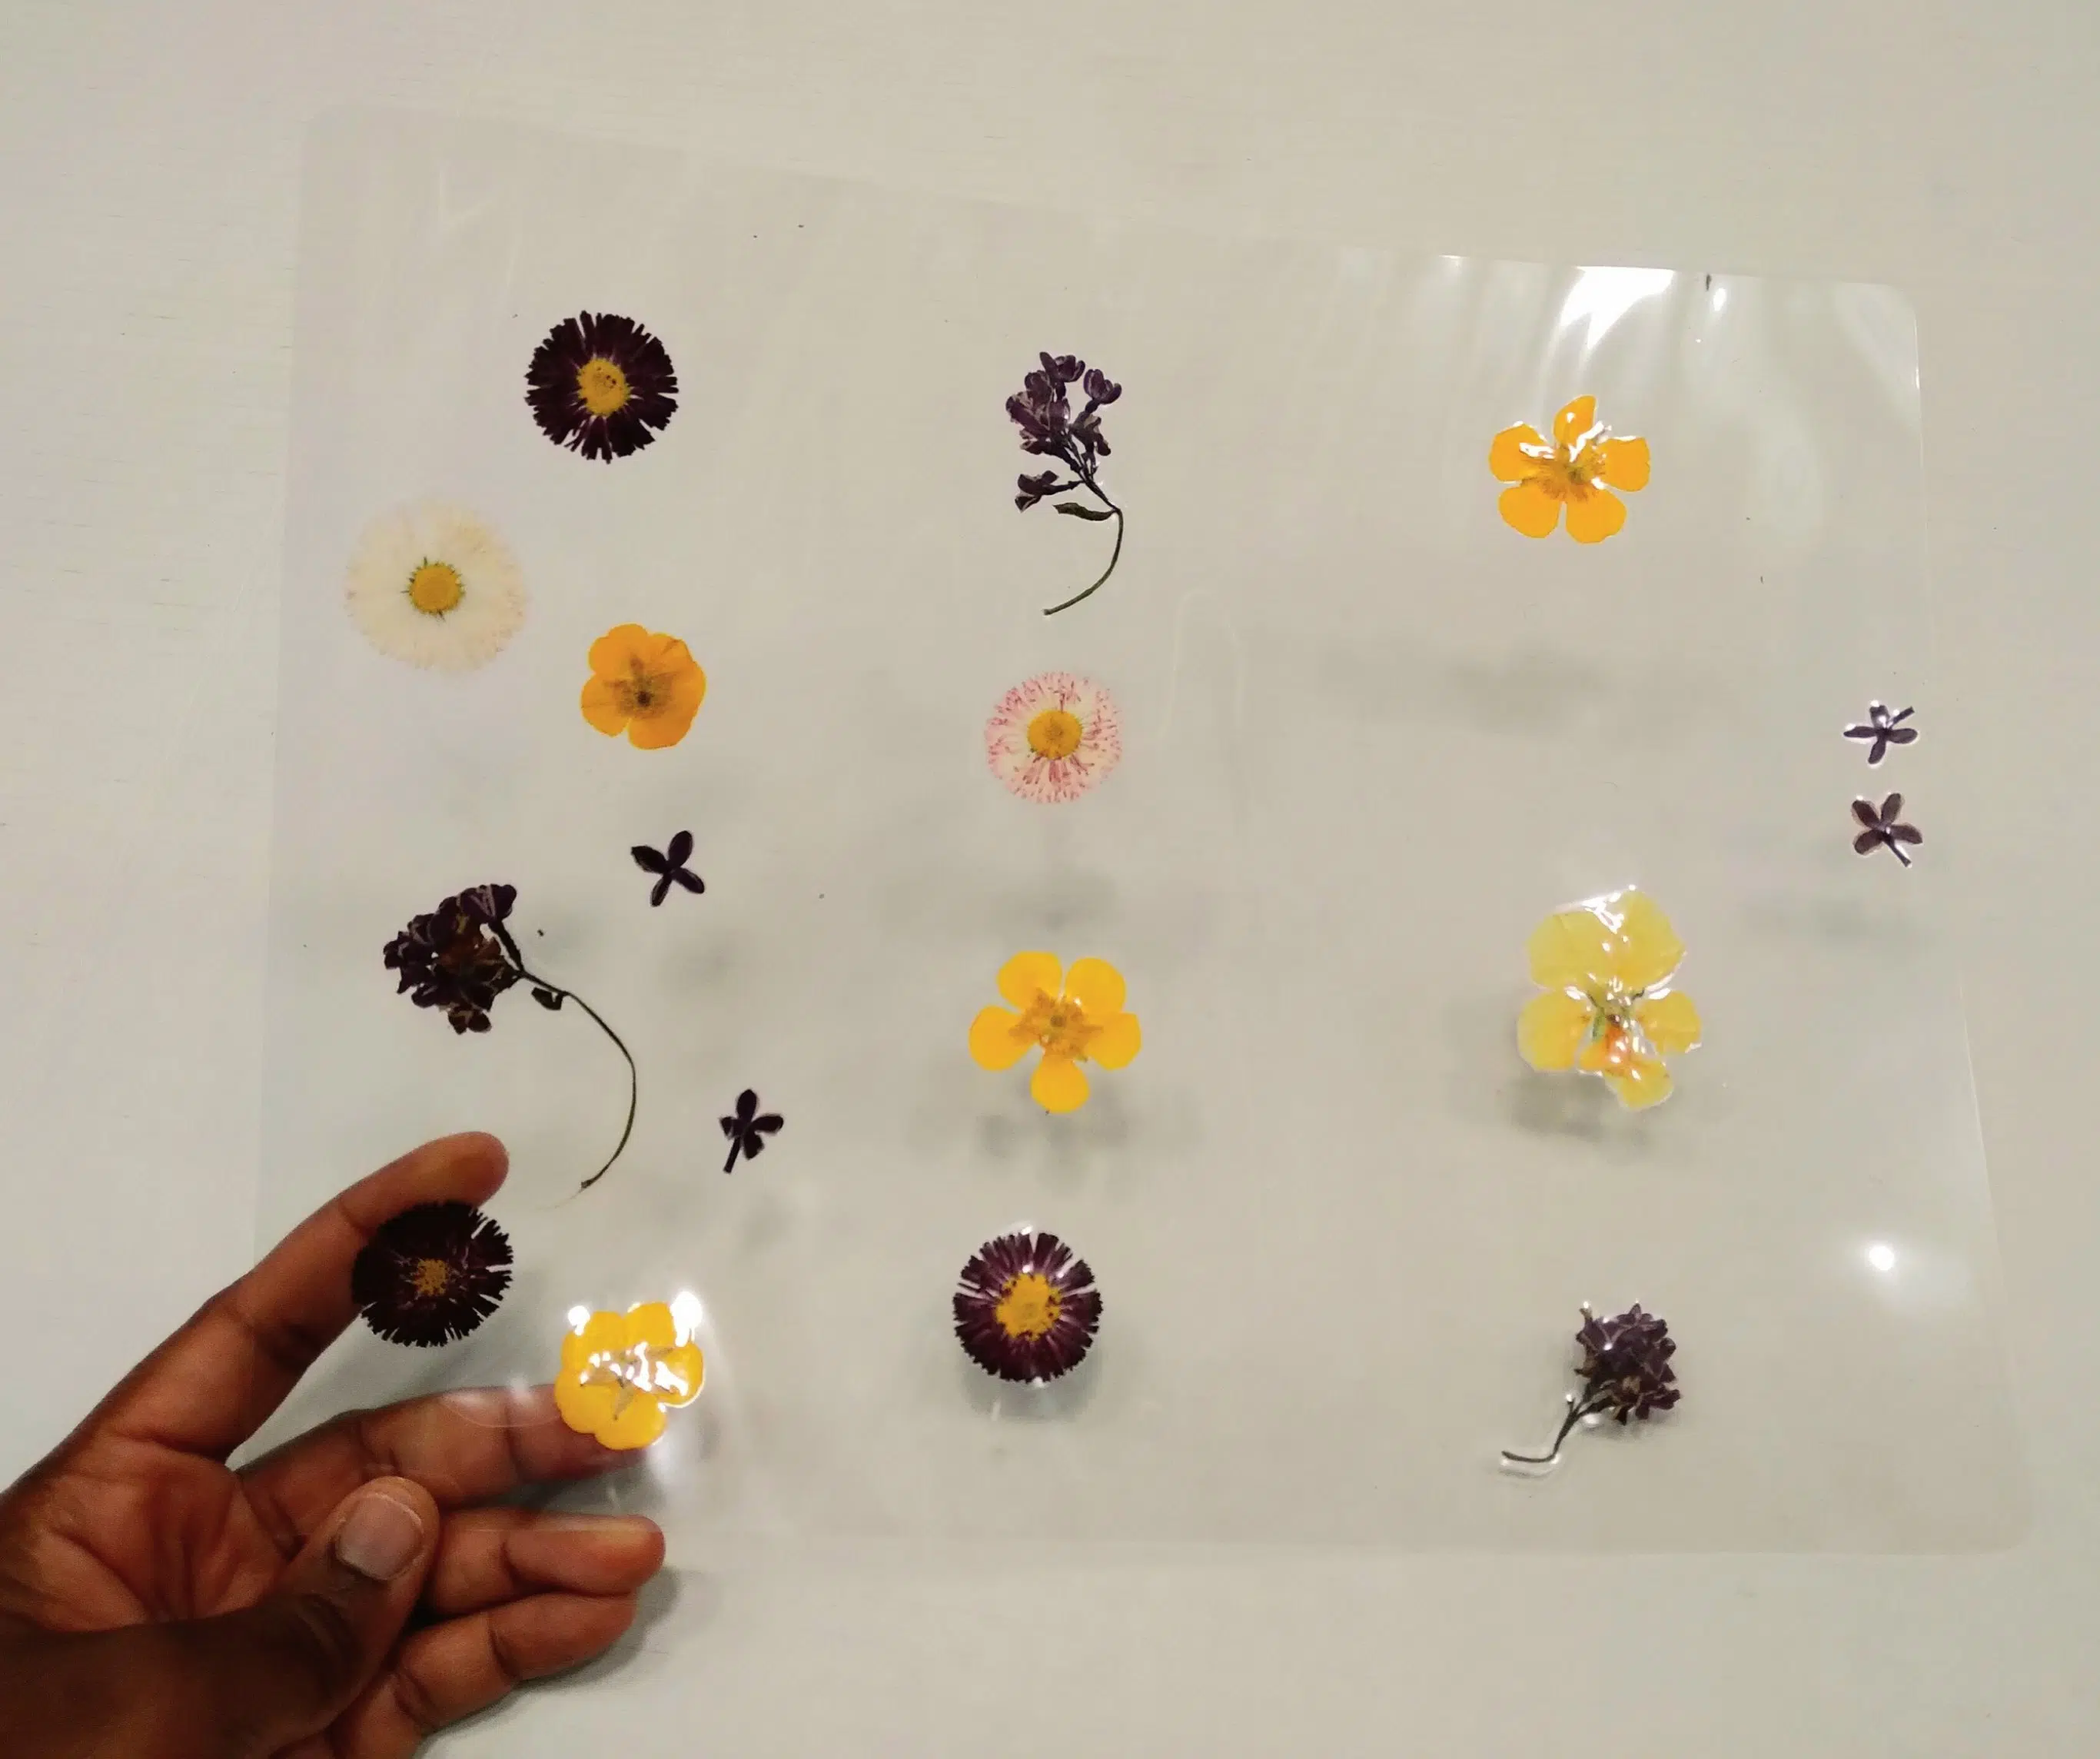
PC: Rachel Matembe
Step 6: Send the laminating pouch through your laminator.
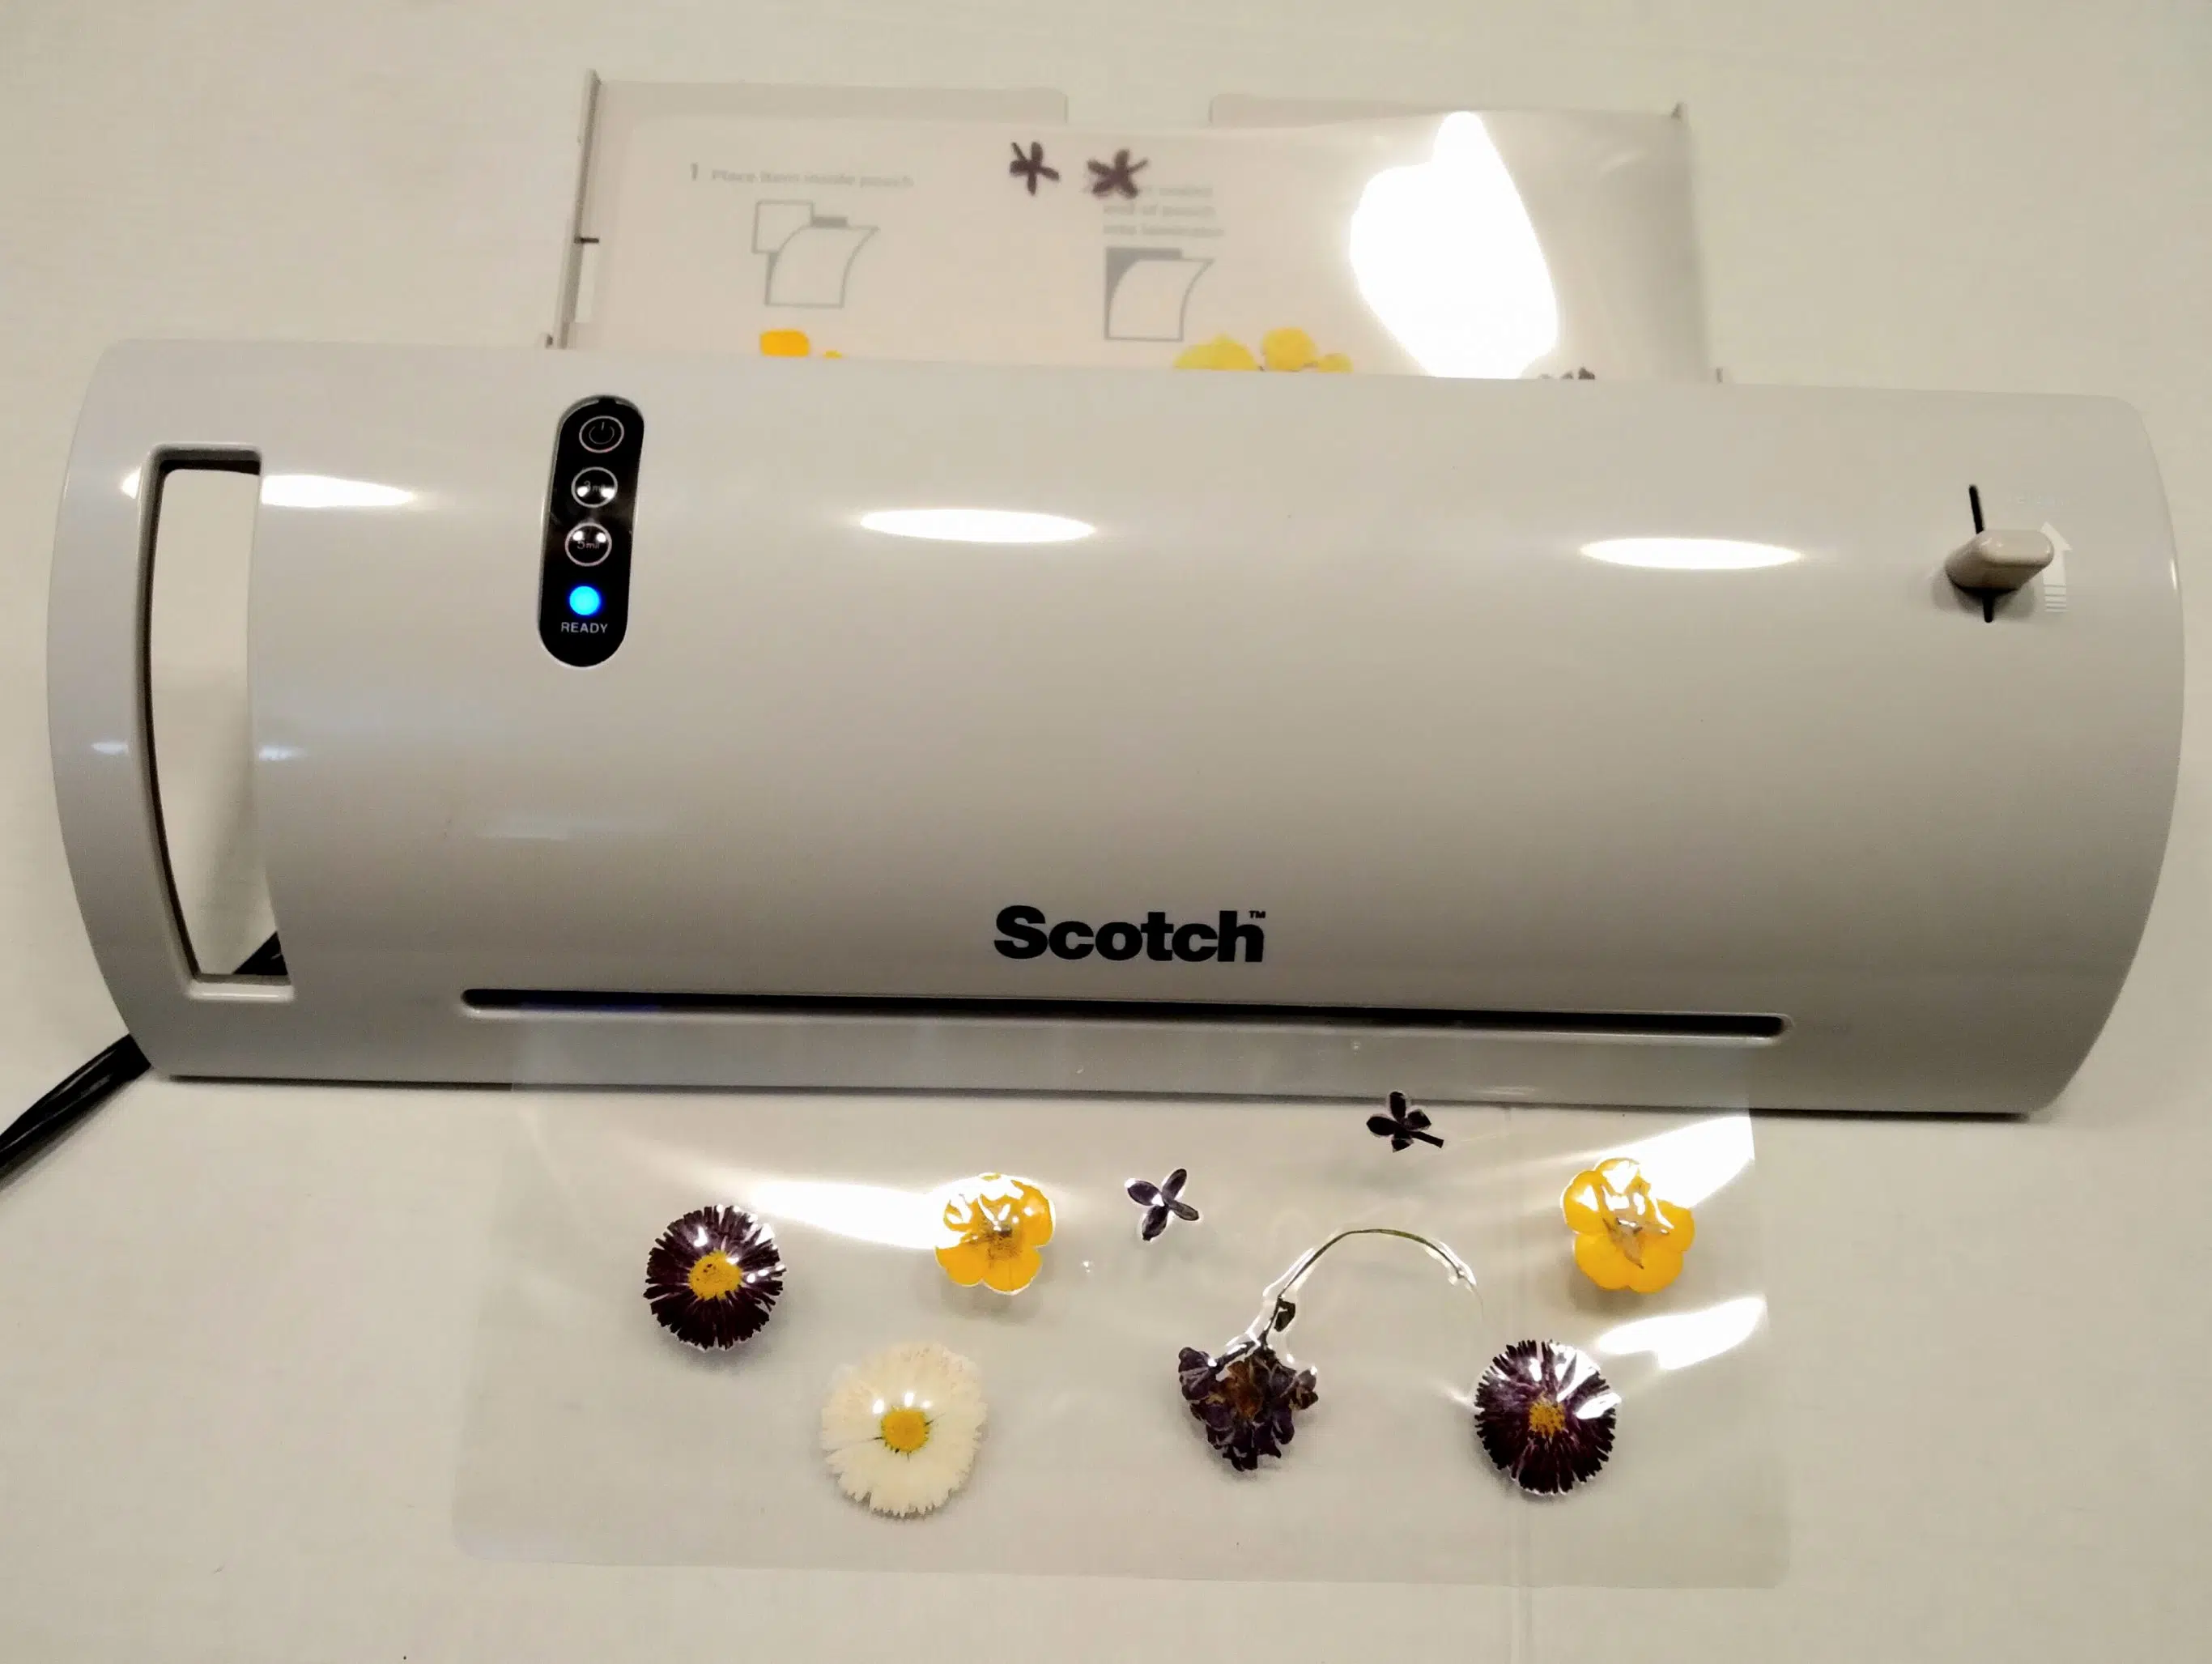
PC: Rachel Matembe
Step 7: Cut out your bookmarks. Leave approximately a quarter inch of plastic to keep the bookmark fully sealed and protected.
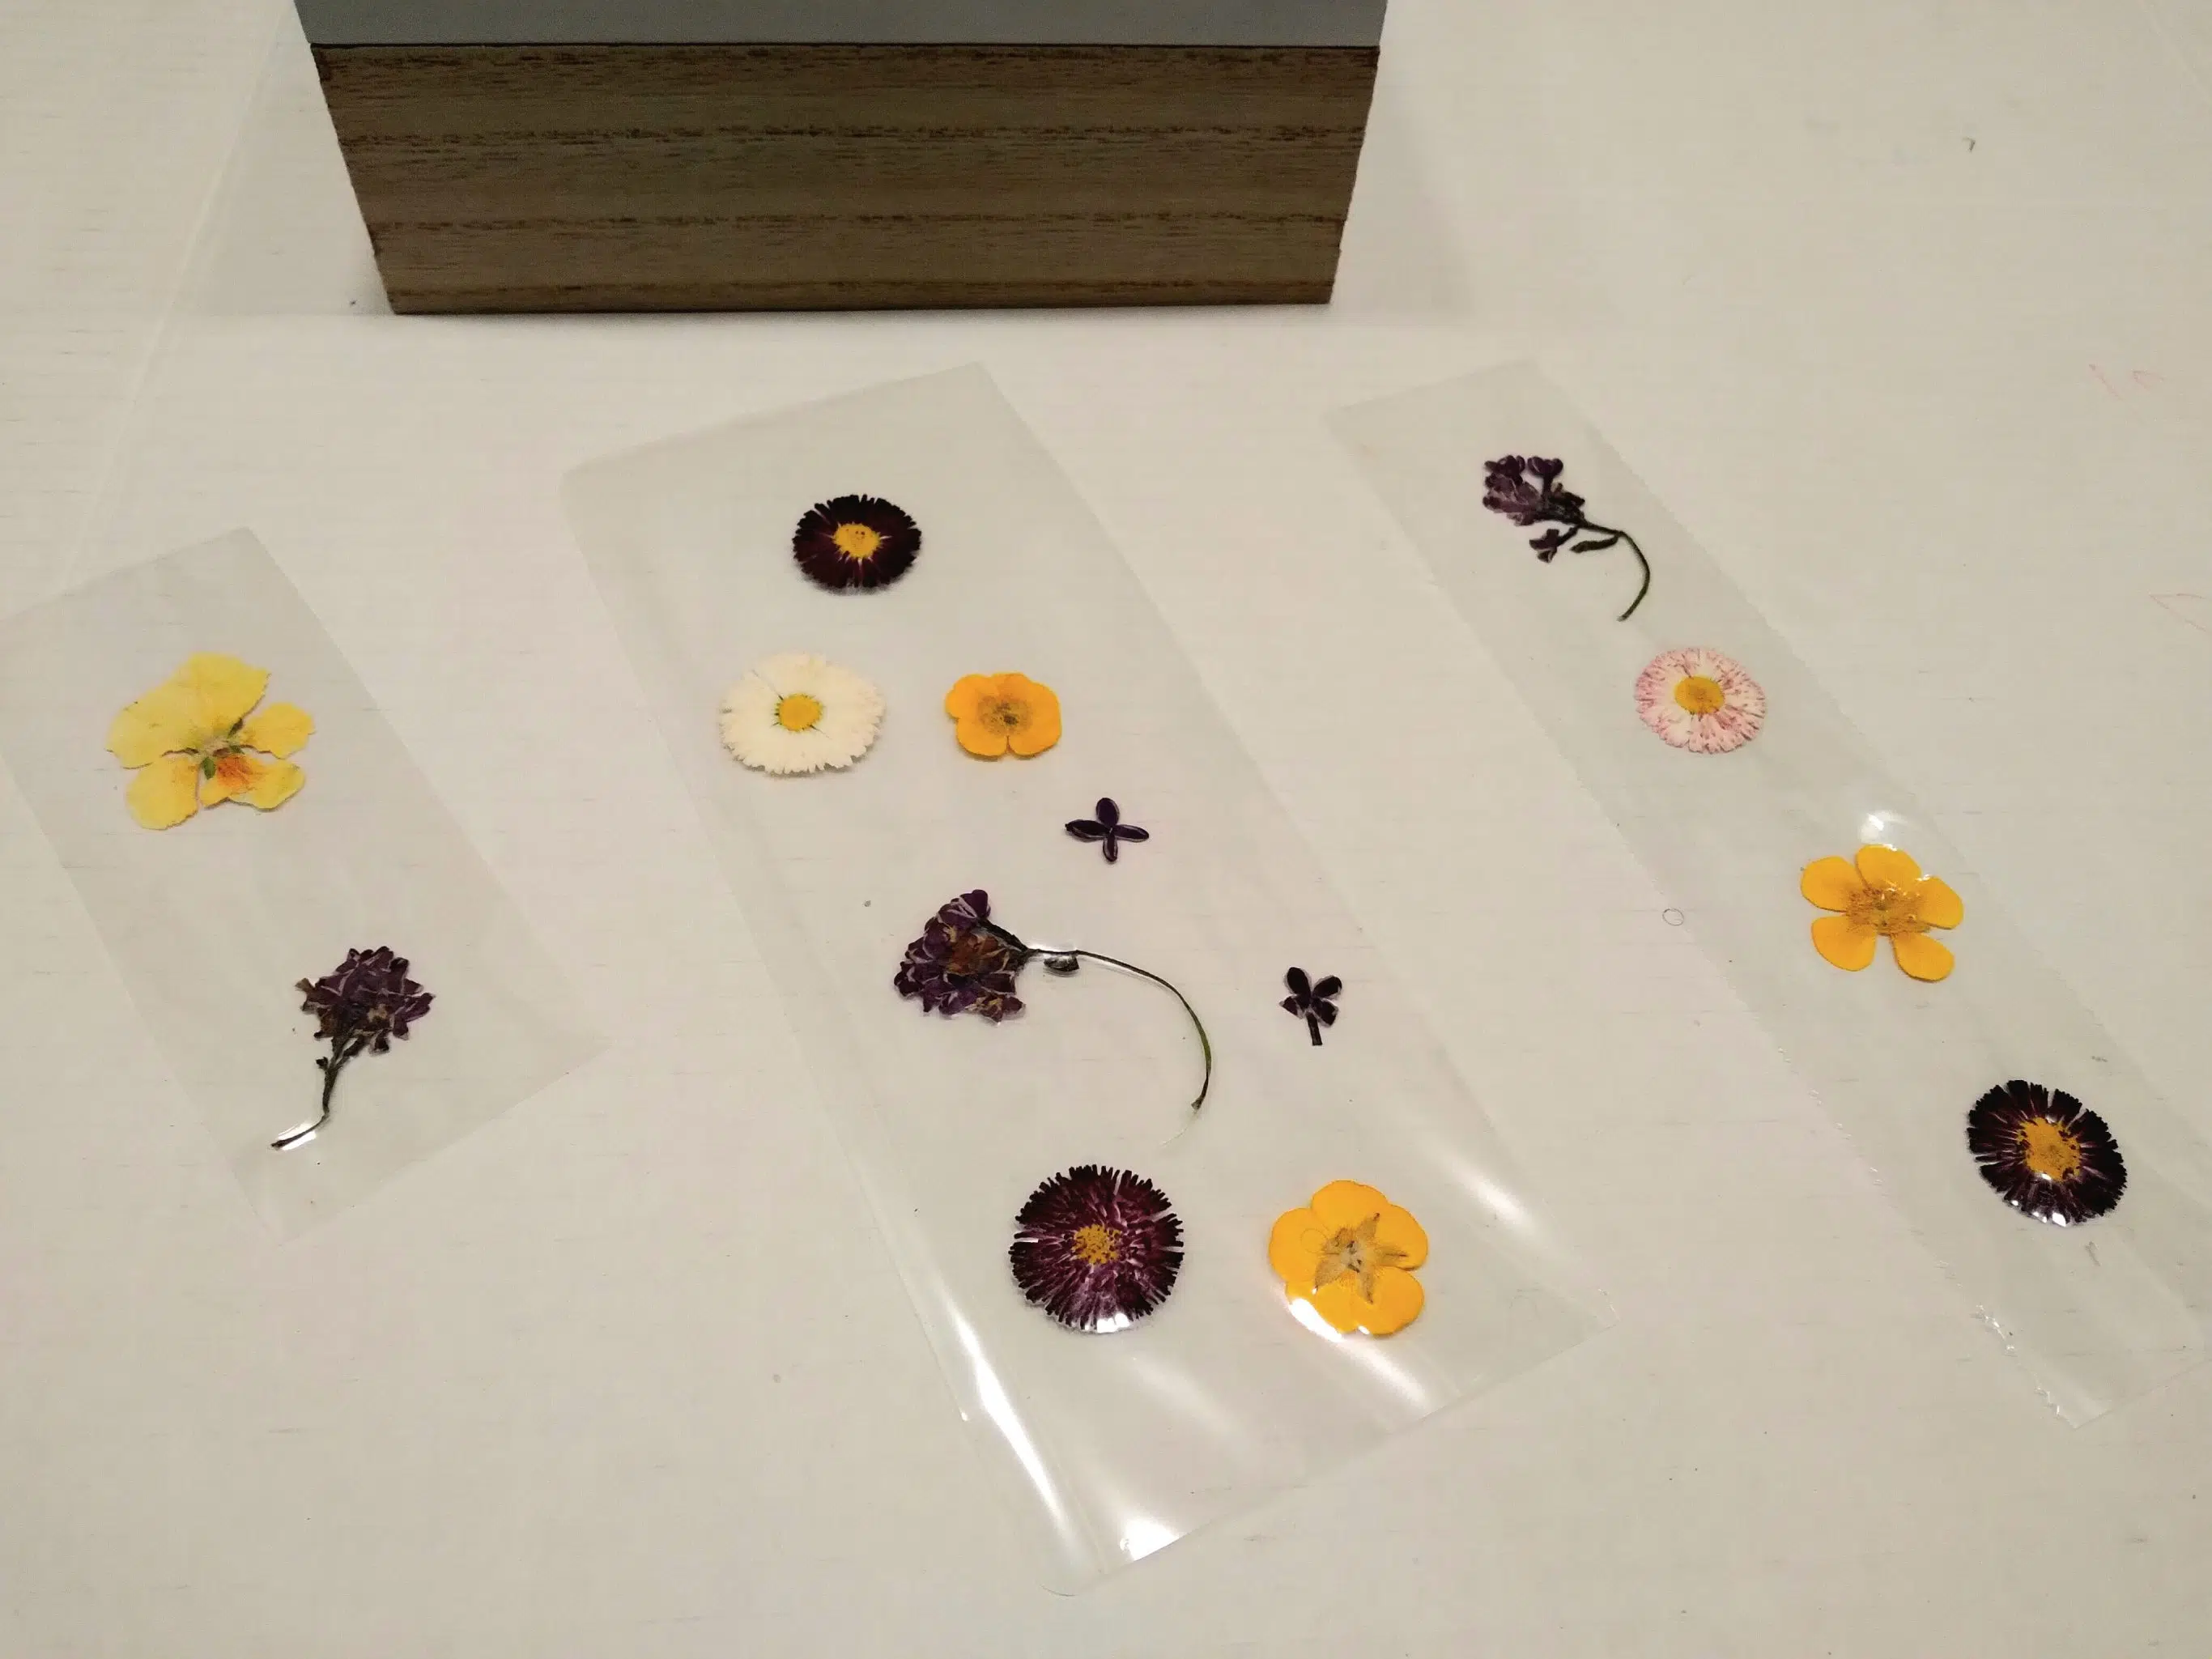
PC: Rachel Matembe
Step 8: Punch a hole at the top of each bookmark, add a ribbon and enjoy your beautiful, pressed flower bookmark.
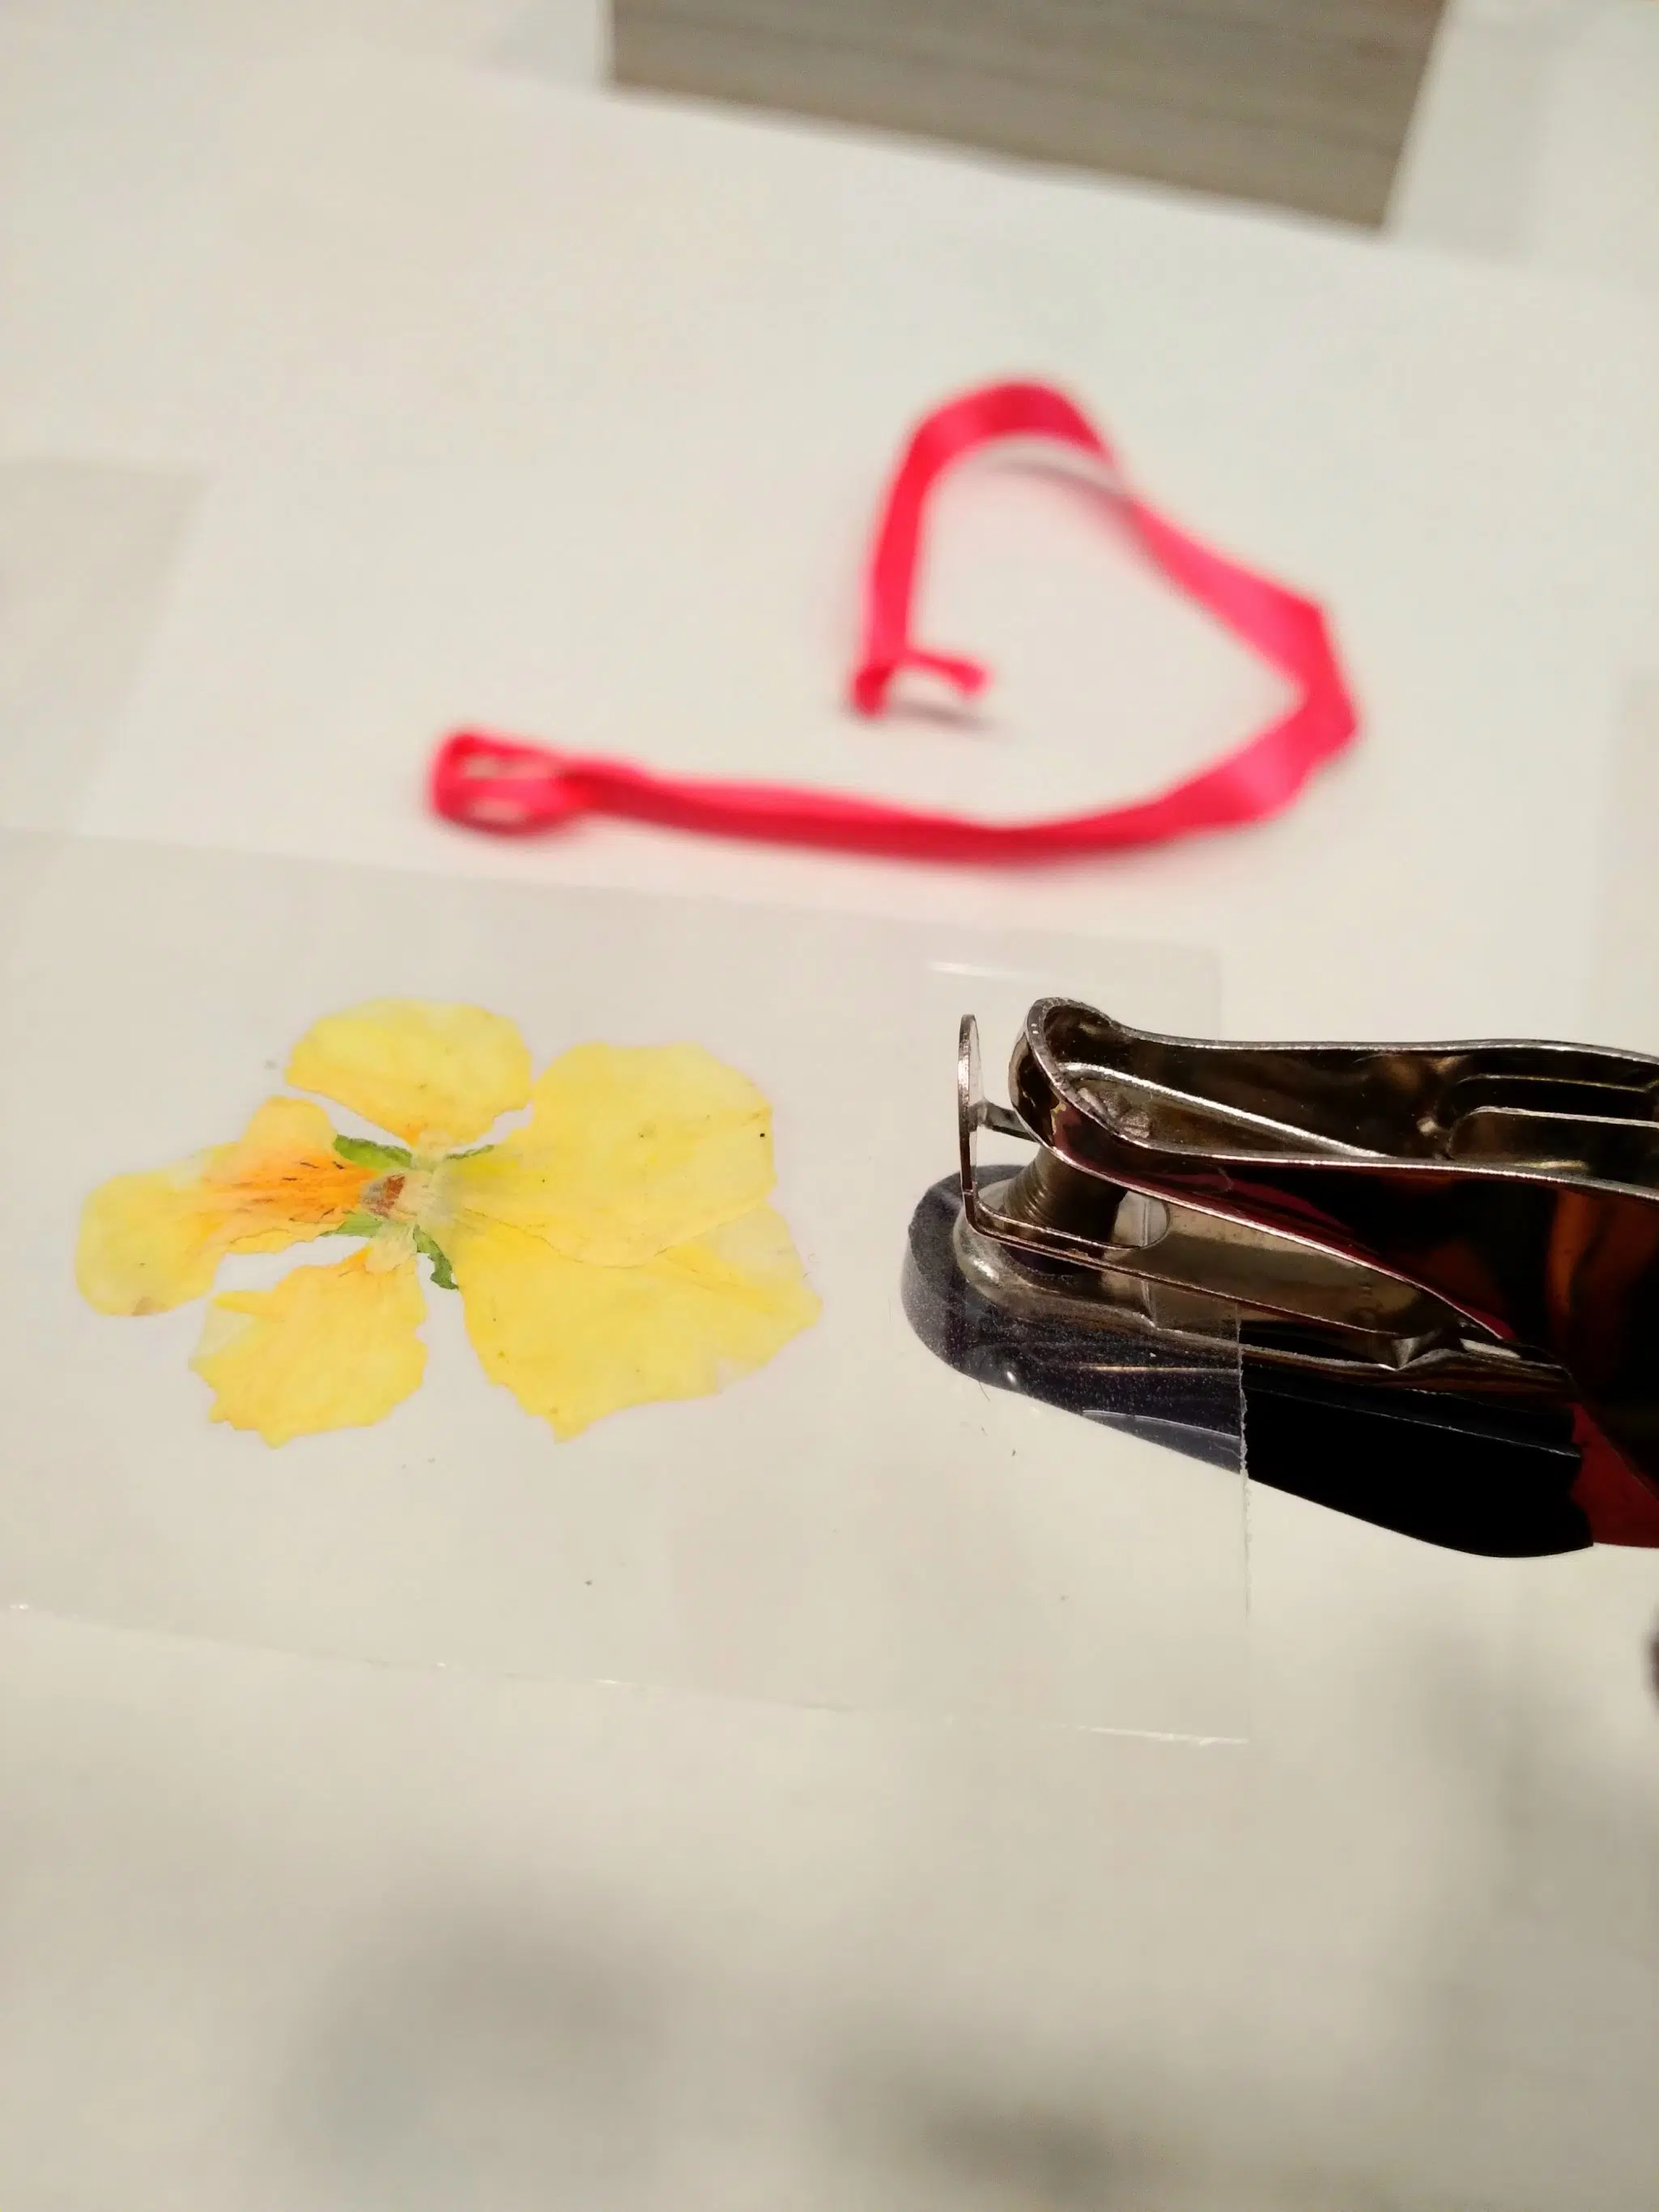
PC: Rachel Matembe
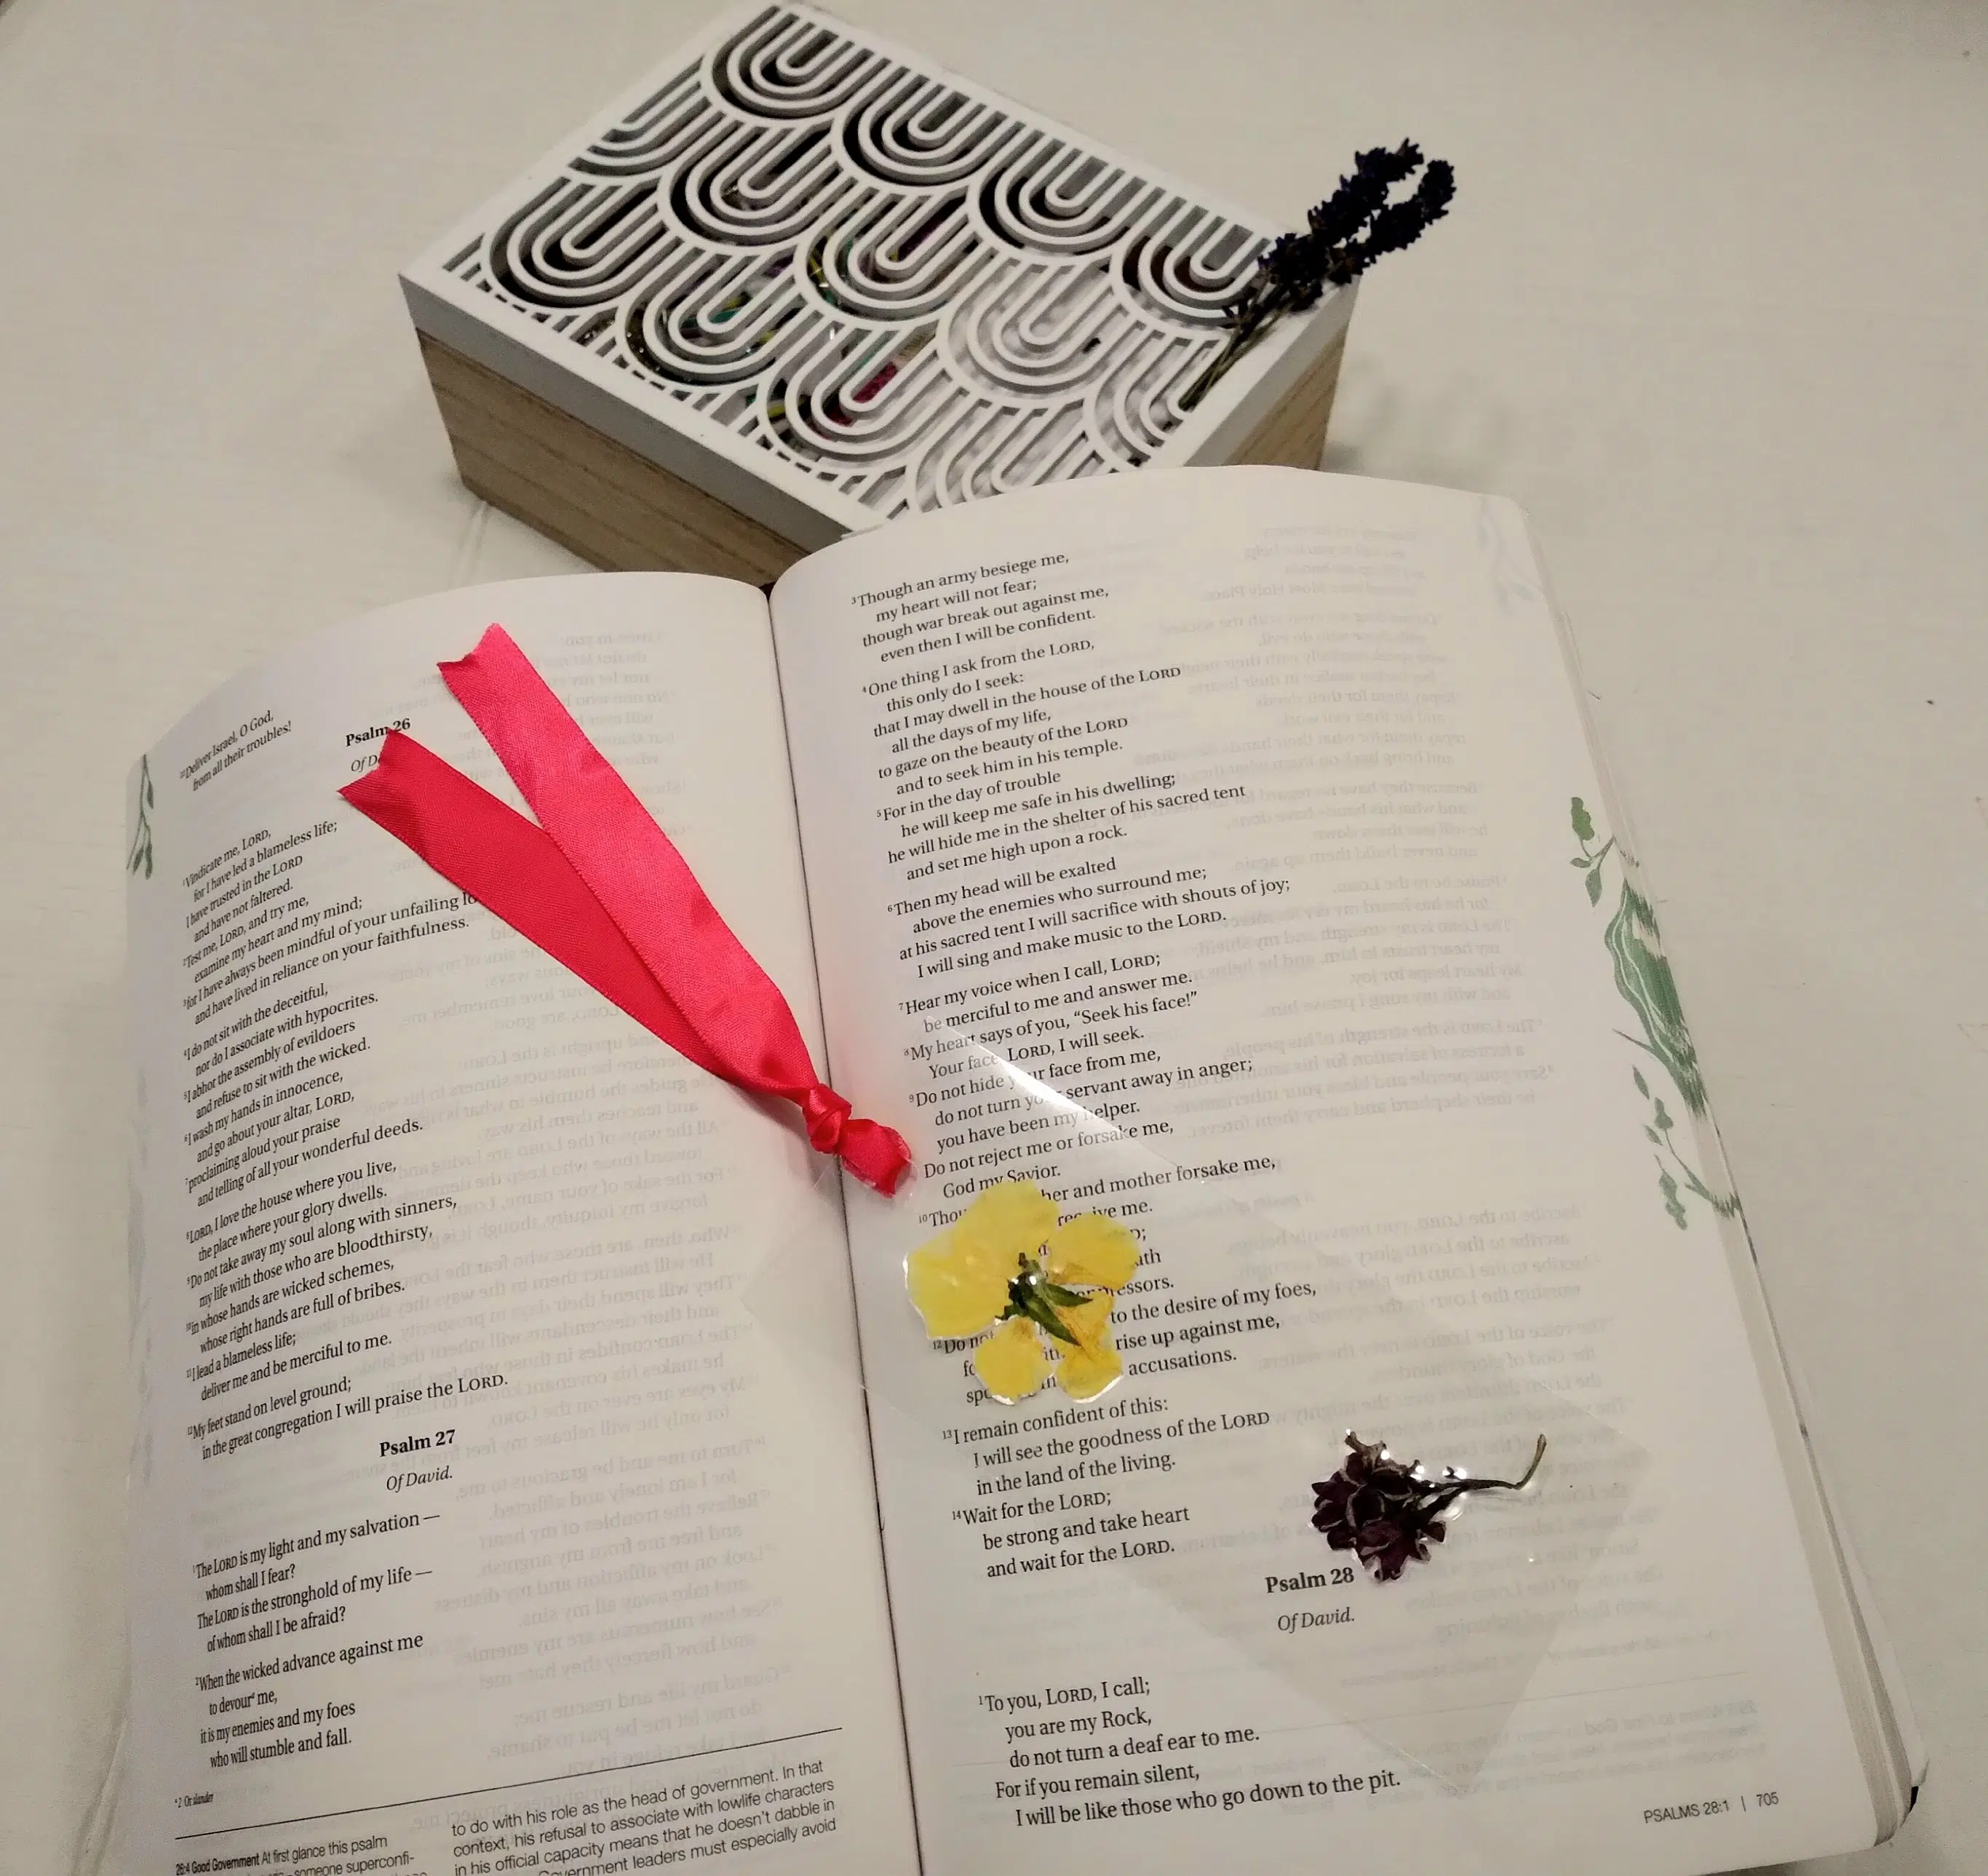
PC: Rachel Matembe
We’d love to see your creations!
PIN THIS!

Read more of Rachel’s contributions to AllMomDoes here.
