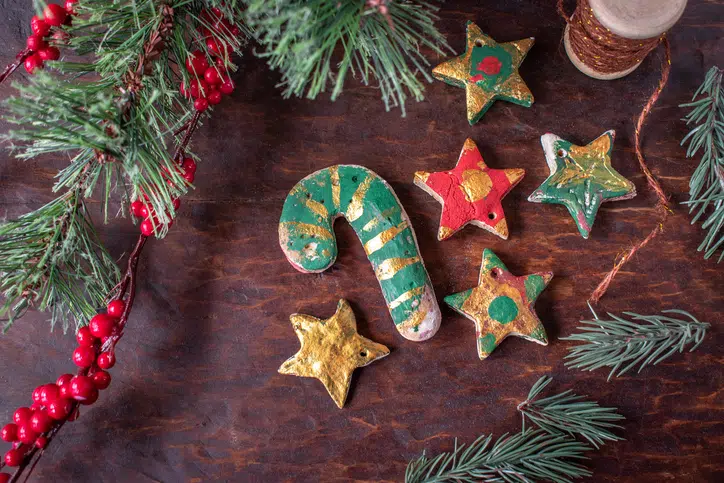
As a self-proclaimed non Pinterest mom AKA not super crafty or creative, I can never bite off too much when it comes to things like homemade crafts. But this time of year I love keeping my kids busy in the kitchen while we listen to holiday music and share fun memories. Cut out cookies and homemade fudge are easy ones for me to tackle because they have super easy to follow instructions. This year, I am happy to report I have also added homemade ornaments to my list. At first, this seemed like something impossible. Until I realized it literally takes just 4 ingredients (water is one of them!) and one bowl. Even I can manage that.
My kids had so much fun with this and the result are super cute ornaments we can gift to grandparents.
Here is what you will need:
- 4 cups all purpose flour
- 1 cup salt (buy the cheap table salt)
- 1.5 cups warm water
- Clear glaze finish or mod podge- Full transparency, I had no idea what this was. Here is what I ended up purchasing from Amazon. Basically a protective coat for the ornaments.
- Optional- Cookie cutters
Here is what you will do:
Preheat the oven the 250 (ornaments will bake low and slow)
Combine all of your ingredients and knead for 10 minutes. If your dough is too dry add a little bit more water in and continue to knead.
Roll out the dough to a thickness that you’d like your salt dough ornament to be.
Using a large cookie cutter, cut out different shapes for your salt dough ornament.
You can also have your child place their hand into the salt dough ornament. If the dough is too hard to get an imprint it may be too dry and you can continue to knead by adding in a little bit more water.
Using a straw, make a hole in the top for where you want to hang your salt dough ornament.
Bake for 1-2 hours. If your ornaments are still doughy, put back in for another hour. (It will depend on your thickness how long you need to bake for. The thinner ornaments will take less time but thicker may take more).
Once cool, you can decorate by painting with acrylic or kids paint. My recommendation is to let them cool for at least an hour if not longer.
Spray with a clear glaze finish or finish with mod podge.
RELATED:
DIY Speckled Crayon Shaving Christmas Ornaments
DIY Personalized Pine Cone Christmas Ornaments
DIY Christmas Presents People Actually Want to Receive
 Read more of Stephanie’s contributions to allmomdoes here.


