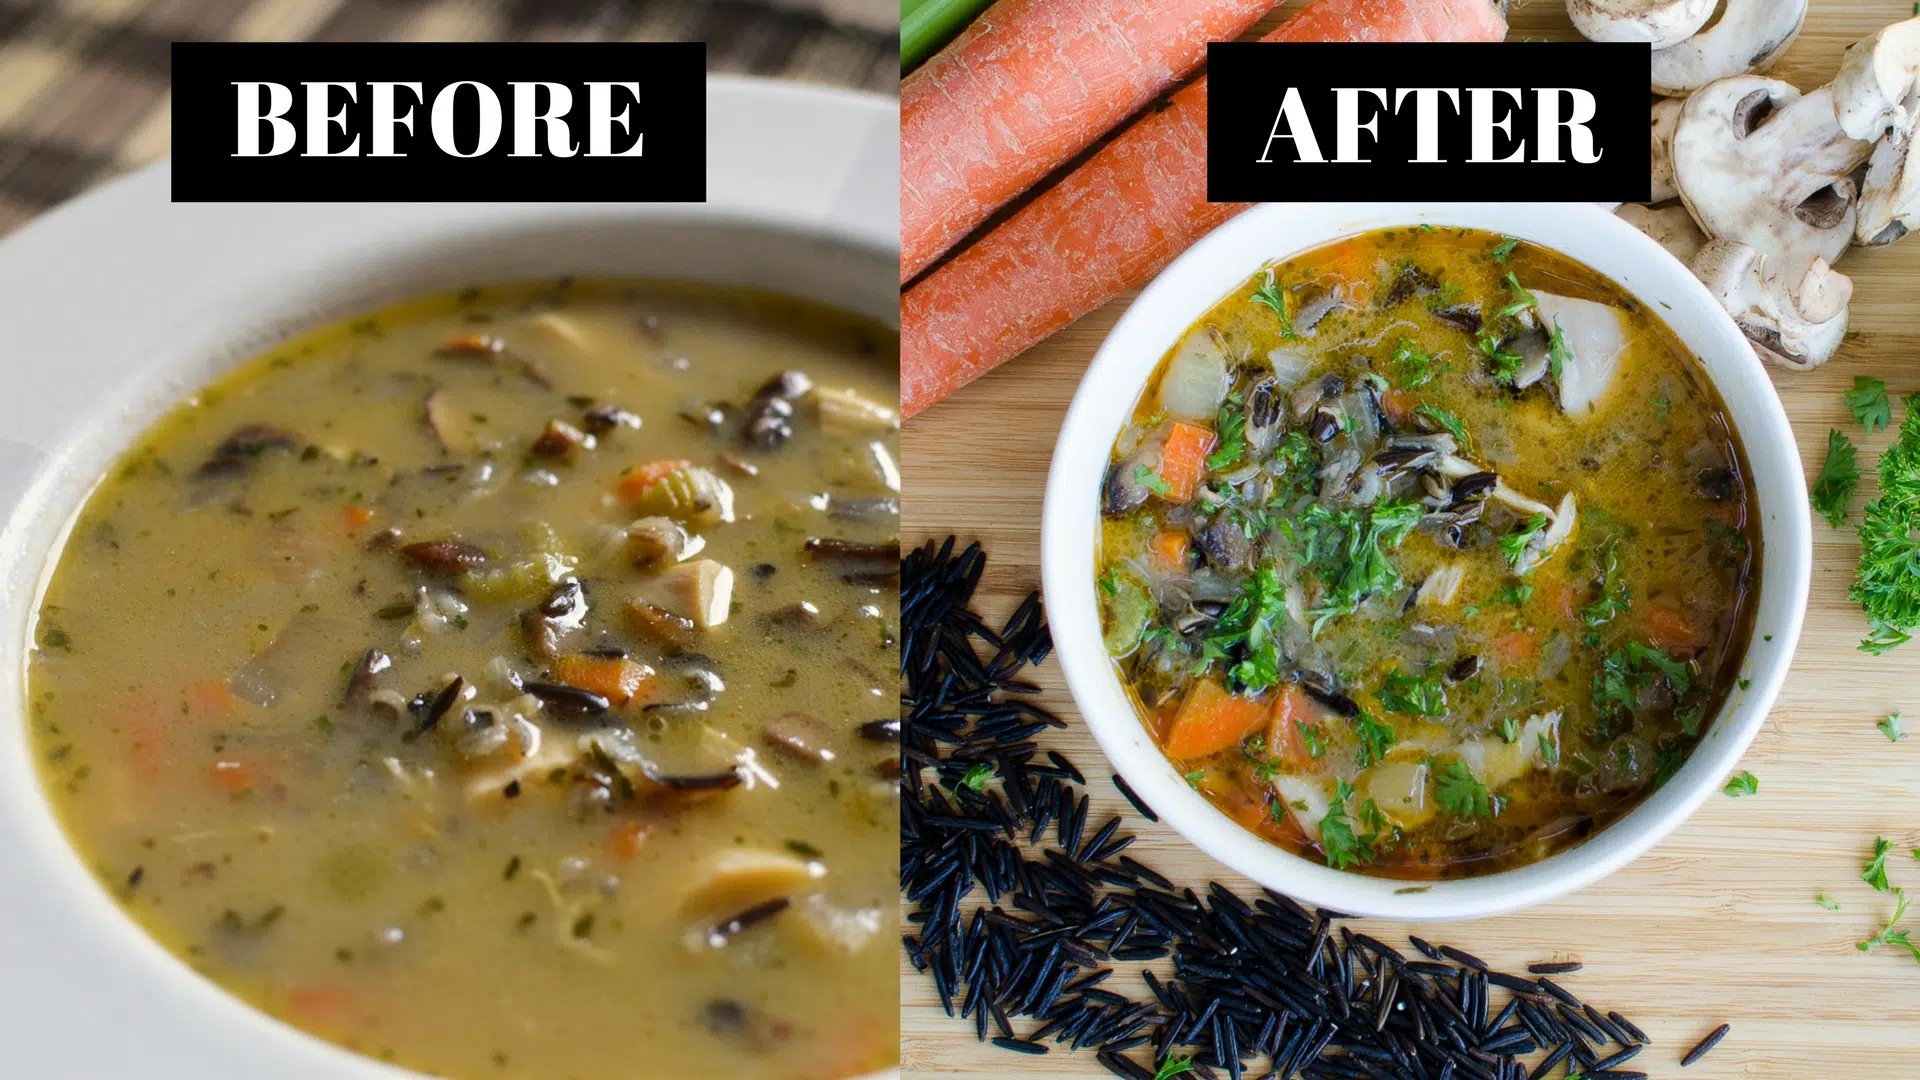
Have you ever made an amazingly delicious dish, only to try and share it with the world and, despite your best efforts, your pictures ended up looking like a gray blob of seriously unappetizing mush?
You’re not alone.
It can be hard to translate the beauty of your culinary creation to the digital screen, but the fact is that we all eat with our eyes first – especially on the Internet where we’re eating with our eyes only. So if you want people to take notice of your newest recipe, it needs to look irresistible.
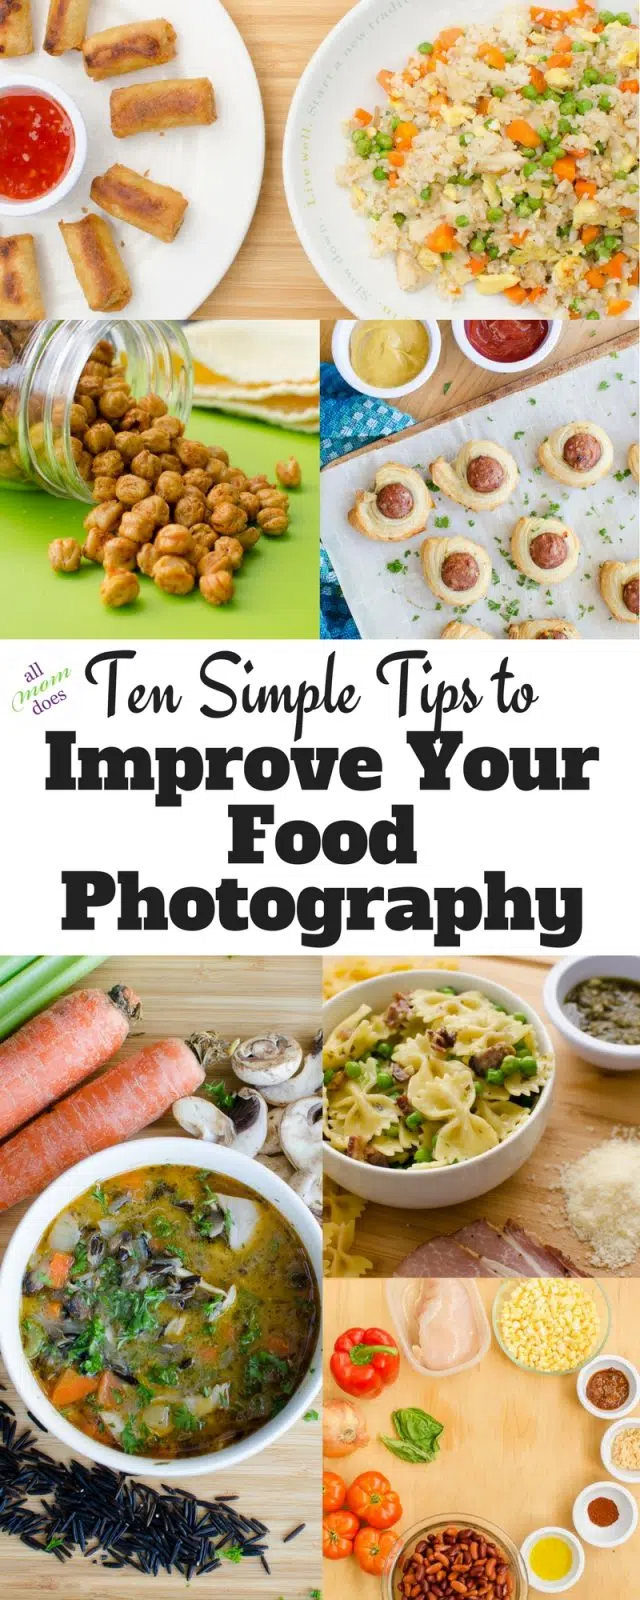
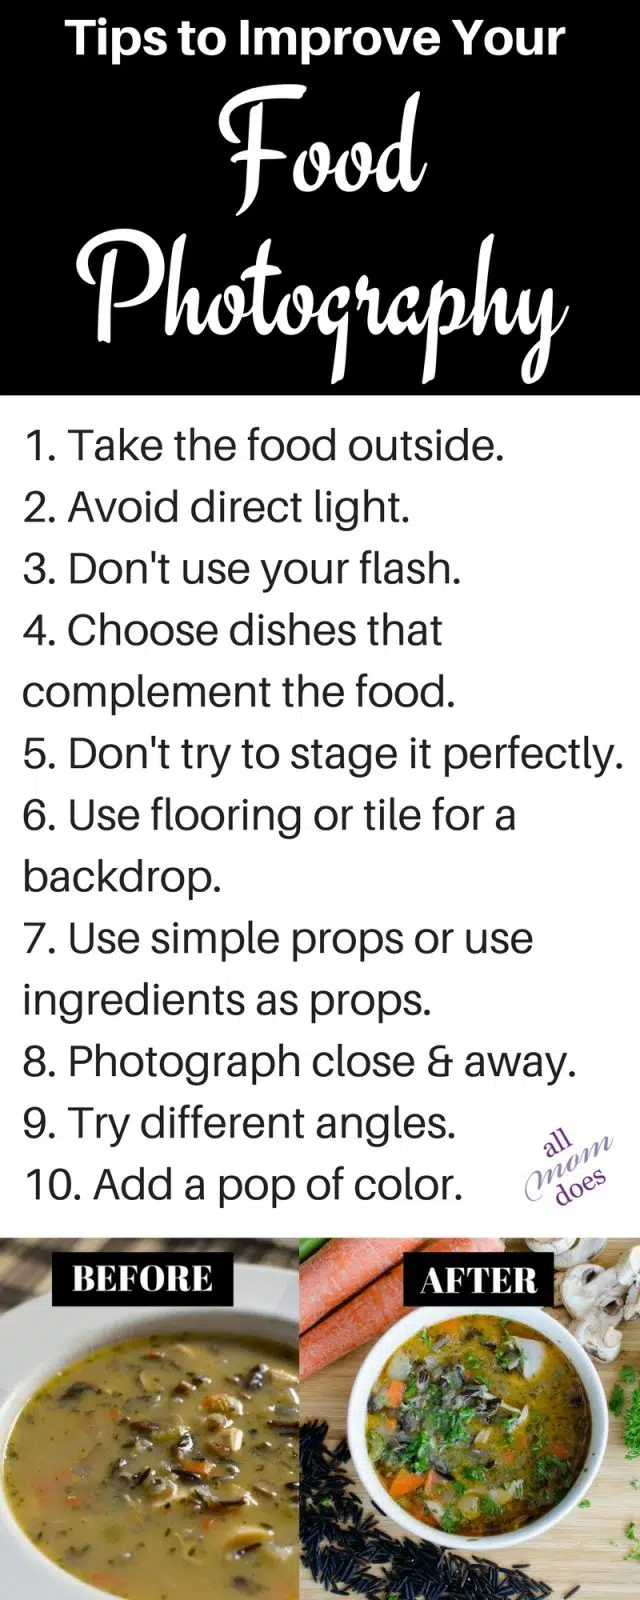
The good news is, you don’t have to be a pro to improve. Whether you’re an aspiring food blogger using a fancy camera or an Instagram addict who just wants to share your latest lunch with your old iPhone, here are a few simple tips to help you take your food pics from drab to fab.
1. Go Outside.
Lighting will make the biggest difference in the quality of your photos, and nothing compares to outdoor light. My kitchen is well-lit with artificial lighting, but the mix of different types of indoor lighting can’t hold a candle to the bright, even light that I get outside. The multiple lights indoors also cast harsh and annoying shadows on the food, plus cameras always take better quality photos the more light you have.
This means that if I’m taking photos of food, I always pack it up and head to my back deck. It’s a bit of a pain, but the natural light makes the colors brighter and the shadows disappear. And if it’s during the winter months when the days are short, sometimes in order to get good light I have to wait until the weekend when I’m available to shoot mid-day. It takes extra planning and effort, but it’s worth it.
Here’s a pullback of a recent shoot:

2. Avoid Direct Light
First I told you that more light is good, but now I’m telling you that you don’t want too much light. Much like when you’re taking a family photo and finding that everyone’s squinting into the sun, has unflattering light reflecting off their faces, and harsh shadows from trees across their bodies, you don’t want harsh, direct light on your food.
Soft, even lighting is best. You can achieve this outside on a cloudy day, in the shadow of a tree, or by investing in an inexpensive reflector and using the translucent disc to diffuse the light. (If you’re doing this on the regular, this might be a really good option.)

3. Turn Off Your Flash
Last lighting tip before we move on to other things, I promise. But using a flash properly takes some skill, and if you’re just turning on the flash and snapping a photo, it’s not going to do much for the attractiveness of your food. Basically, you’ll end up with a bright foreground, dark background, and all of the grease in your dish will reflect the light. Long story short, it won’t make it look terribly appetizing. Unless you know what you’re doing with the flash, turn it off and light your food using tips #1 and #2.

4. Mix Up Your Dishes
Plain white dishes will highlight your food without detracting from it. Colorful dishes will add a pop of color to otherwise bland-looking food. You don’t need a huge collection of dishes and they certainly don’t need to be high-quality, but buying a few pieces to use specifically for food photography can help you choose one that will bring out the beauty of your food rather than distracting from it.

5. Get Messy
It’s necessary to do a bit of staging, but sometimes the best shots are ones that just happen naturally, like a picture of your cutting board splayed with chopped ingredients and tomato juice, a sprinkle of garnish that ended up all over the serving tray, or parchment that’s browned and curled up at the ends after baking in the oven. Don’t try to be too neat, and don’t try to stage the messiness. After all, apples don’t usually happily prop themselves next to a jar of applesauce – it doesn’t look natural, it looks staged.
Cut and chop your ingredients. Throw them haphazardly on a plate. If you see something that looks pretty, take a picture! You can always crop and edit it later to your liking. Messiness adds depth to your food story.

6. Use Flooring or Tile for a Backdrop
Since I take my food pictures outside, I obviously don’t have a countertop to place my food on. Instead, I use some old pieces of laminate flooring left over from a project that I use to put my food on. You can also use pieces of tile that you find on clearance at your local home-improvement store. Get creative – the possibilities are endless!

7. Have a Few Props
It’s nice to have a few props – serving utensils, potholders, cutting boards, or towels. These not only help to increase the interest of your picture, but they can add color as well. These can be cheap – bought on clearance, secondhand, or even at the dollar store. Or use the ingredients from your recipe as a prop – fresh food is colorful and gorgeous!

8. Get Close. Back Up.
It’s hard to know exactly what will work best – each dish is different! Sometimes an extreme close-up looks delish. Other times, you need to show more context to give the full picture. Mix it up, then crop and edit the ones you feel best show off your dish. Look beyond simply snapping a pic with your dish centered in the frame. In fact, you’ll find the most visual interest if your subject isn’t centered.

9. Change Your Angle
More often than not, I shoot my food from straight above – not because that’s my fave, but because since I’m shooting on my deck, the background would be my backyard if I shot from another angle (which is not the context I’m looking for to tell my food story). If you can, change your angle. Take a spoonful of food and take a pic. Have a serving of casserole on a plate with the rest of the food in the background. Mix it up!

10. Add a Pop of Color
Not all recipes are colorful, but color always increases the visual appeal of your food photography. If your food isn’t colorful, find ways to add some – whether it’s a towel, some condiments, or a garnish. And even if it’s not necessary for the recipe, use it anyway. Do you think this appetizer needed parsley? No, but the picture sure did.

You don’t have to be a pro to level-up your food photography; a few simple adjustments can drastically improve the beauty of your photos. But if you want people to pay attention, it needs to look good. Just imagine what you look for when you’re searching for a new recipe.
Appetizing? Of course.
Gray mush? You’ll keep scrolling. And so will everyone else.
Which of these tips did you find most helpful?
