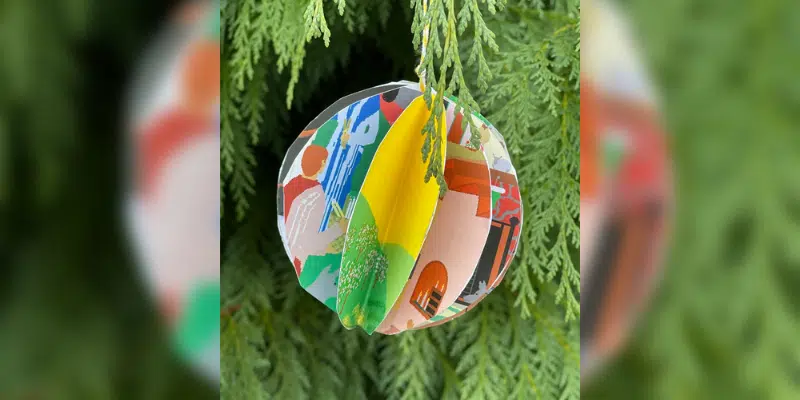
It’s day two of our make-your-own-ornaments series!
For our next ornament, you will need:
- An old book from a thrift shop
- A lid or cookie cutter to use as a pattern
- A glue stick
- A pencil
- Scissors
- String for hanging
Cut out twelve circles from your book. I used a canning jar lid for a pattern which worked perfectly because I could see which part of the page I was using.
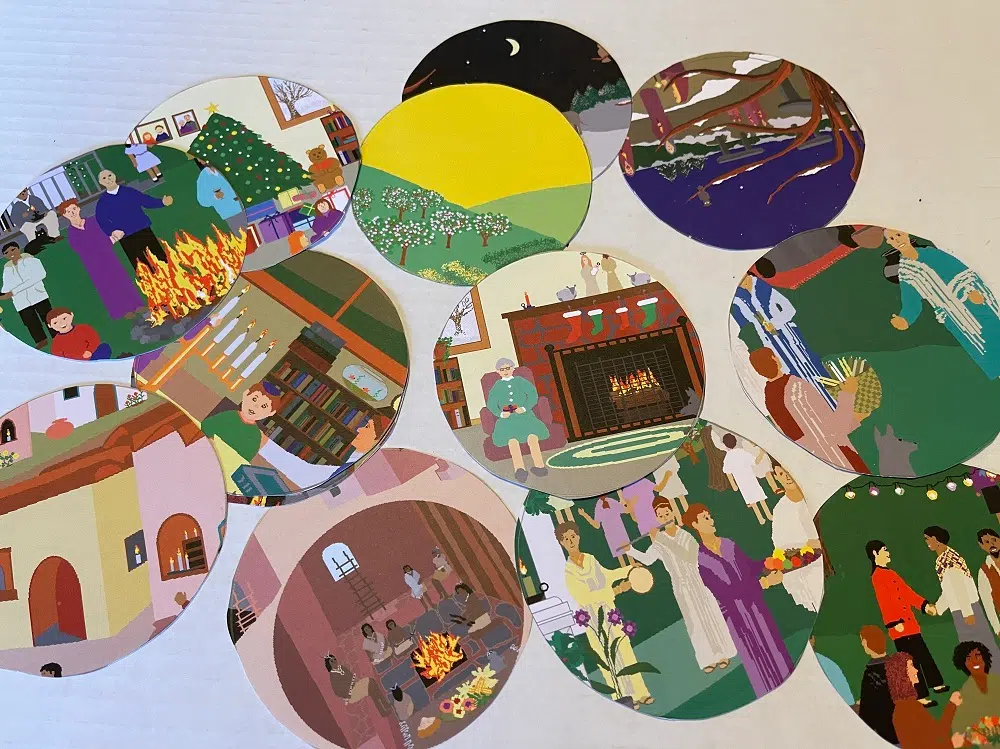
Fold each circle in half with the picture you want showing on the INSIDE. Make sure the image is right-side-up when you fold. Trim any uneven edges.
Put glue on one half of a circle and glue it to another circle, like this:
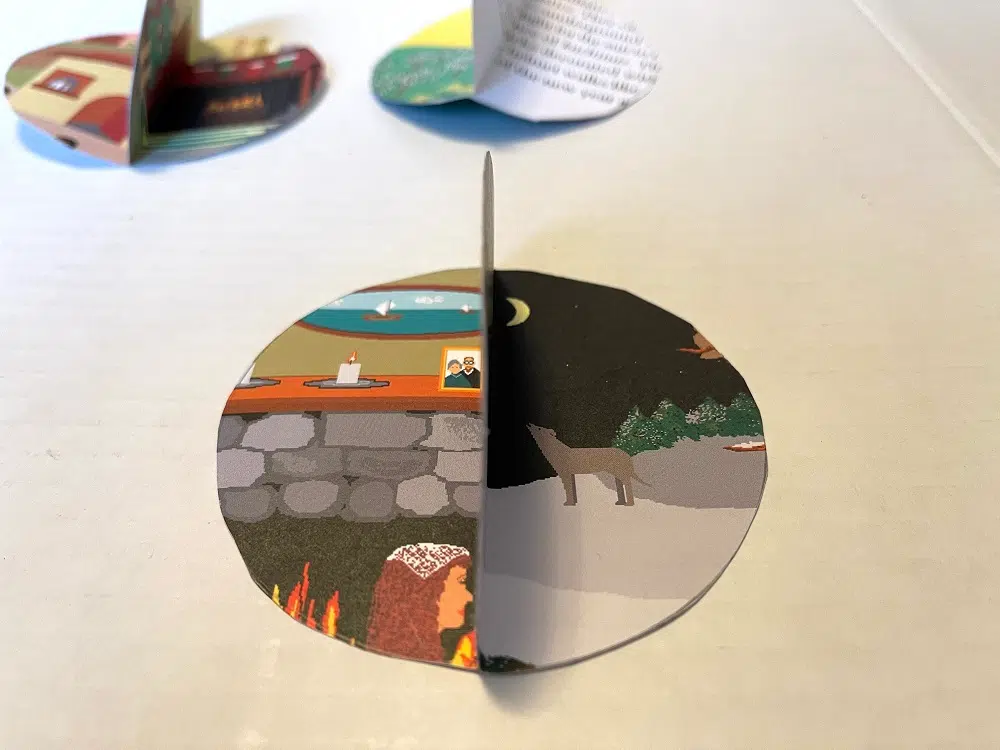
Repeat until you have six segments.

Using the same method, glue the segments together until you have this:
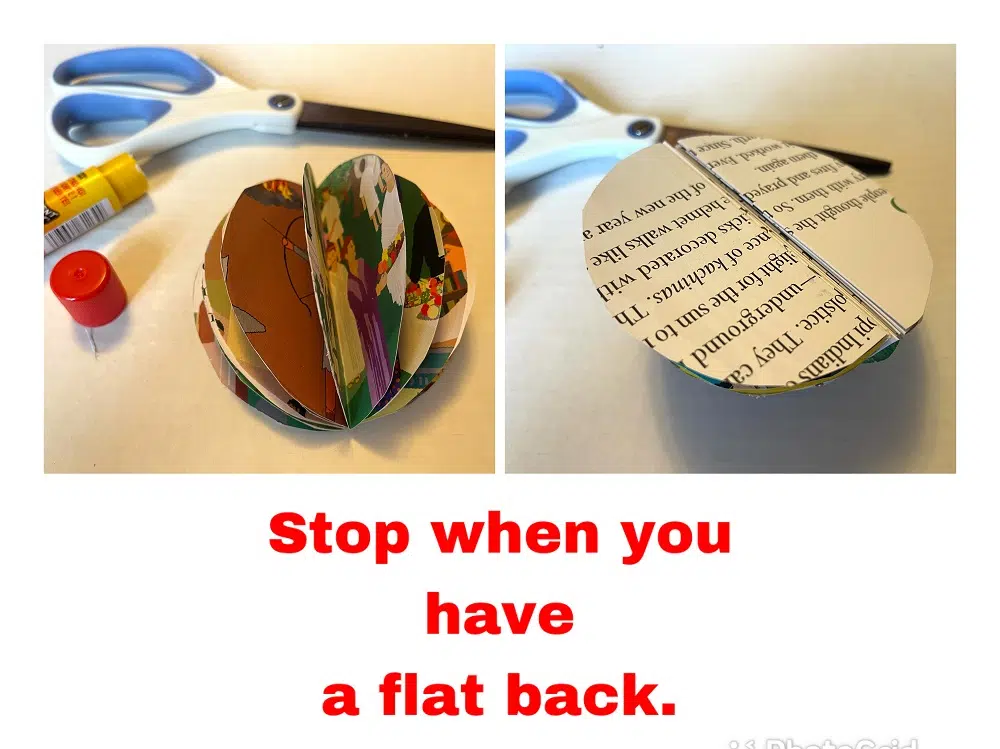
Do NOT glue the final sides together yet. Trim the edges again as needed.
Cut a long length of thread or twine and double it over to create a loop. Tie a knot.
Glue the cut ends of the string onto the center fold line of your ornament (I used liquid glue for this).

Bring the final two half-circles together and glue. You can clamp these edges together until the glue dries if needed. Trim the edges a final time.
Your ornament is ready for hanging!
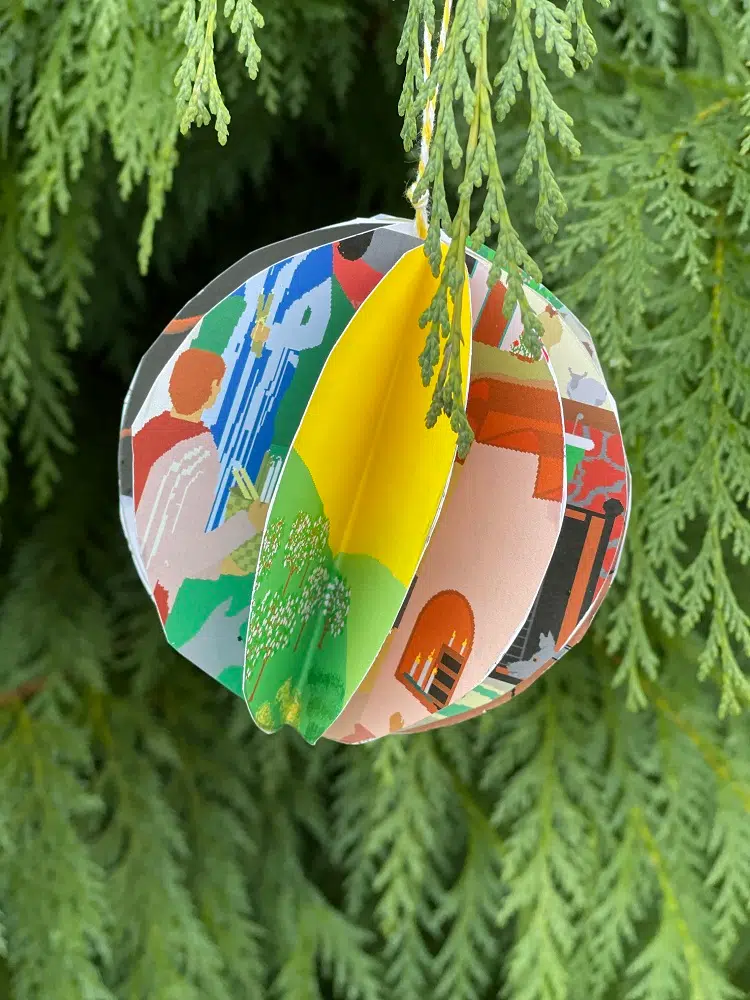
Experiment with different sizes of circles. Add glitter to the circle edges before assembling. Try using more or less circles. Make some with book text instead of pictures. The sky’s the limit!
Send in pictures of your finished ornaments. We’d love to see them!
SEE ALL OUR ORNAMENTS HERE:
 Read more of Ann’s contributions to AllMomDoes here.
